|

|
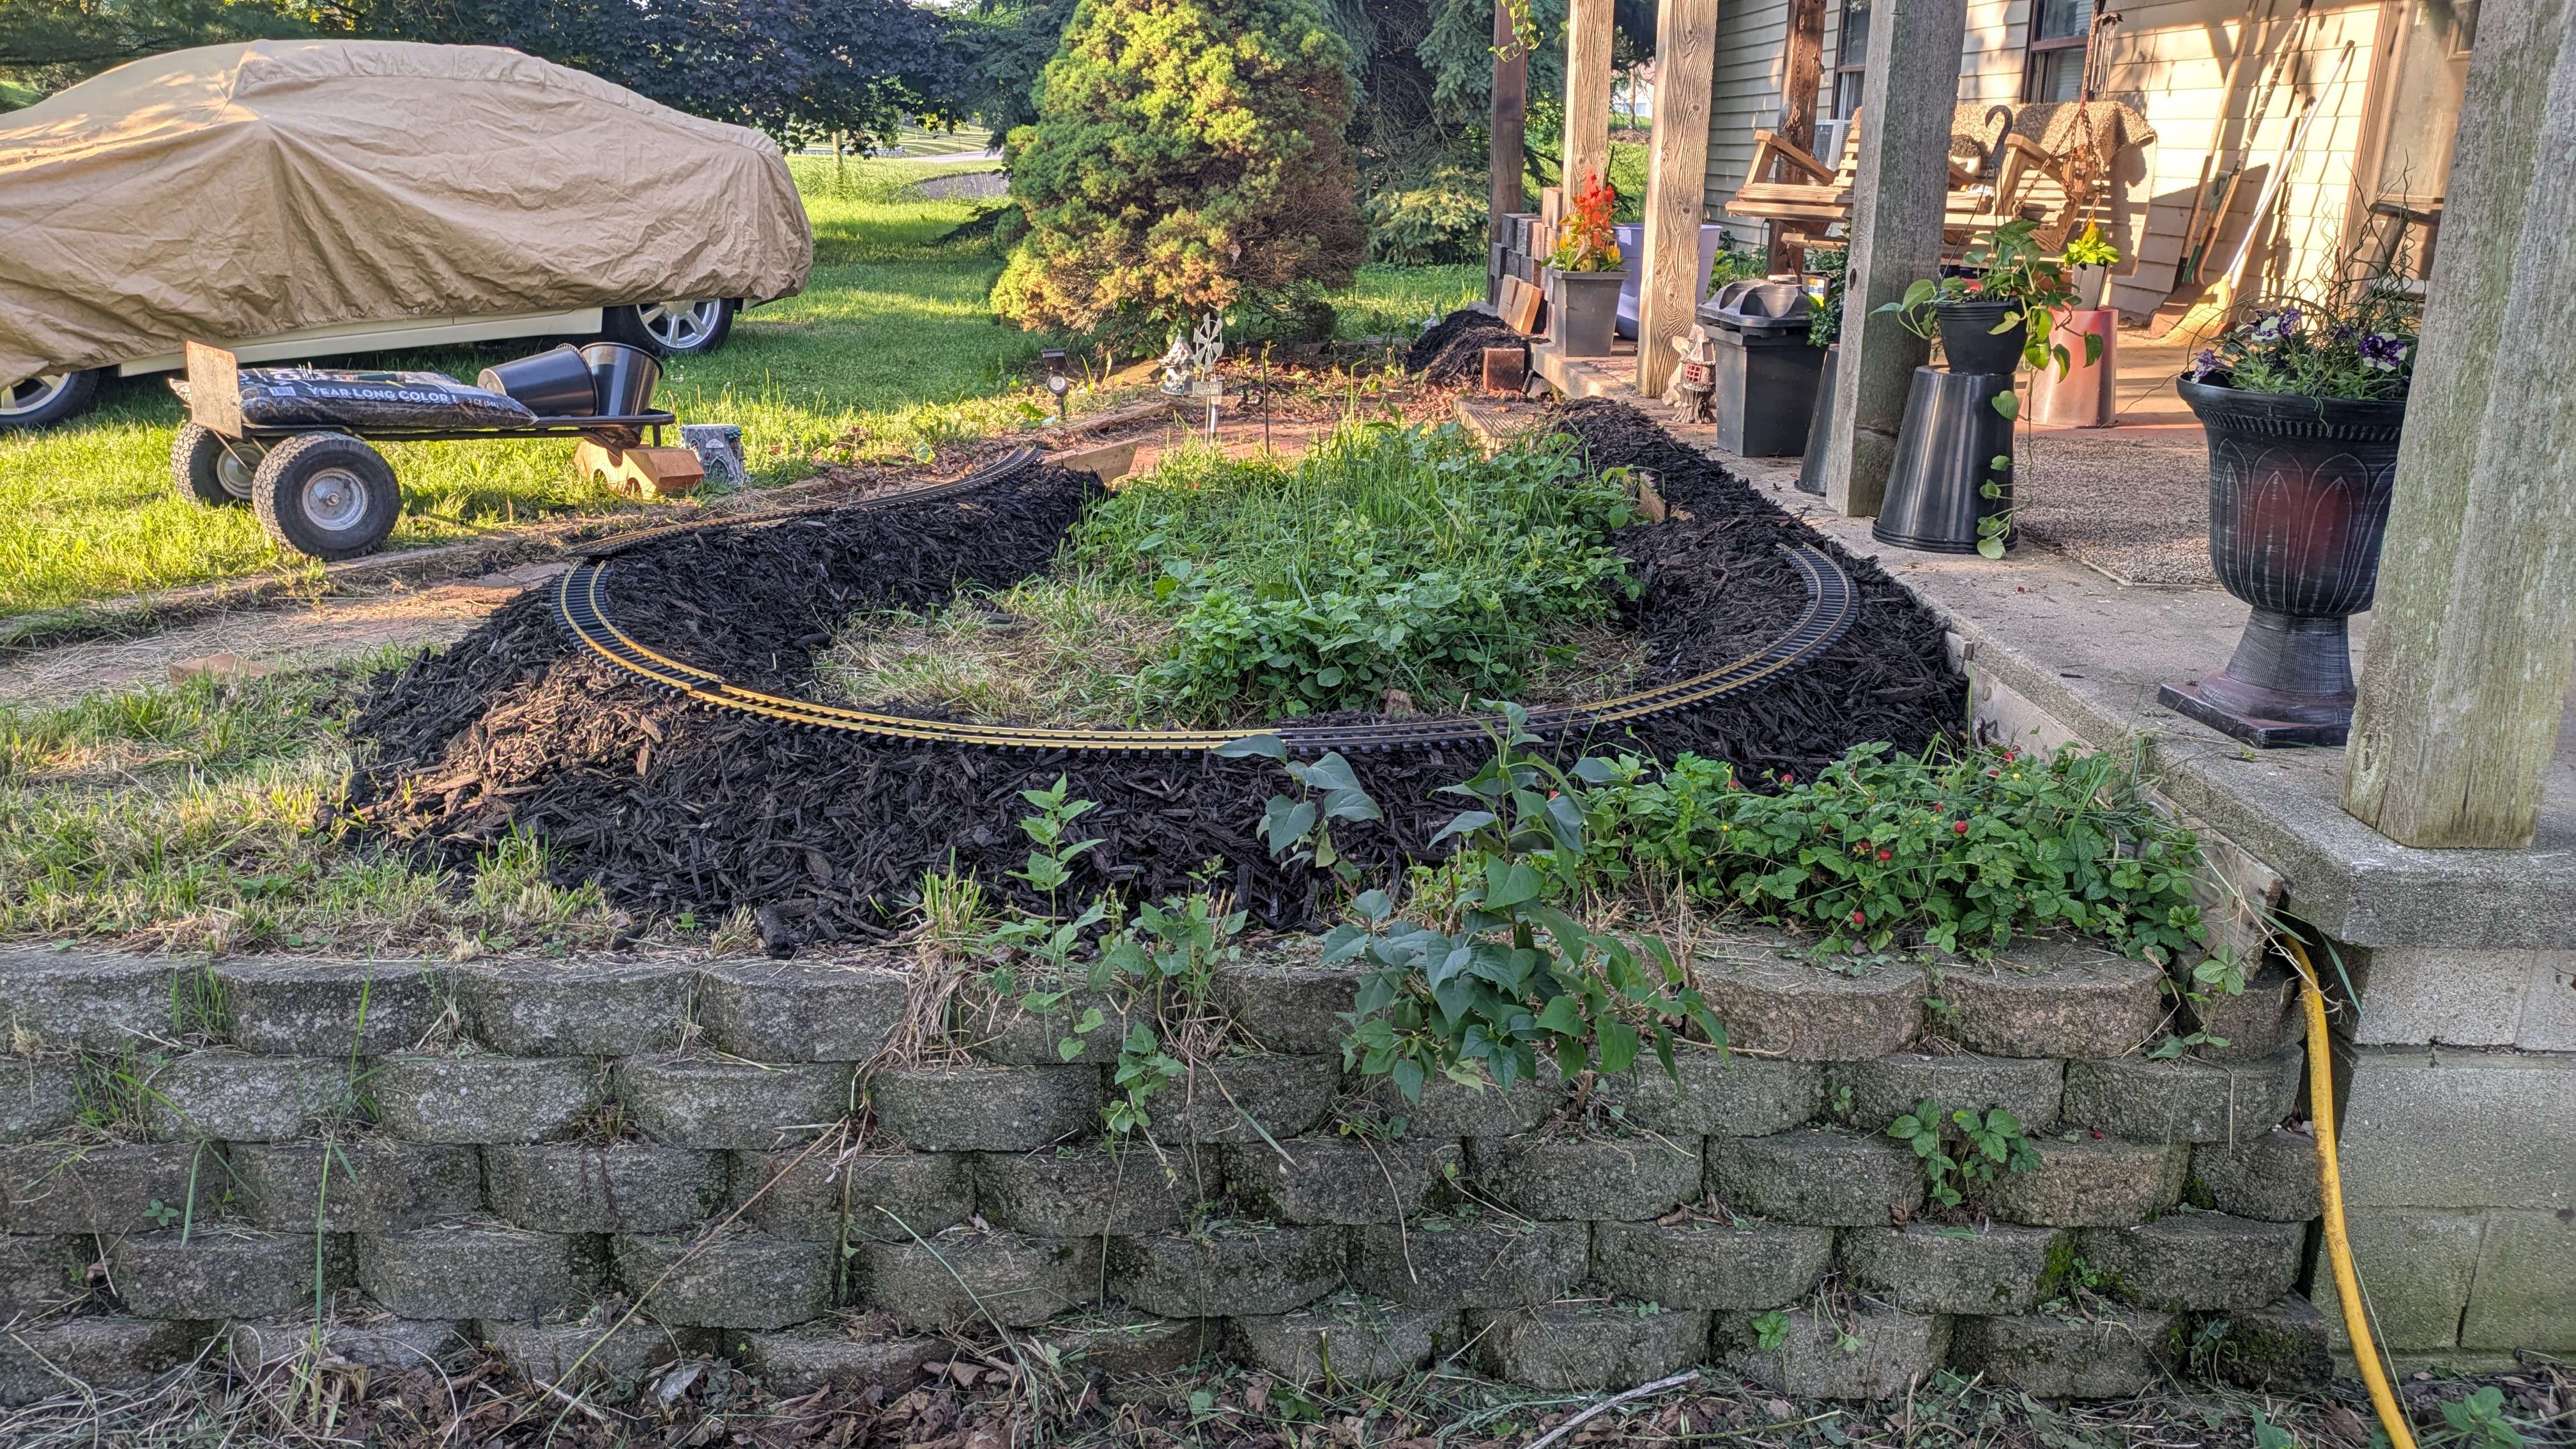
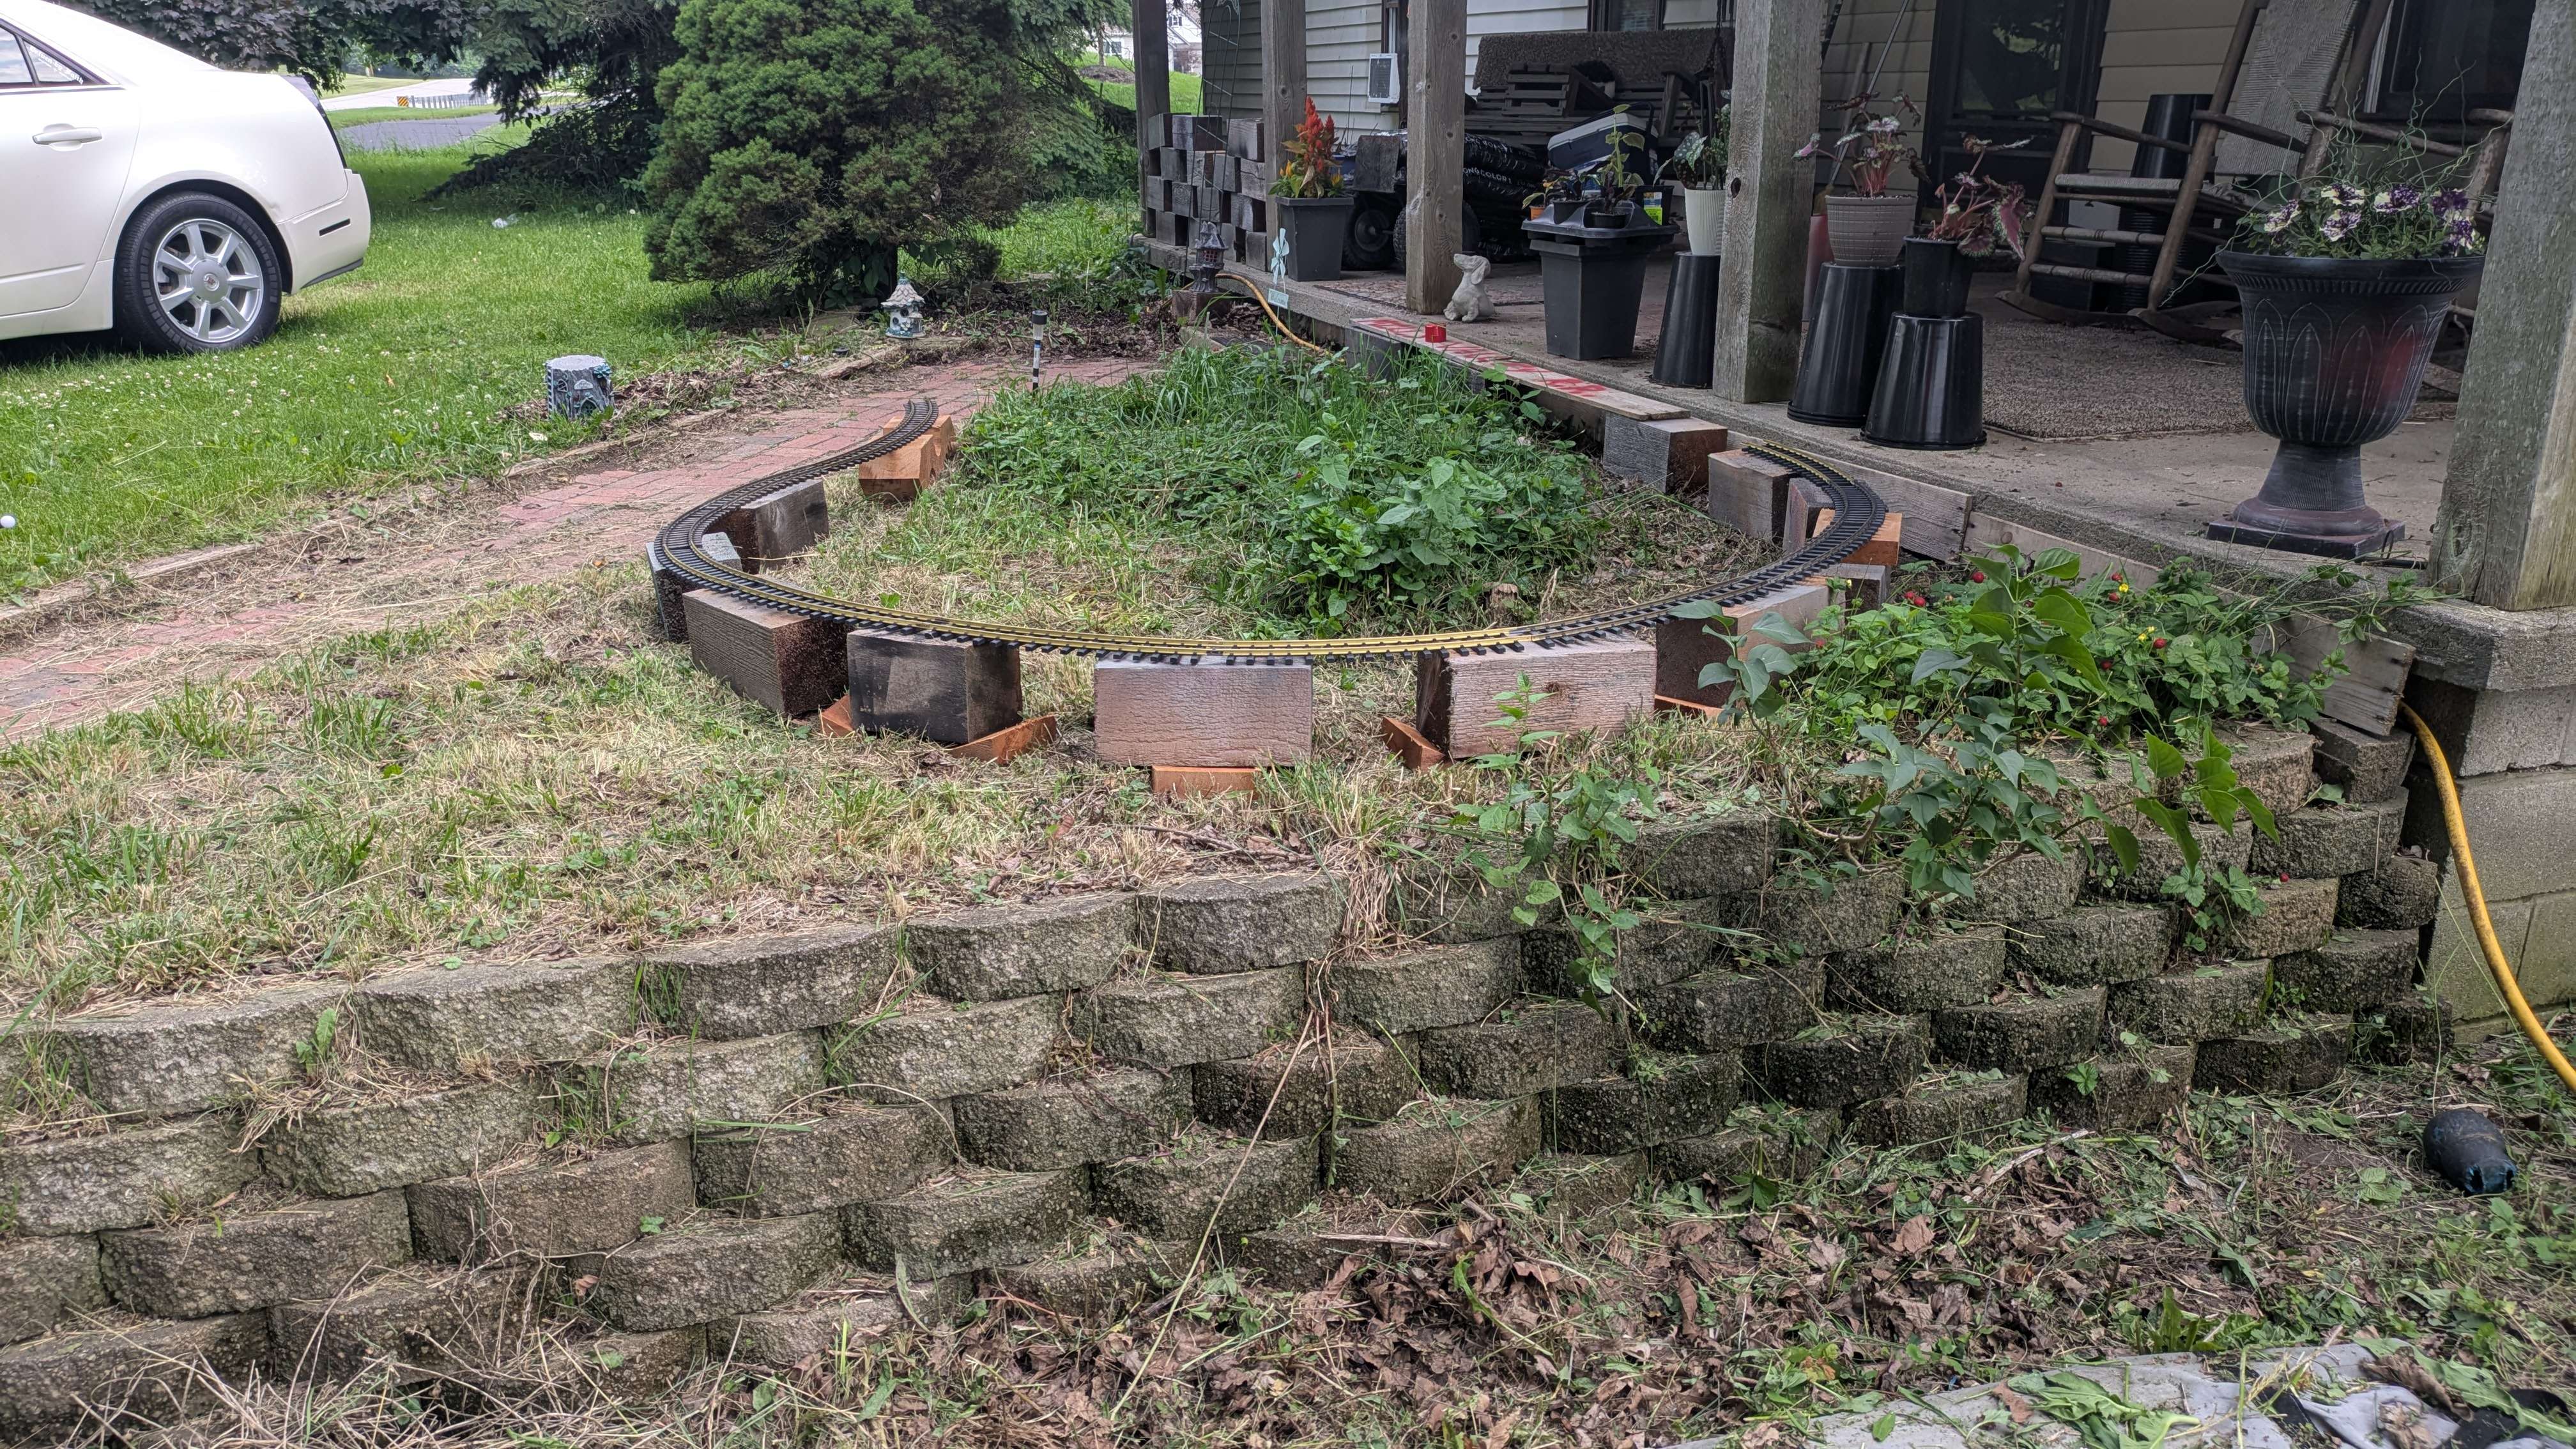
Used the majority of yesterday's mulch on making this inital half of the railroad look nice and getting up to level during my work time yesterday. This morning I was out front and figured I'd take a photo of where we are so far. More work will be done today, but not much as I have some other responsibilities. Sadly I can't do this all day every day!
|
|
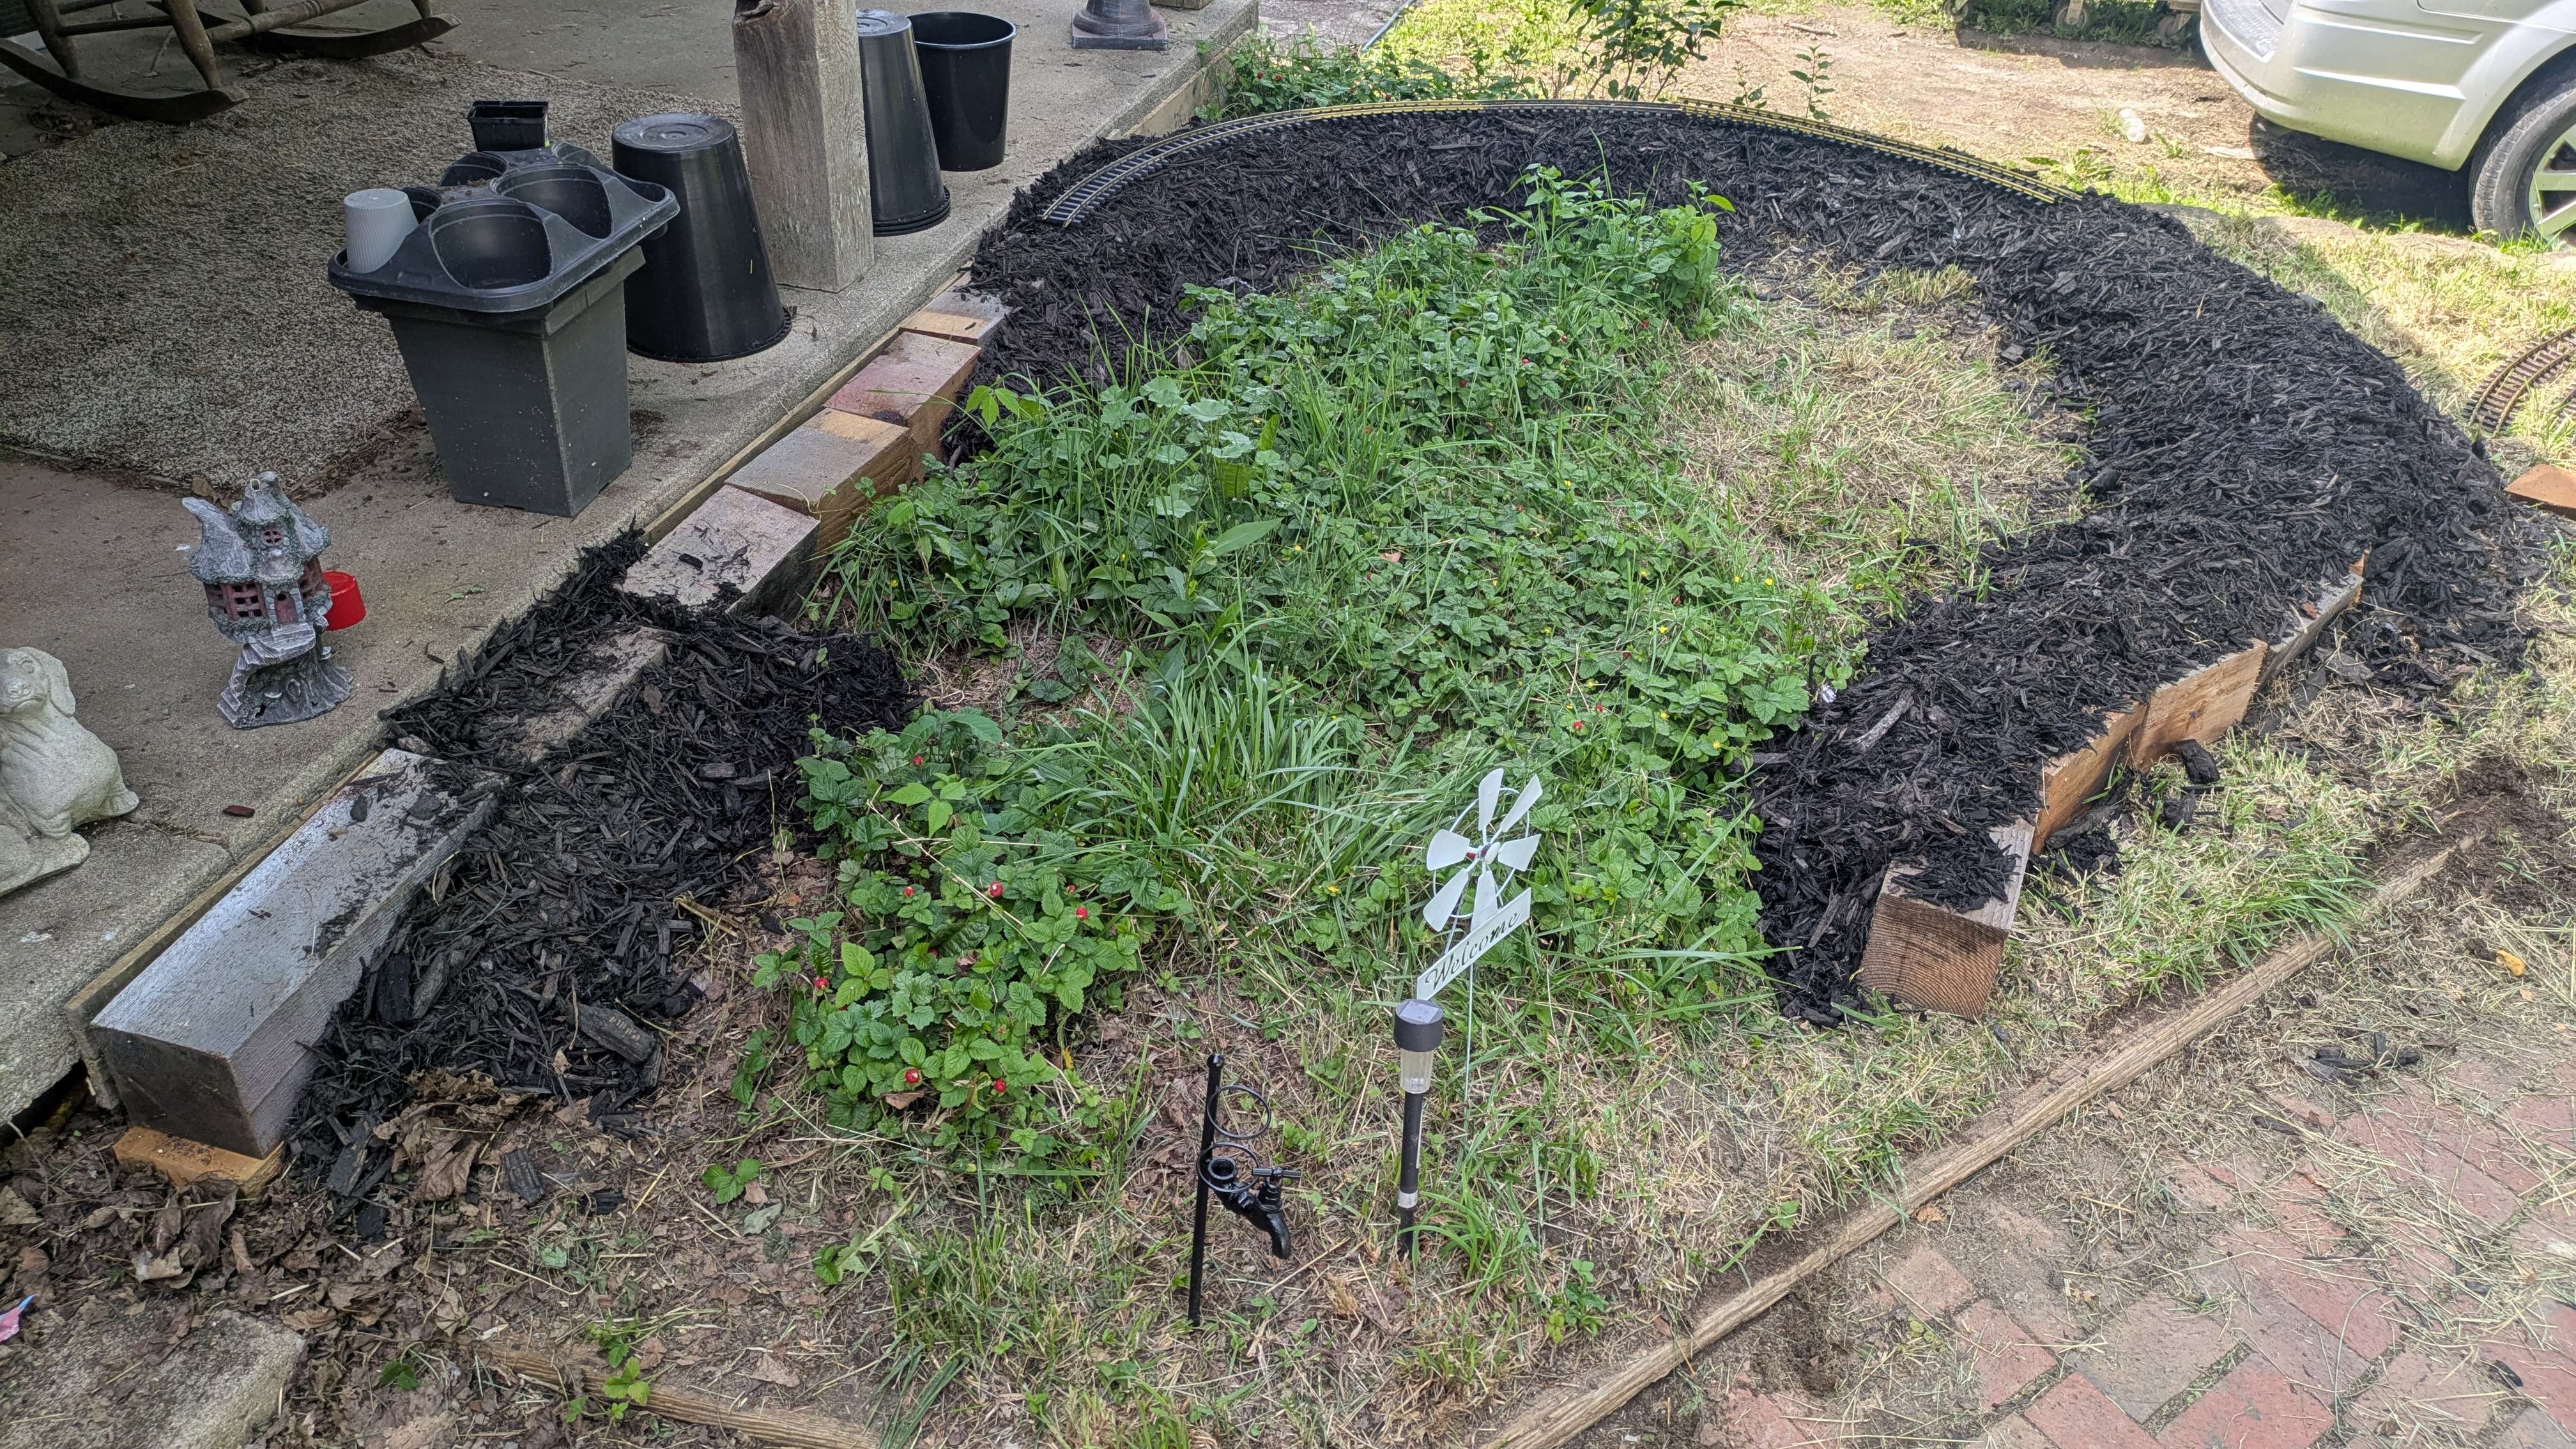
Well anyone who isn't me probably saw this coming from a mile away, but four bags of mulch was not enough for even that section of the railroad. I had to make some returns to the grocery store today, and while there I picked up five more bags early this morning. I came home, and brought all five bags over to the railroad, setting them out in the sun with holes in the bags to help them begin to dry out from the past week of rain. Here we see a shot of the layout in the morning before any further work has been done.
|
|
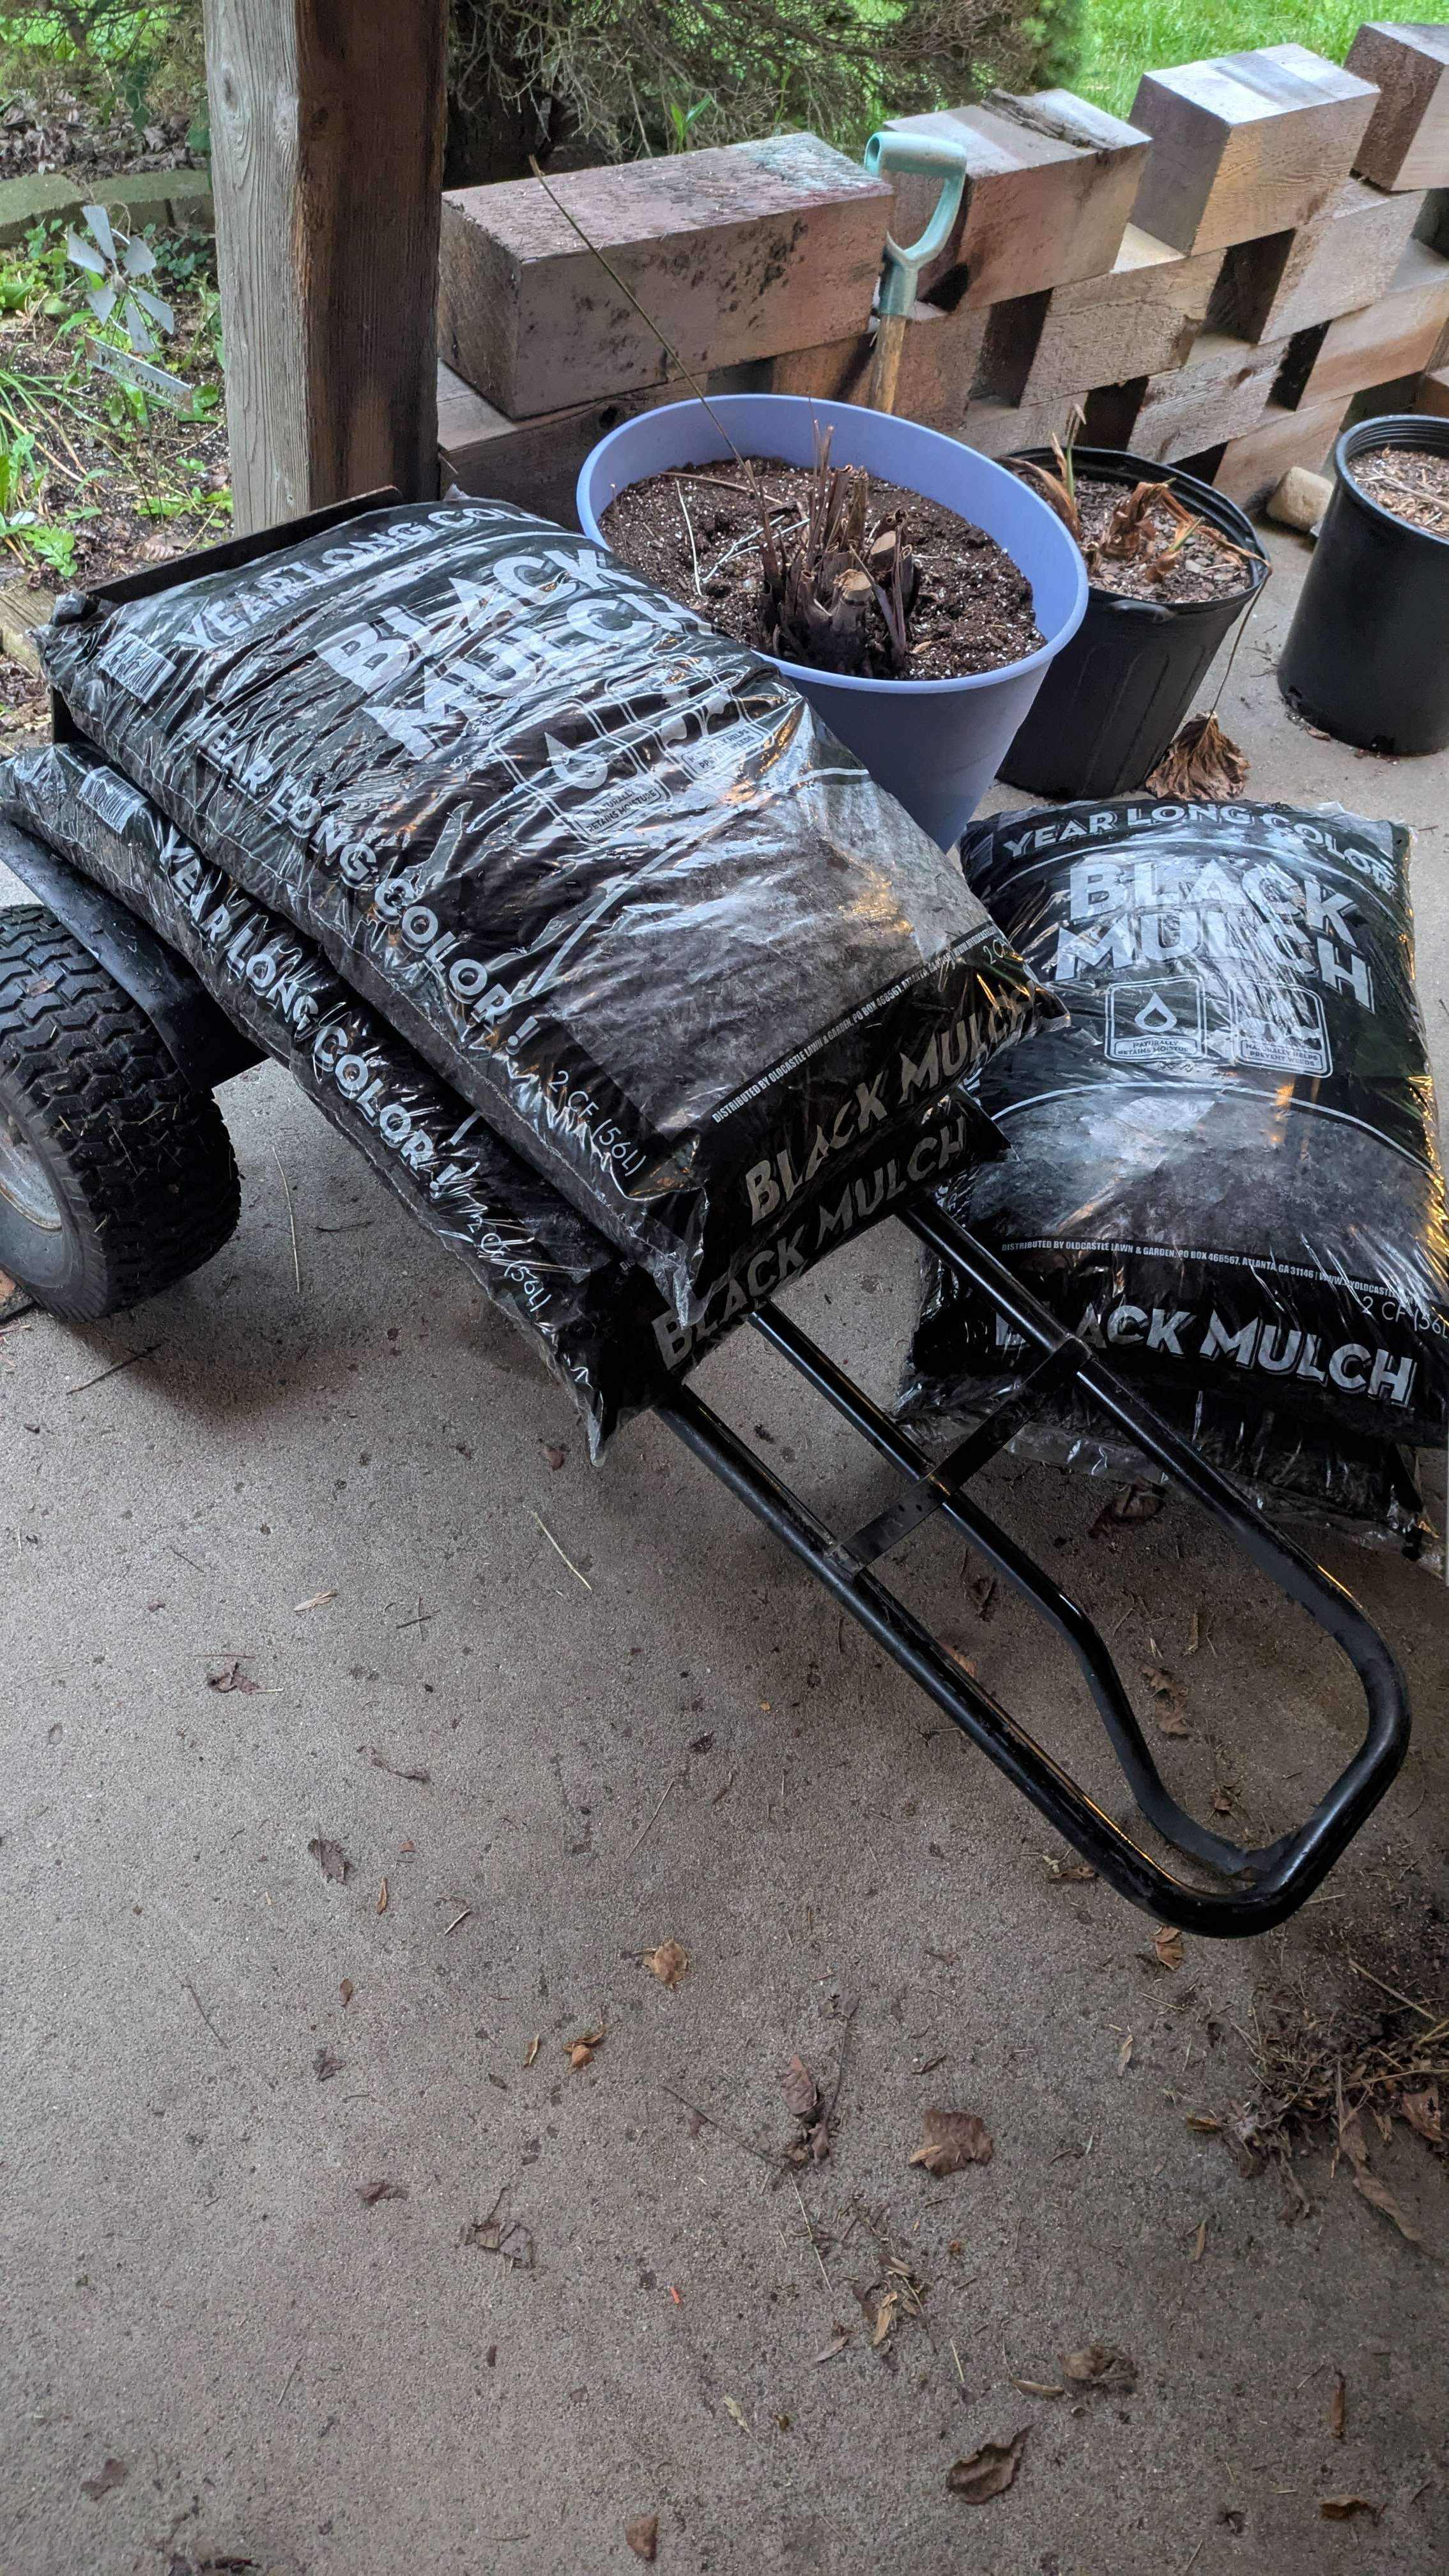
A phone call yesterday with a good friend from my G Scale club gave me the push after a week of on and off work that kept me from doing much. This upcoming weekend we have an open house at another member's home, so this prompted me to finally get my boots on the ground and get this railroad built. I went out in the evening after my wife was home with our van to pick up four bags of mulch to begin the process of making this look like a railroad instead of some wood blocks scattered in the yard.
During this project I use a lot of materials I can get for free or little to no cost, inclusing these scrap 6x6 cedar treated post off-cuts from a local business, and pallet wood slats from my employer that I can get every so often. I broke down the pallet with a hammer and pry-bar, then used four slats along the front of the porch as a barrier between the roadbed and our hose. The hose is kept nearly year round here for watering our horses, so not burying was important, in case we needed to pull it out, this simple channel allows that to happen and for it to be put back without much hassle.
After the slats were in place, I quickly pulled out half of my curved rail stock and relaid the wooden blocks to begin marking out and making final placement for the roadbed. I would later learn I was free to use as many of these as I wanted and put the blocks end to end will as few gaps as possible, reserving the mulch mostly for side fill for looks, and some on top for leveling the track itself.
Unfortunately I neglected to take many in progress photos at all as I was excited to finally be starting the project, the mulch going in made it feel more real, more substantial and like a proper venture as a railroad. This evening once it was dark enough I briefly shot the laser level across the front garden, and found the majority of the roadbed was near enough to level. Another pass over top with mulch in some spaces would get us there soon enough!
|

|
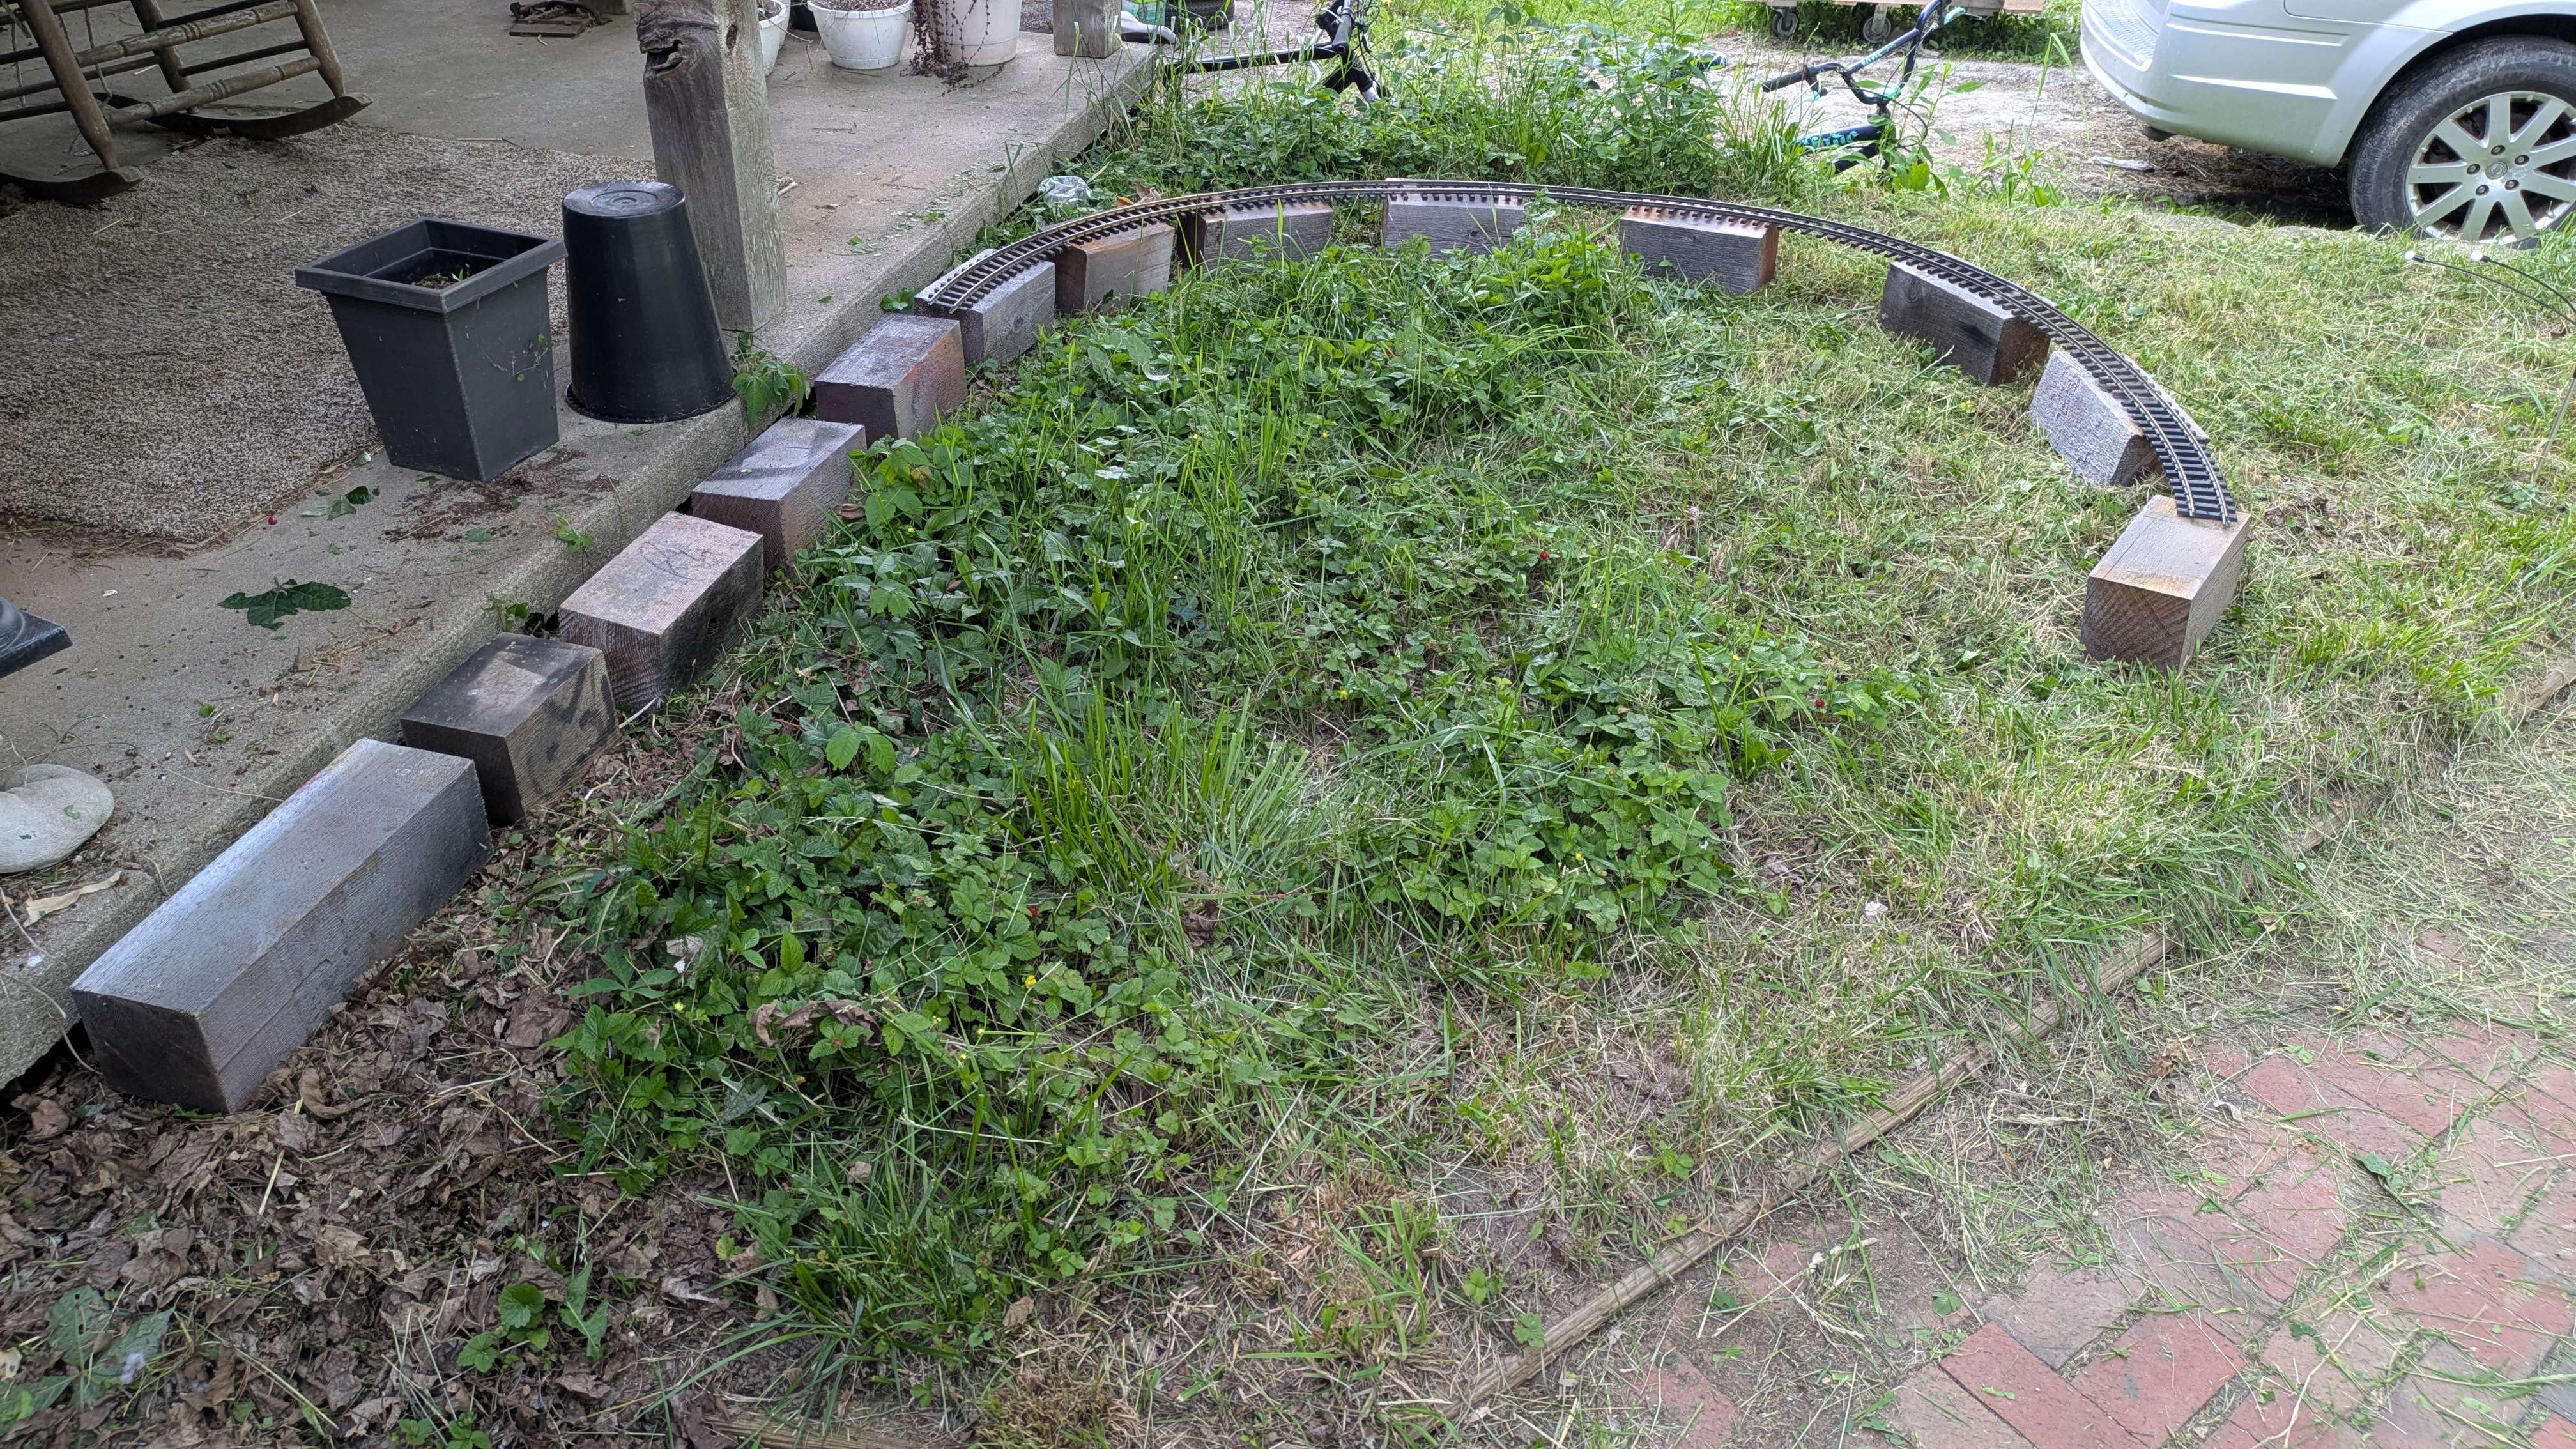
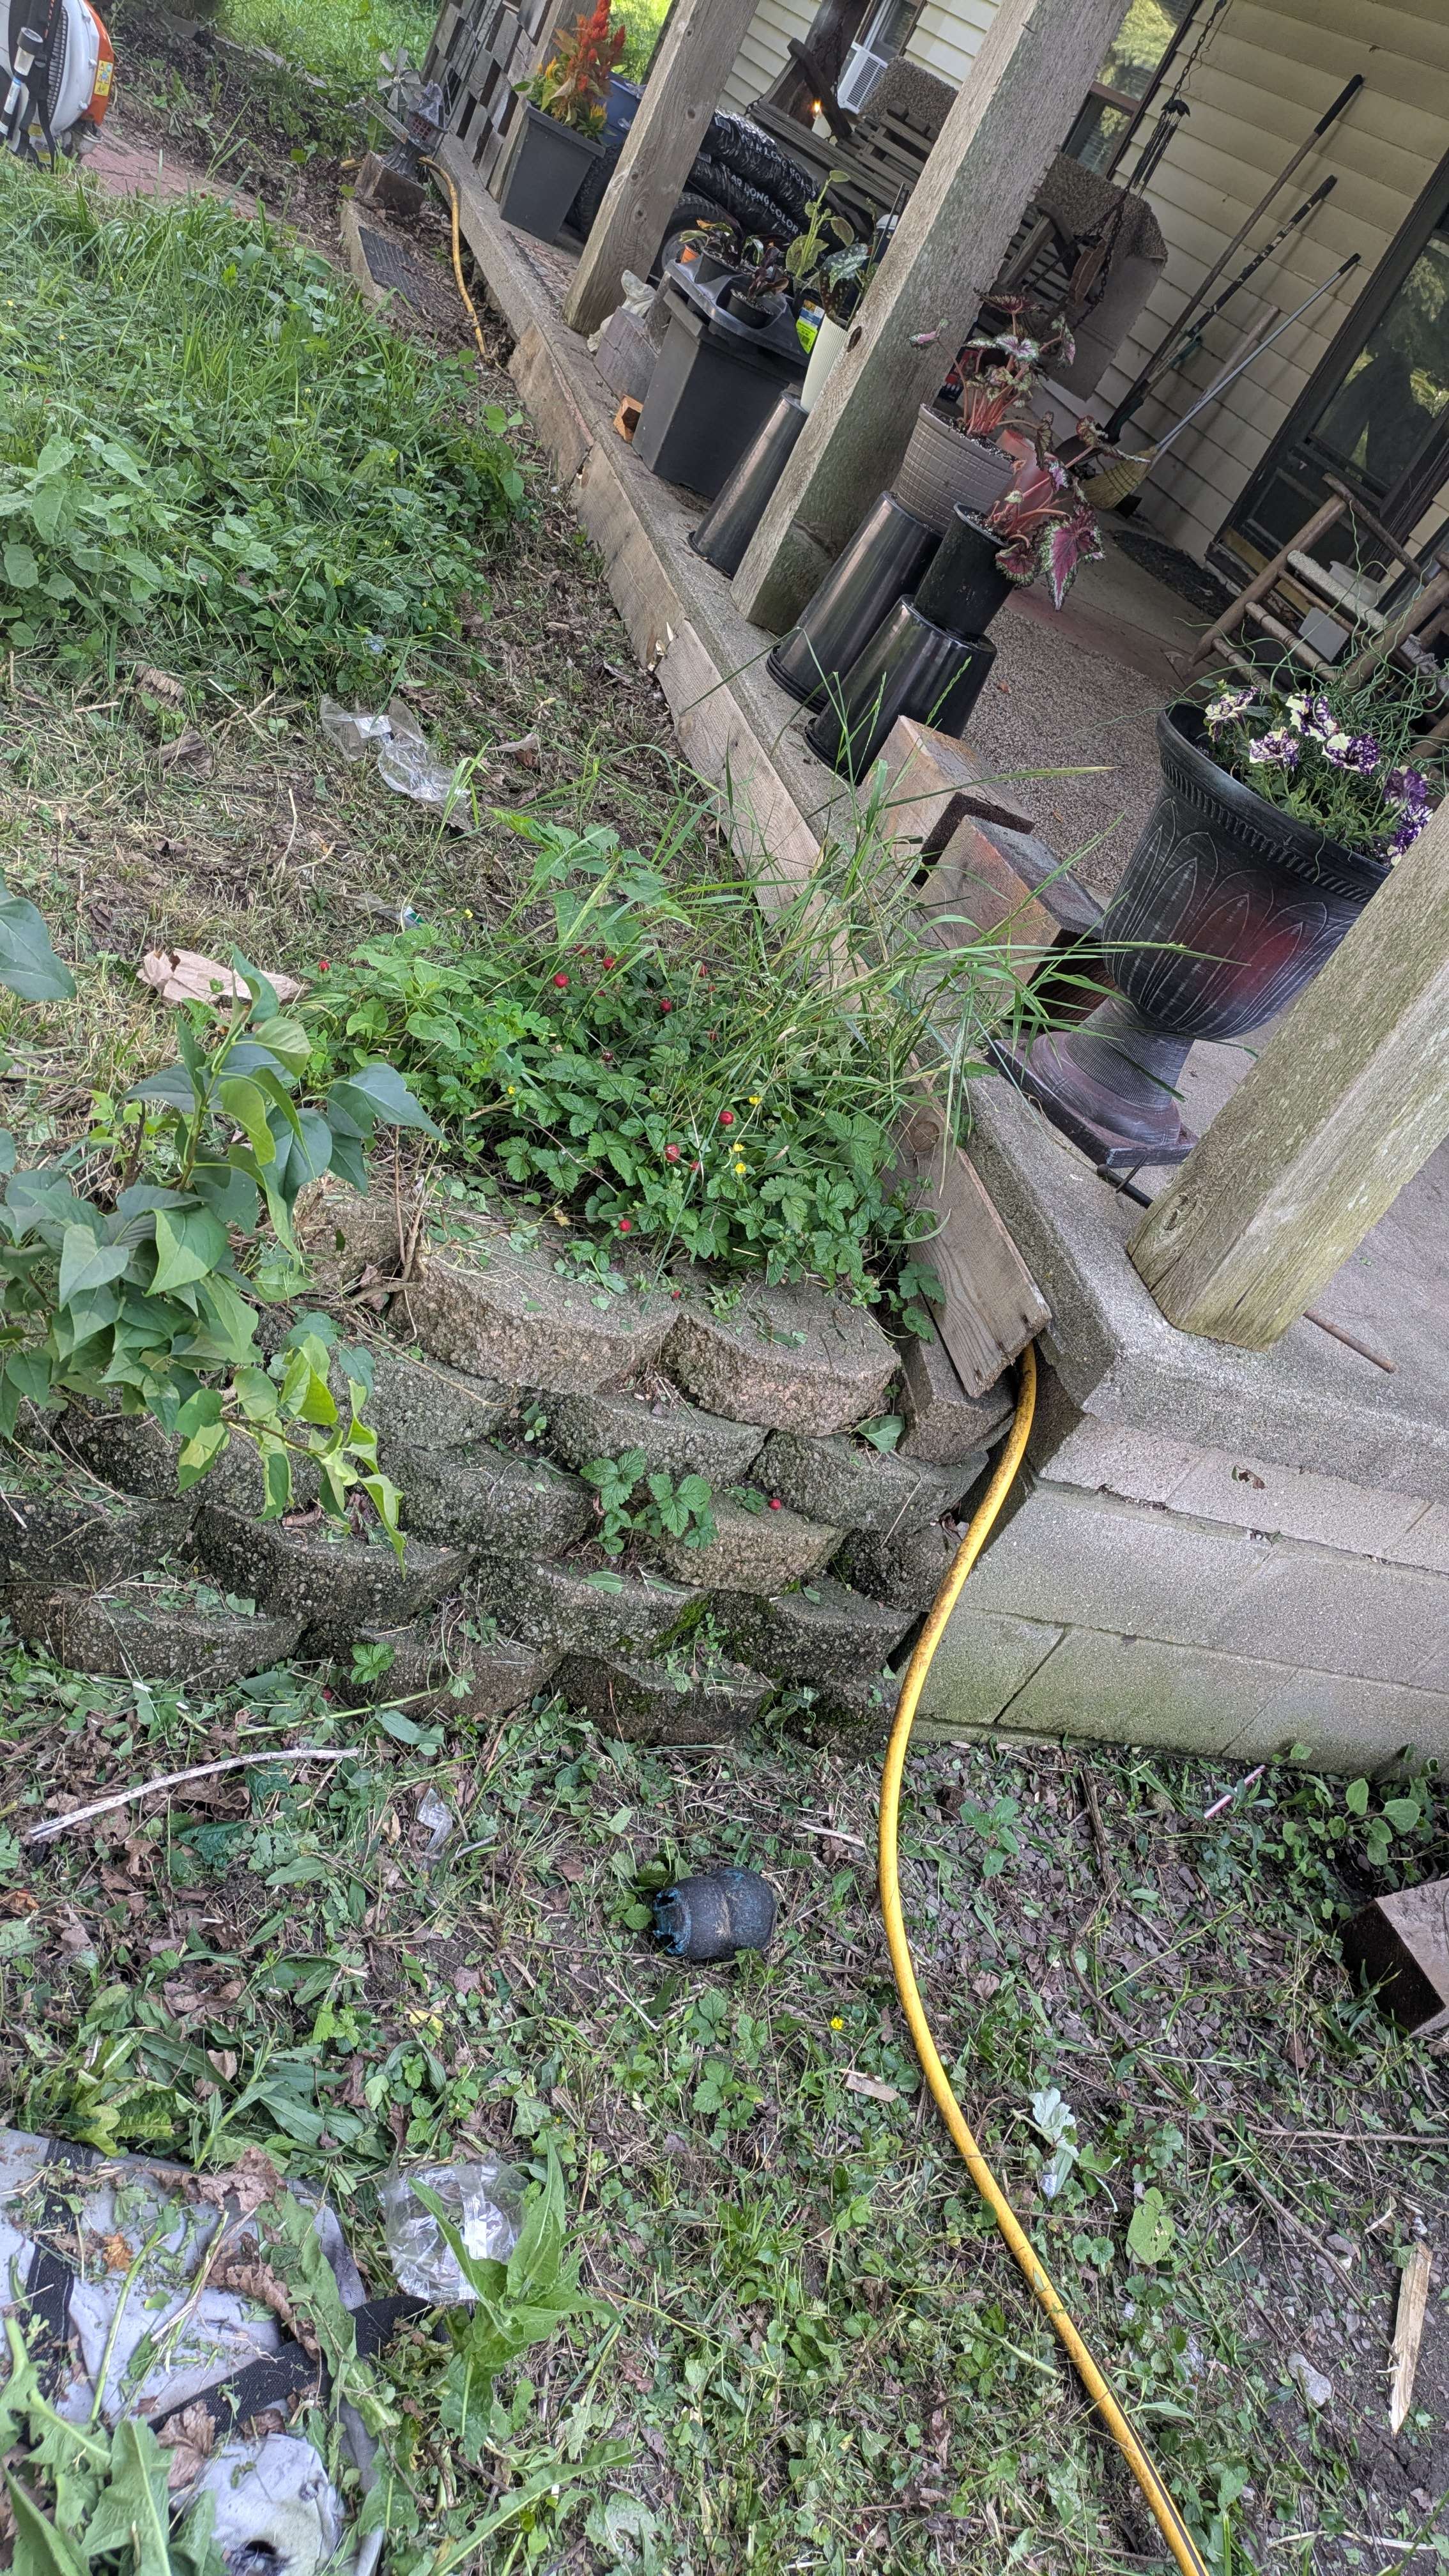
Today while out doing yard work, I finally figured what the hell, lets build a railroad. It won't be pretty and it won't be too big, but it'll be enough for me. This railroad is built hastily, with the goal mainly being keeping costs as low as possible. I use some very poor and unconventional methods to build up a roadbed that will certainly shift oveer time, but we may be moving within the year, so why make it "proper"? I'd rather get it running and have fun!
Here we see the initial beginnings a week before we truly kicked off construction. |