|

|
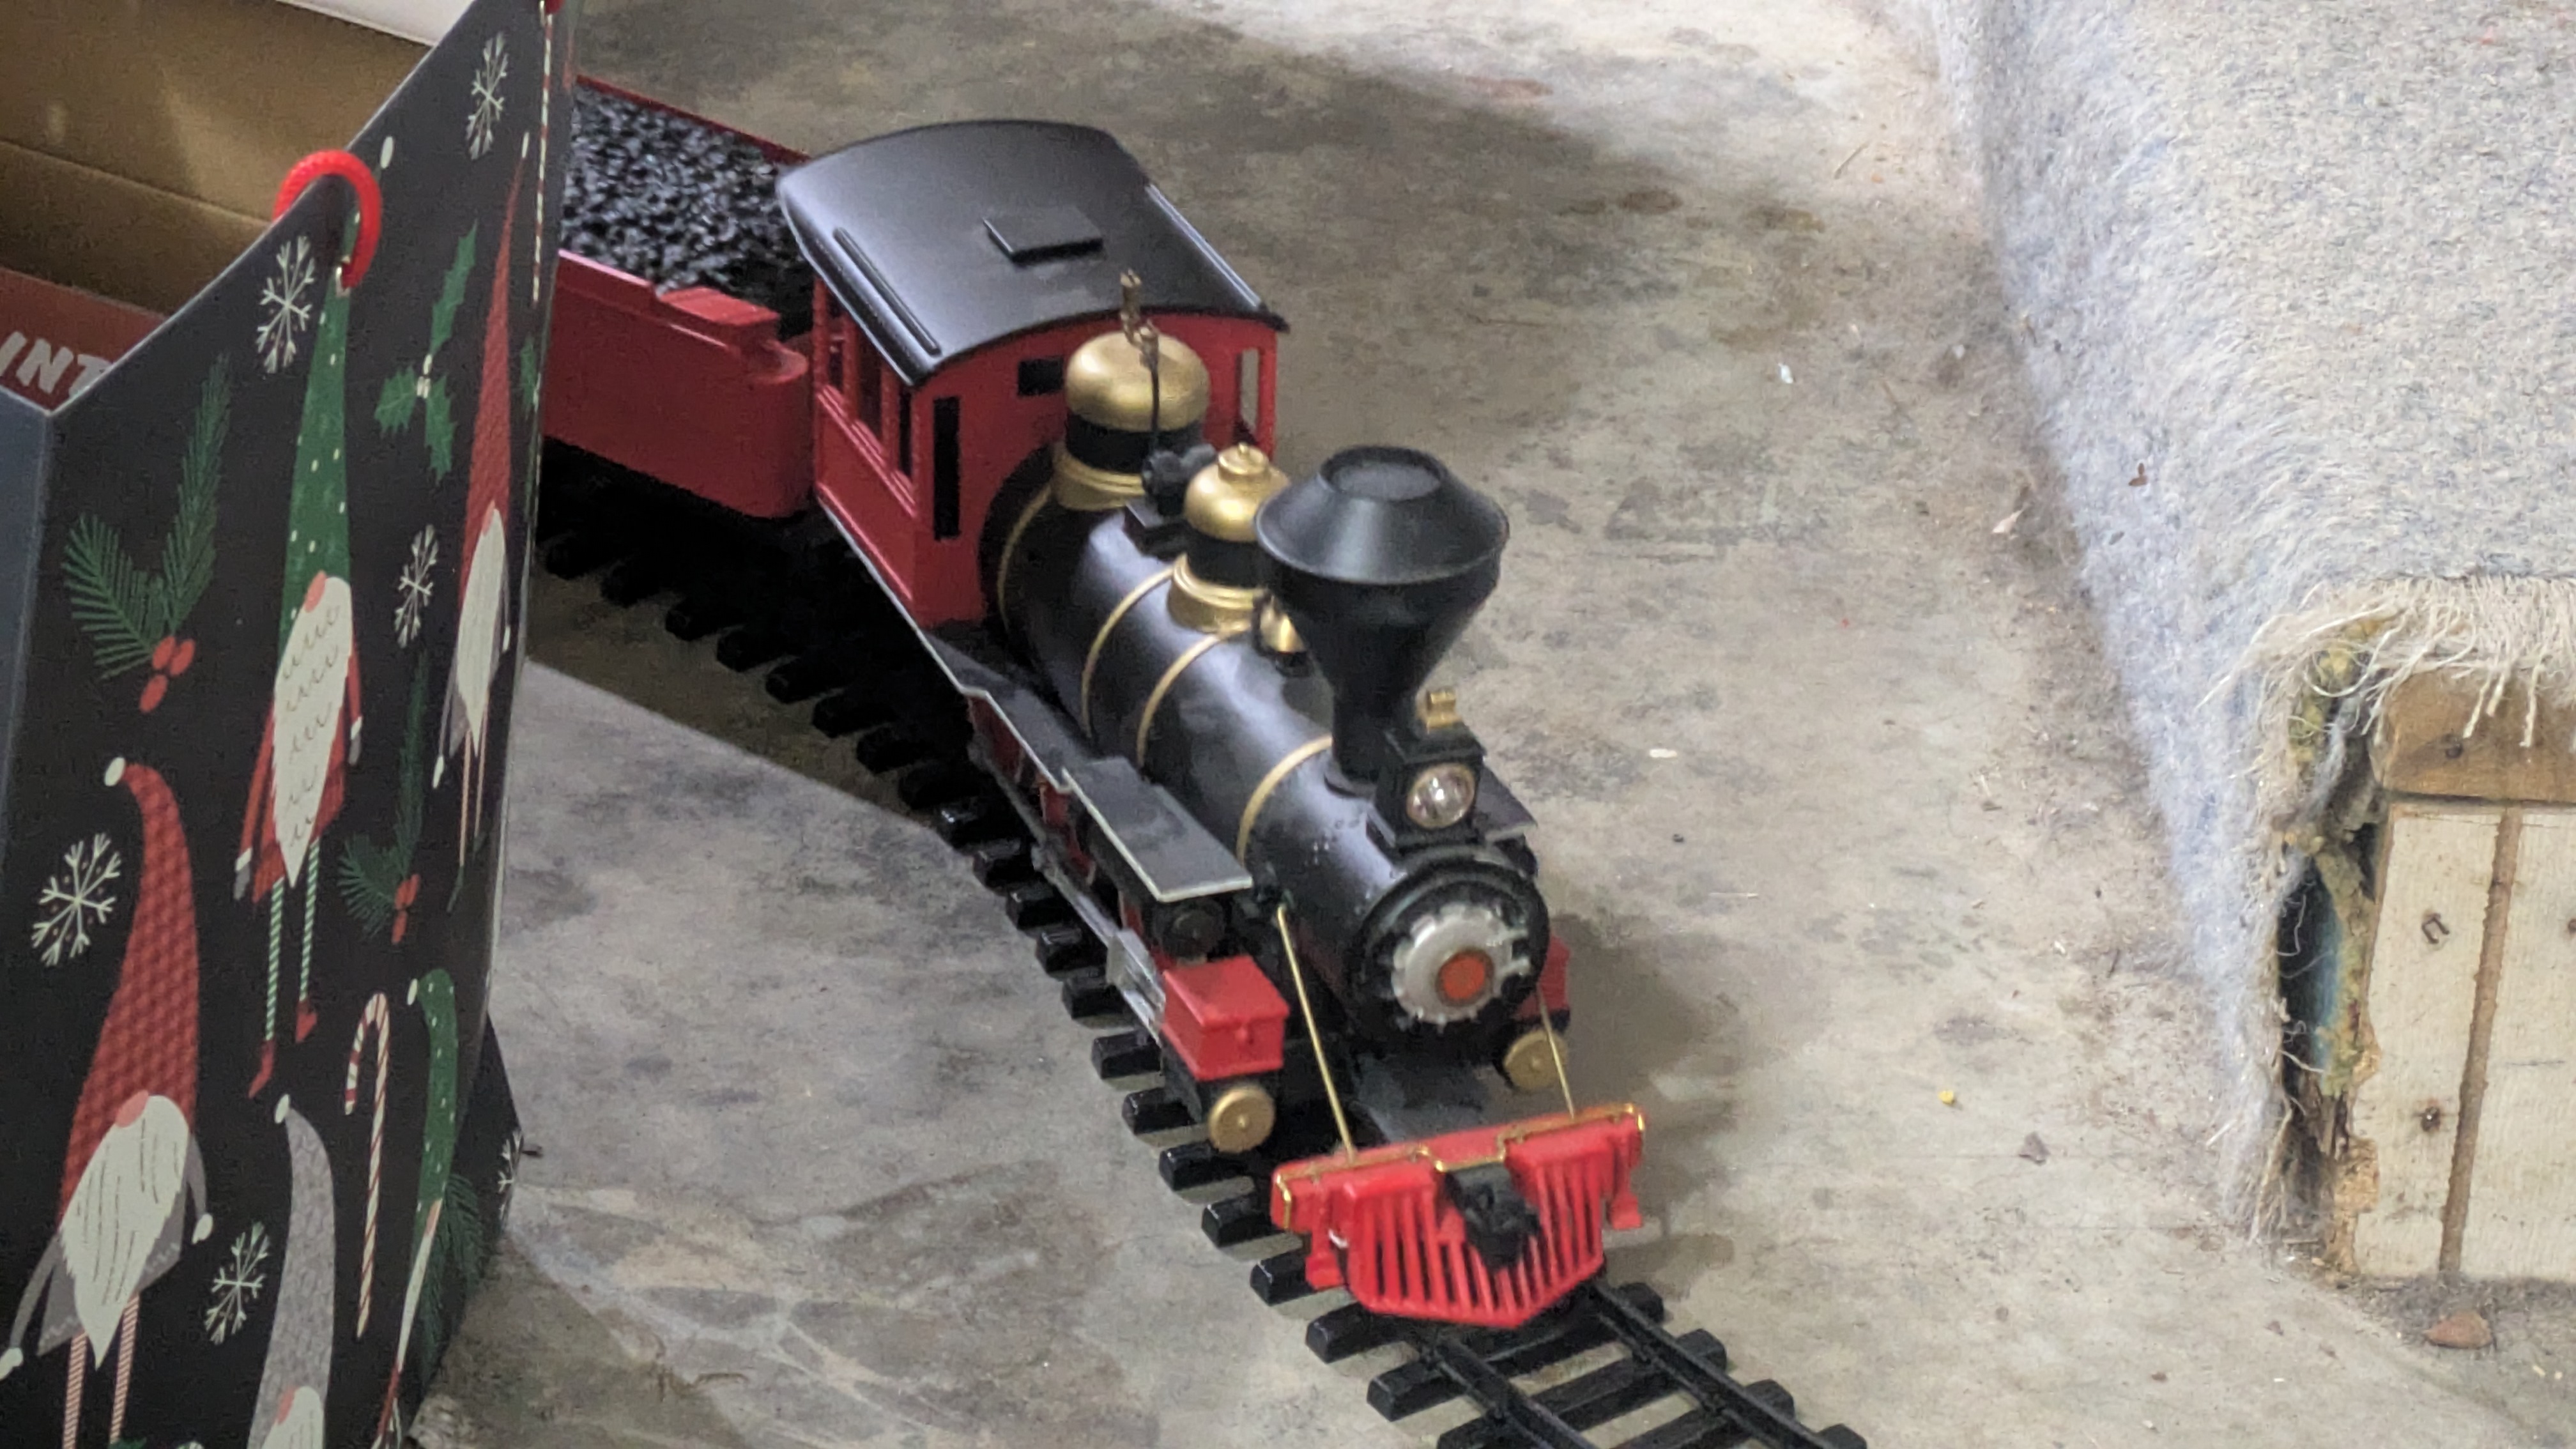
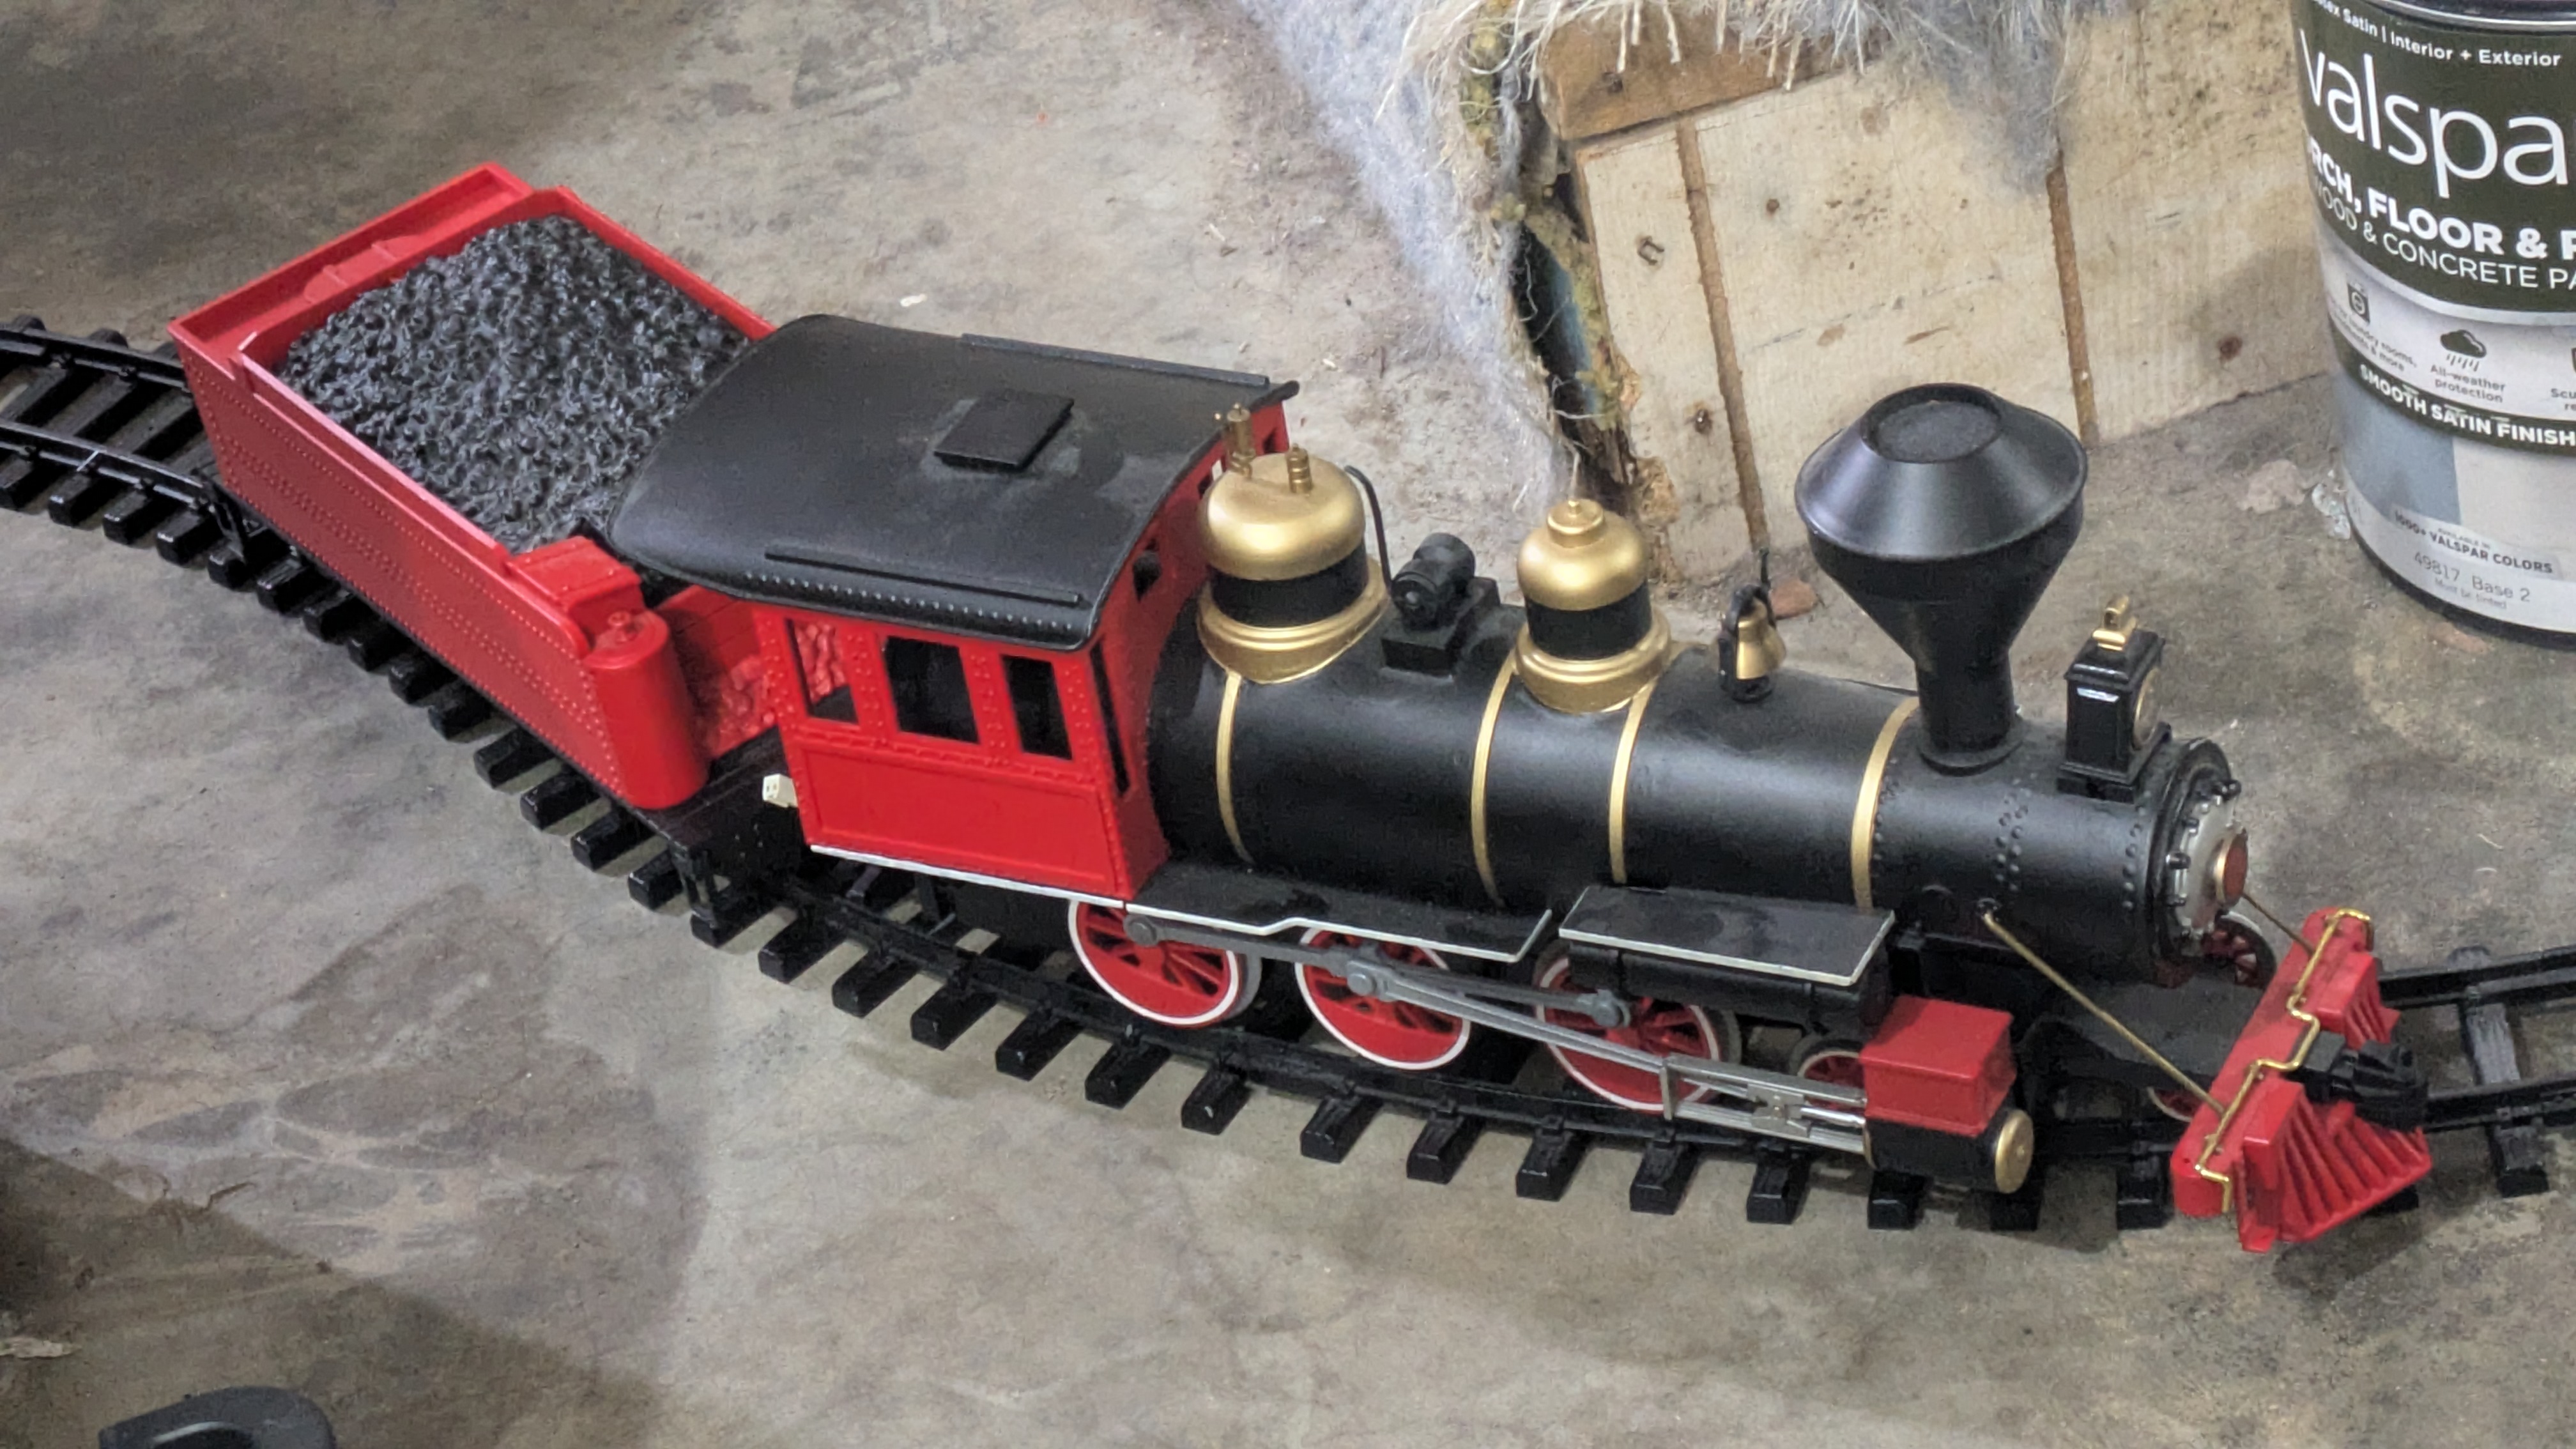
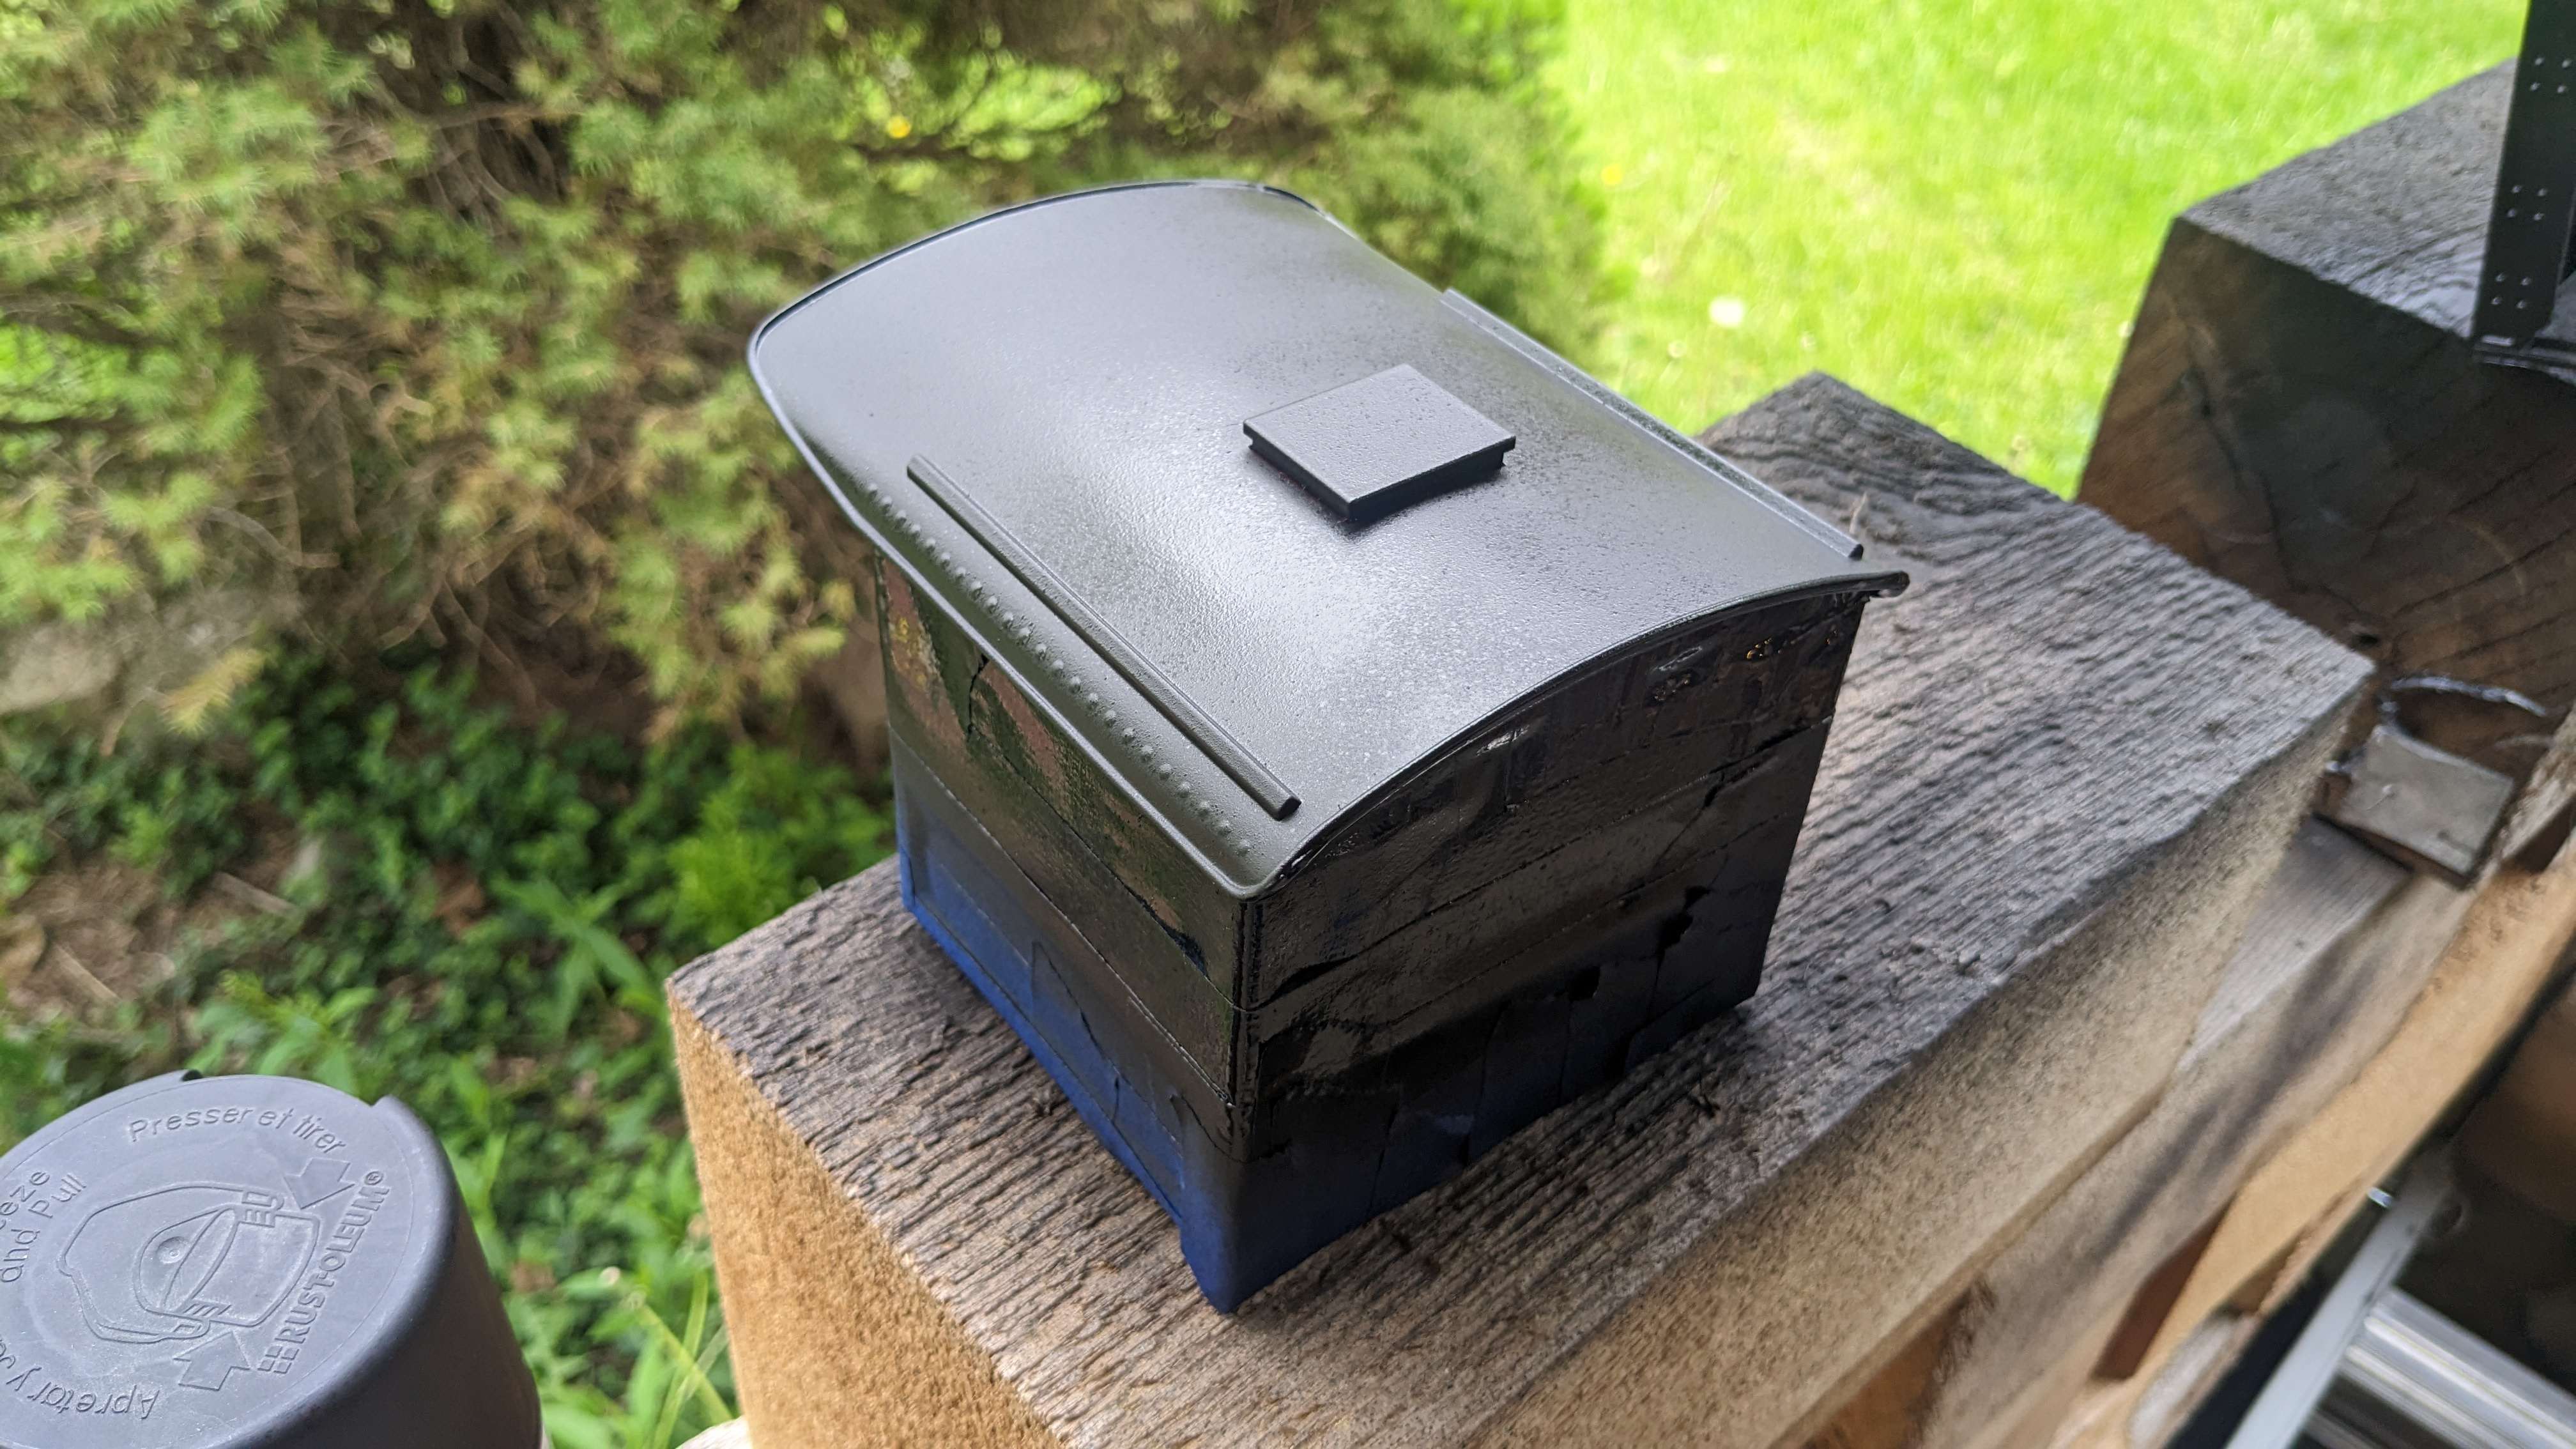
Almost a year without an update? Insane! Absolutely bonkers! Unfortunately that's the truth! The Cannonball has kind of been on hold due to some serious changes in my life, and other projects taking priority as she was in storage. I did dig her out about two months ago with plans to begin work again. During this time one of our cats knocked the tender off the storage track, shattering multiple components. It'll likely be the next post on this project.
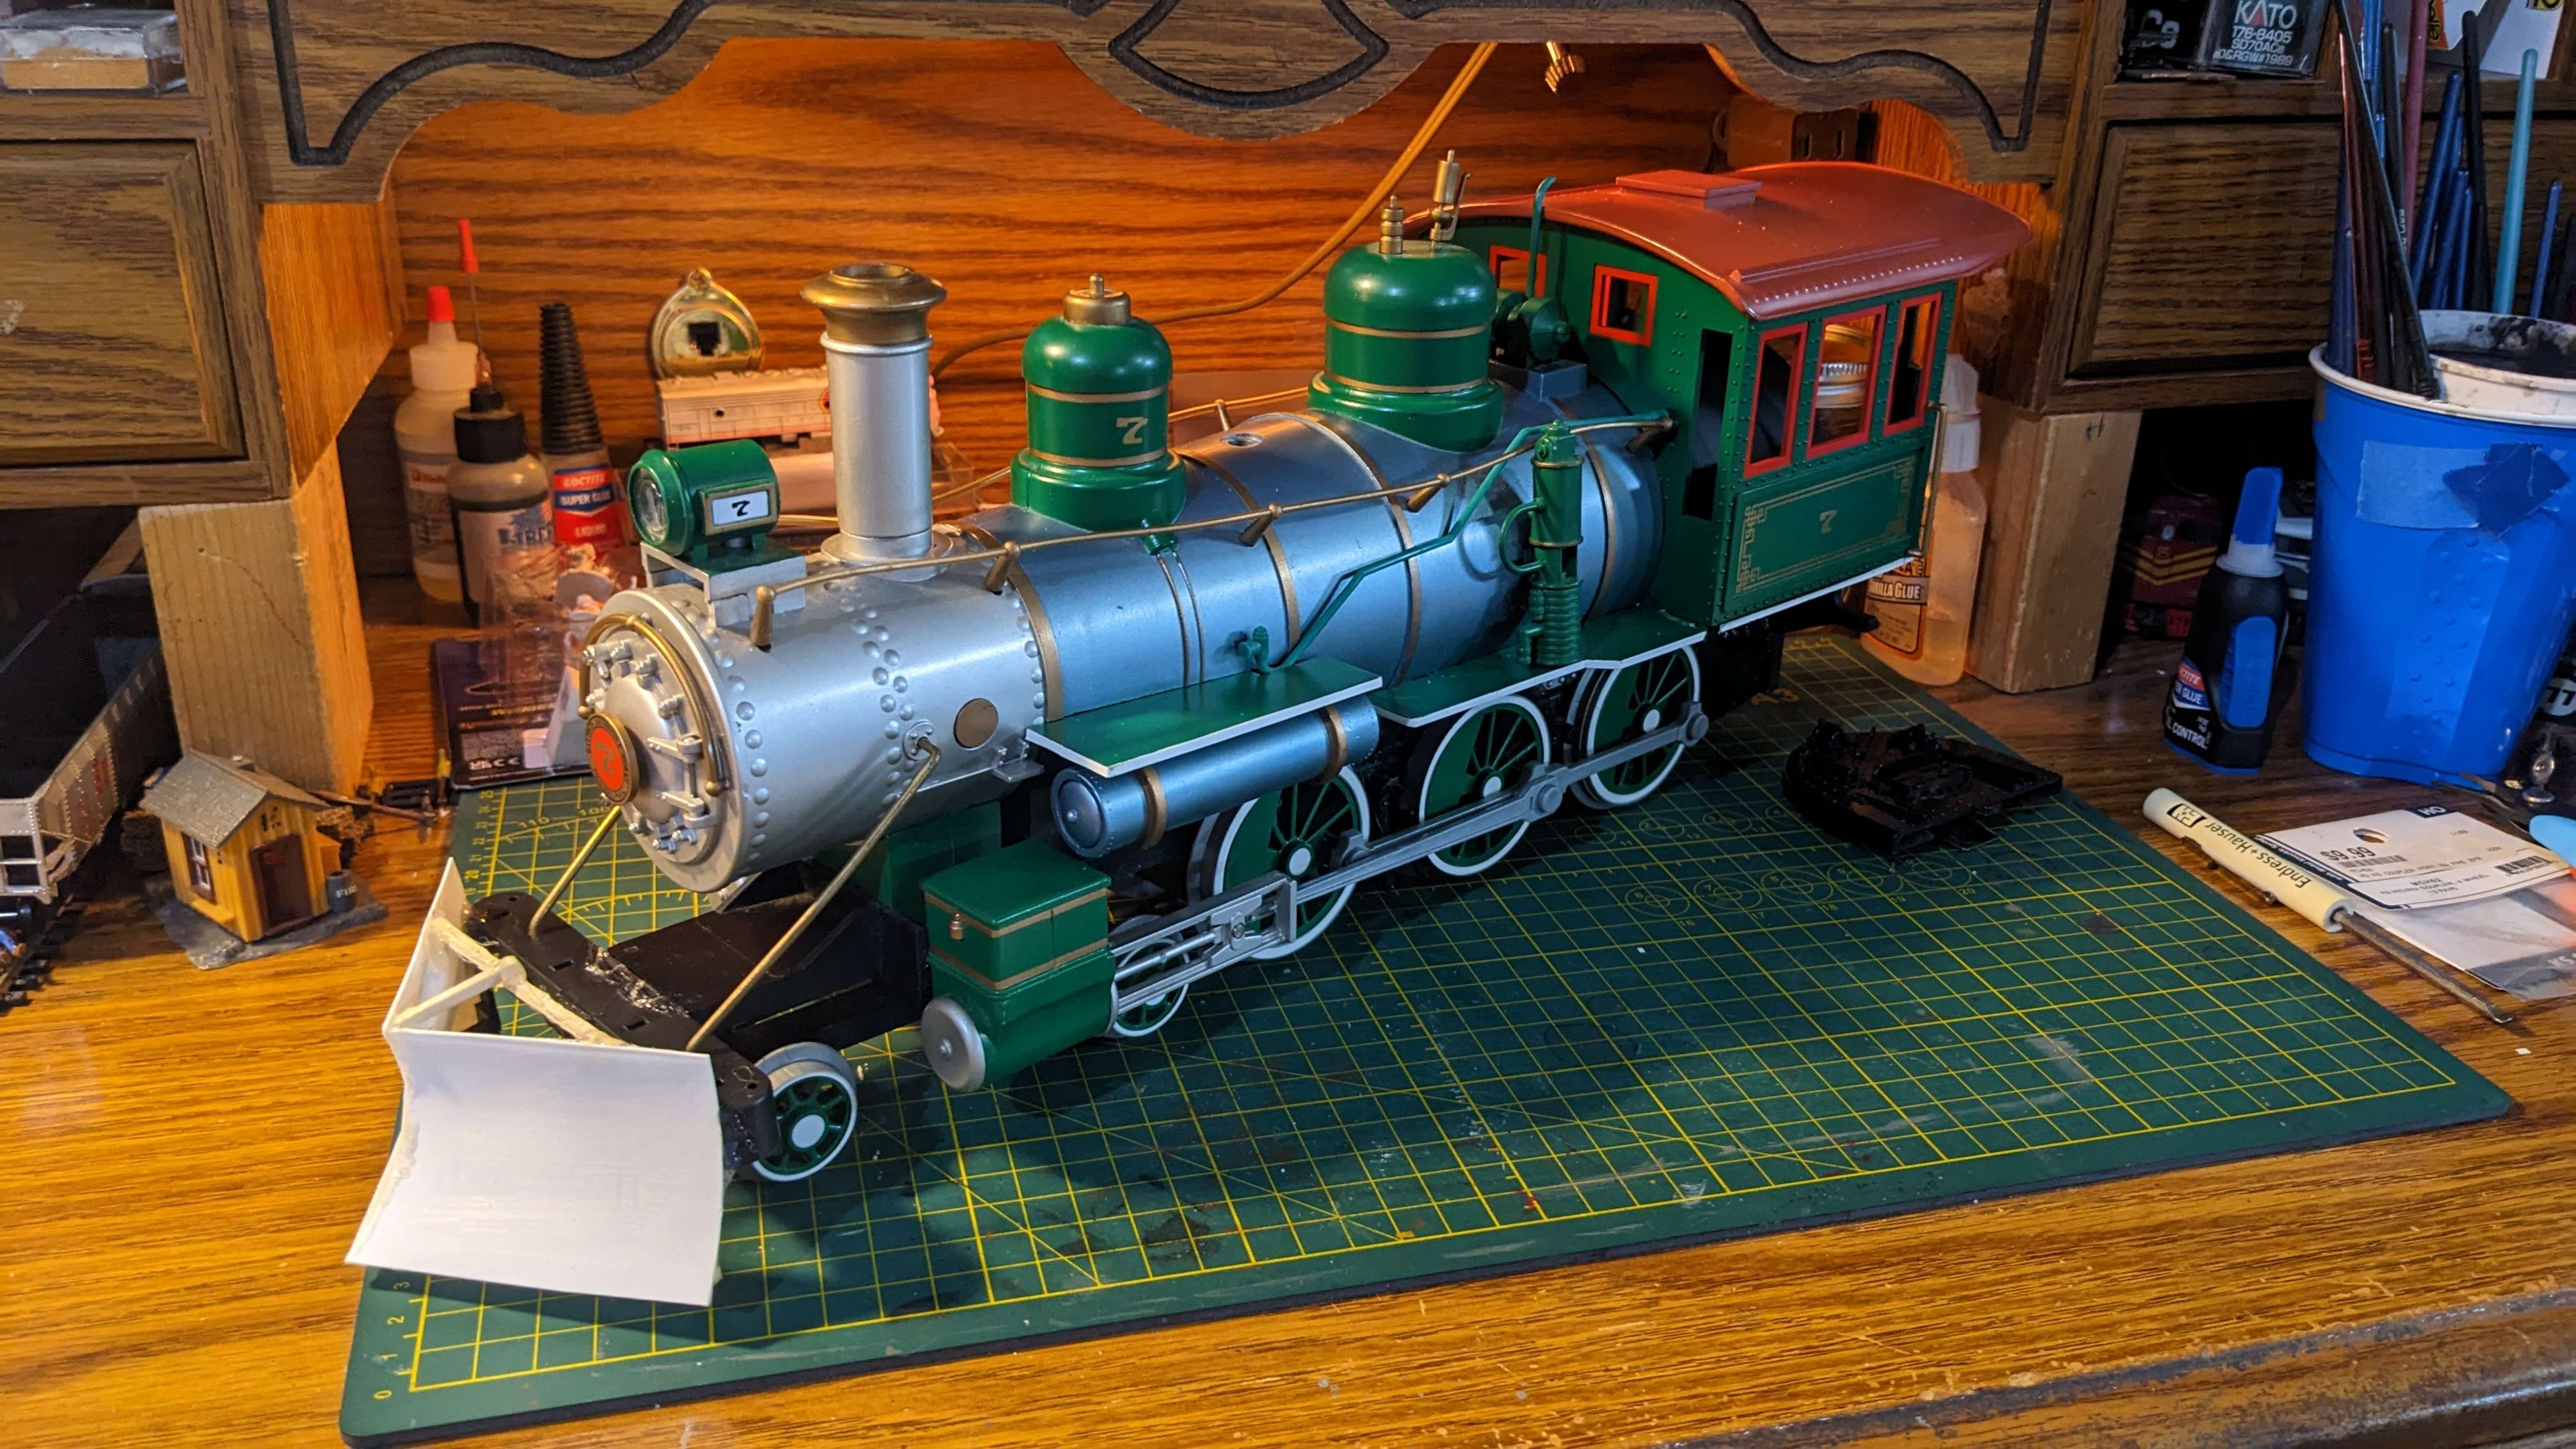
We're nearly to a point where she can run, but she still needs decals and some major details done on and around the boiler. Below are two photos during a test run (still the original RC controller!) when I got her back out.
|
|
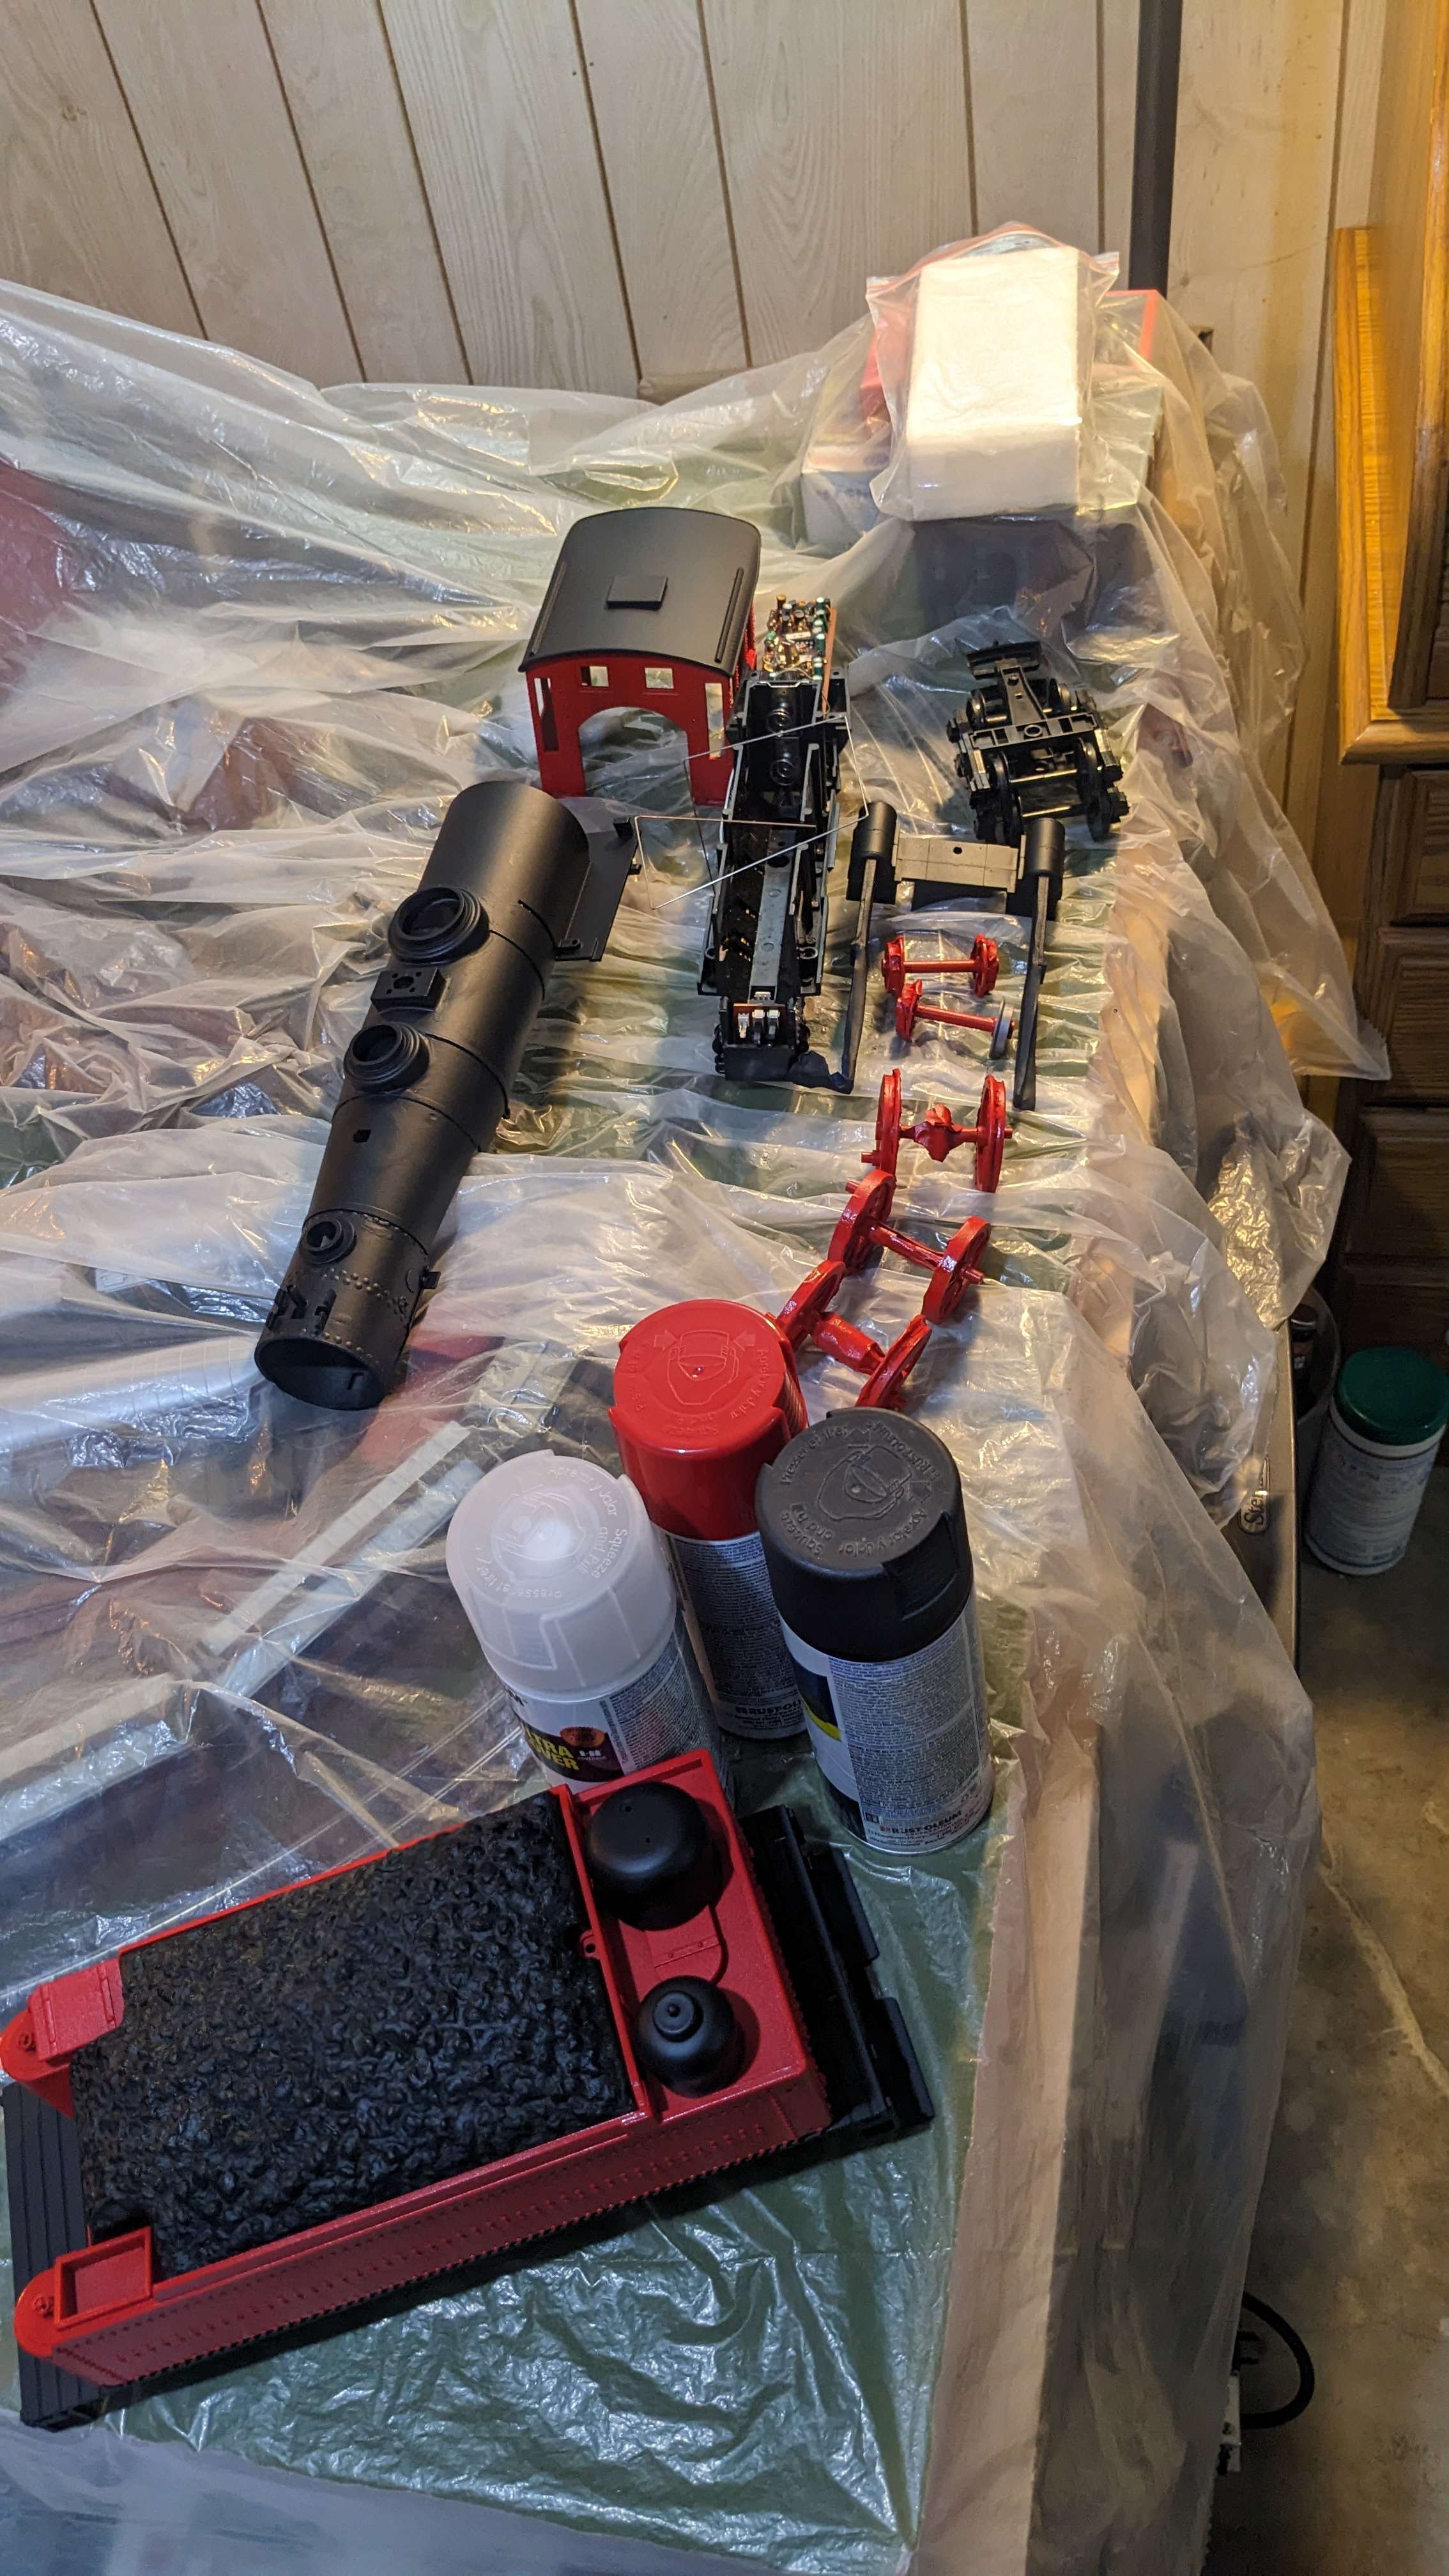
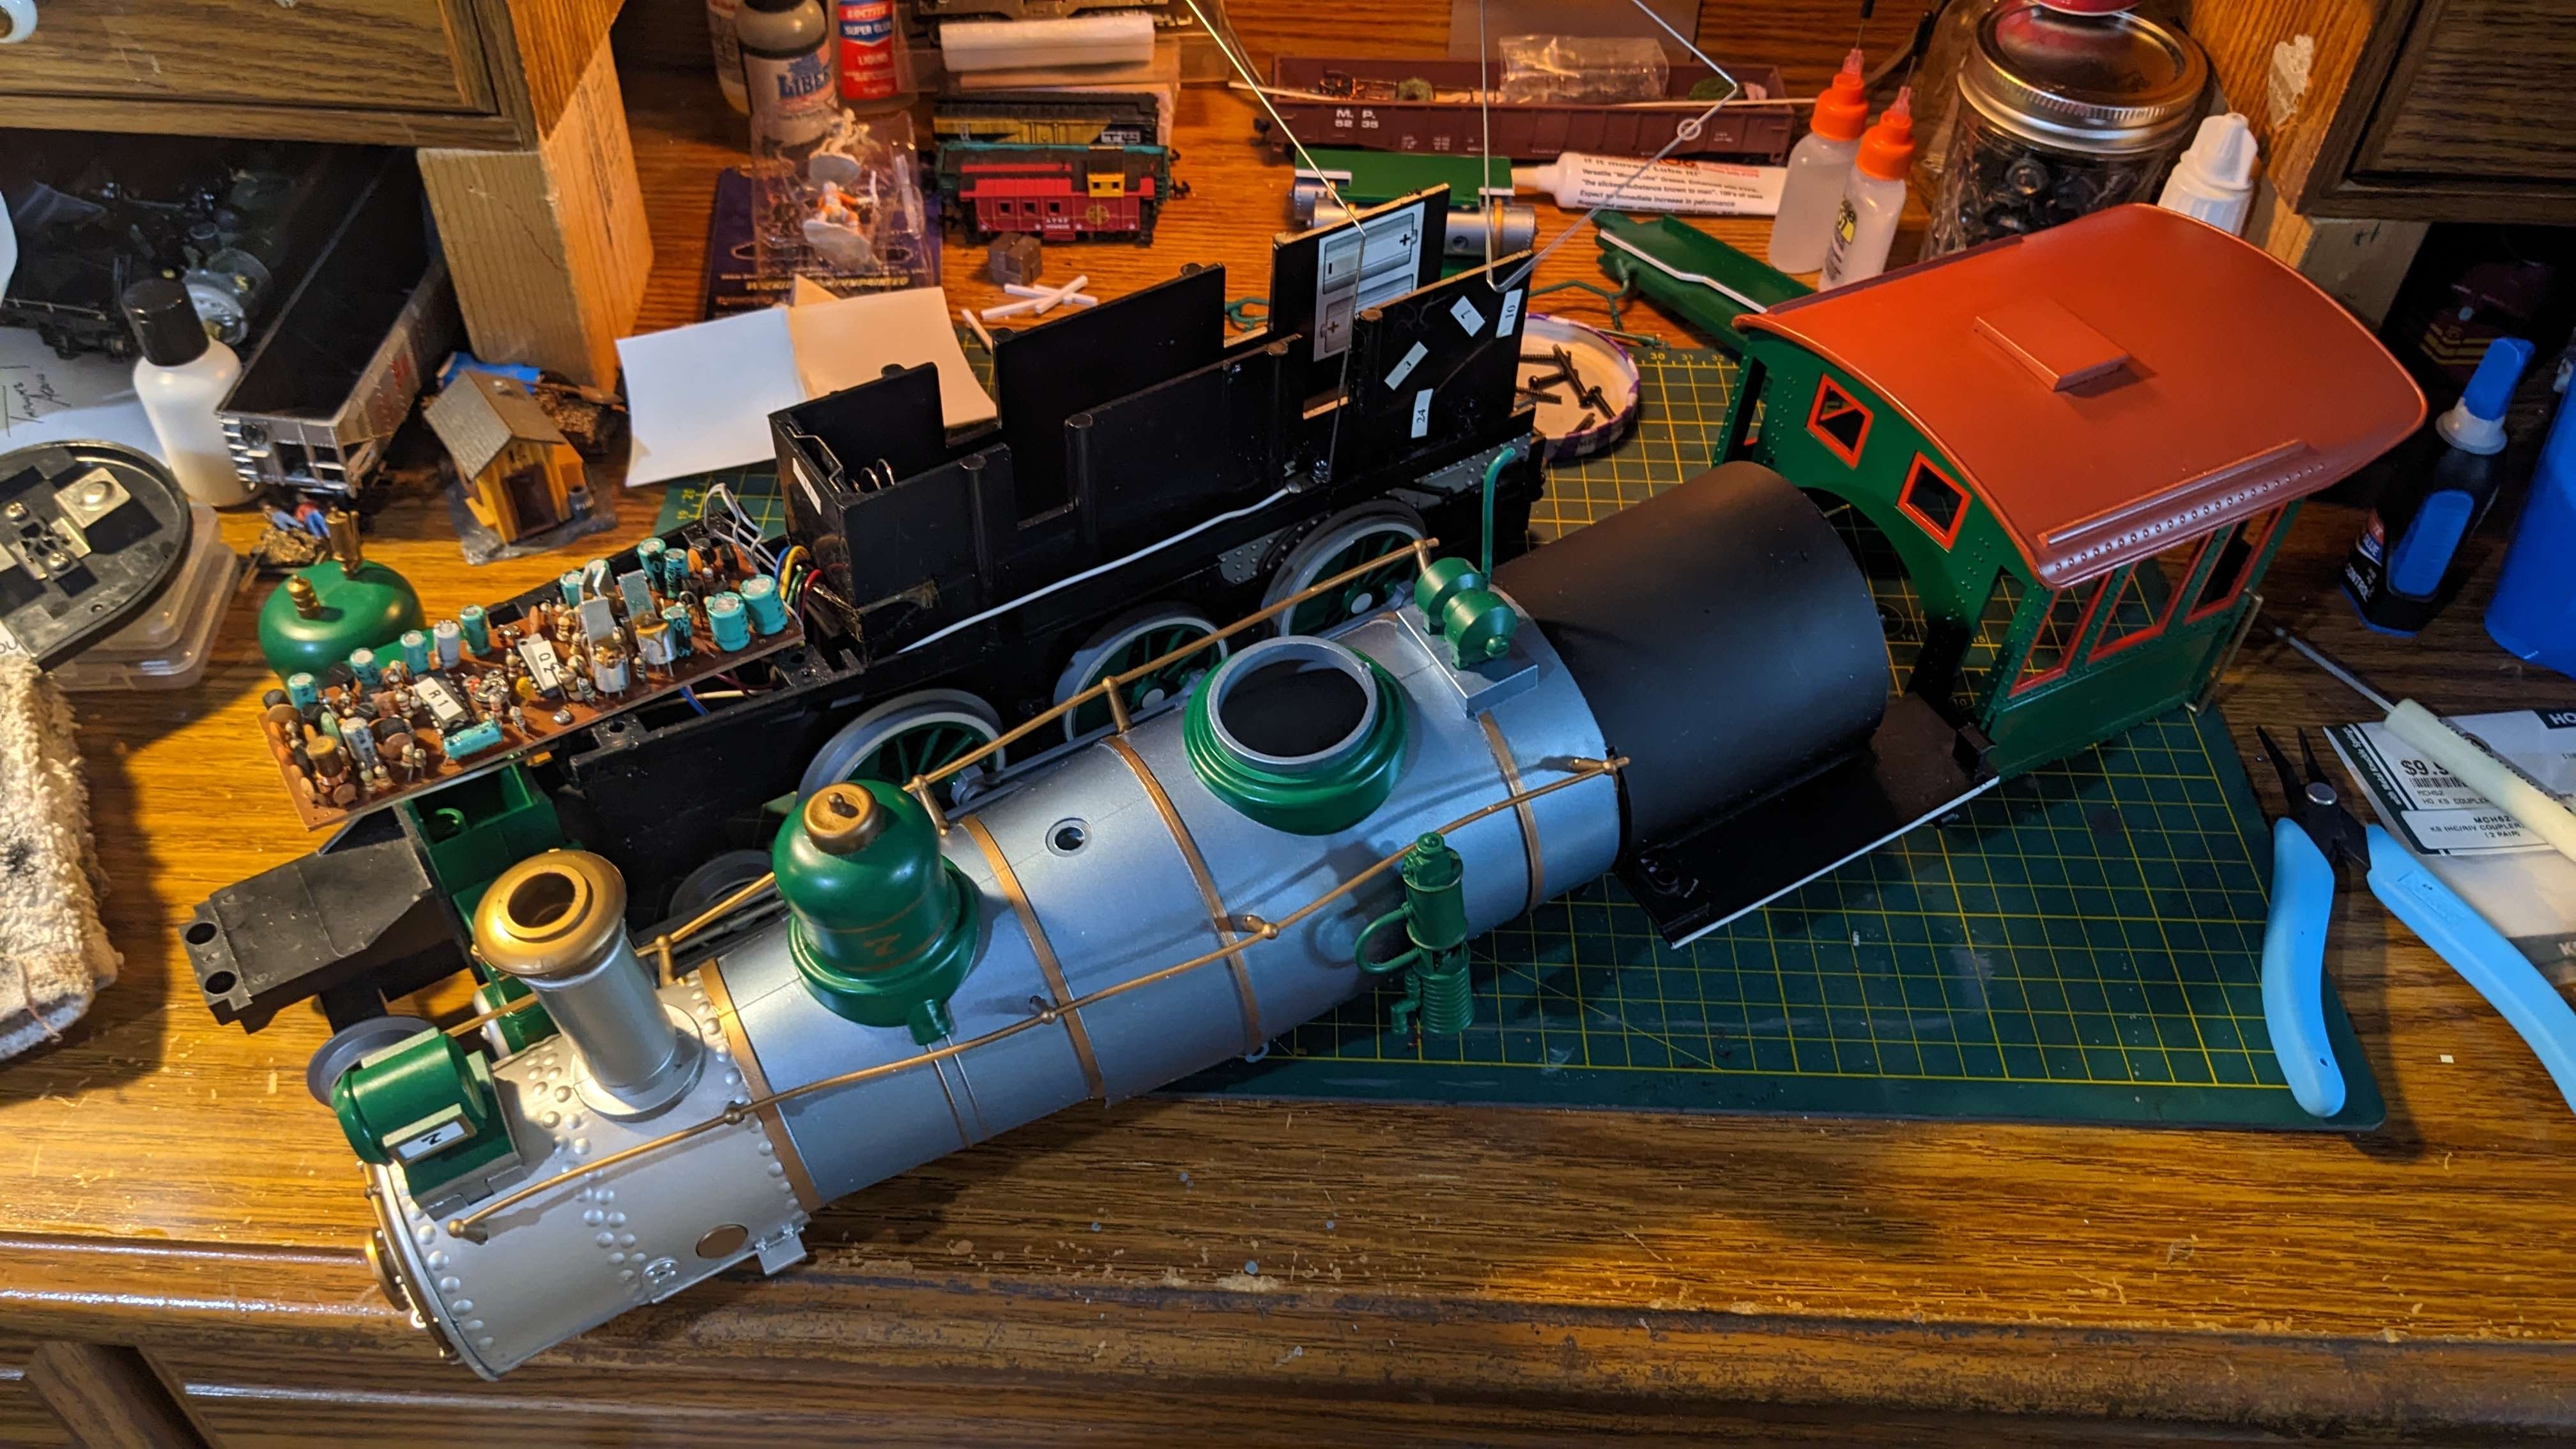
Wow, nearly a whole month without an update on this project! I have infact been working on it, but I've just been too busy with work to sit down and make constant updates. In short, I have gotten alot of paint work done. Below is an image of alot of the parts sitting on my layout with paint applied. As of writing I need to finish the wheels for the locomotive, the domes, and cylinders still need their secondary colors, but progress is being made slowly.
|
|
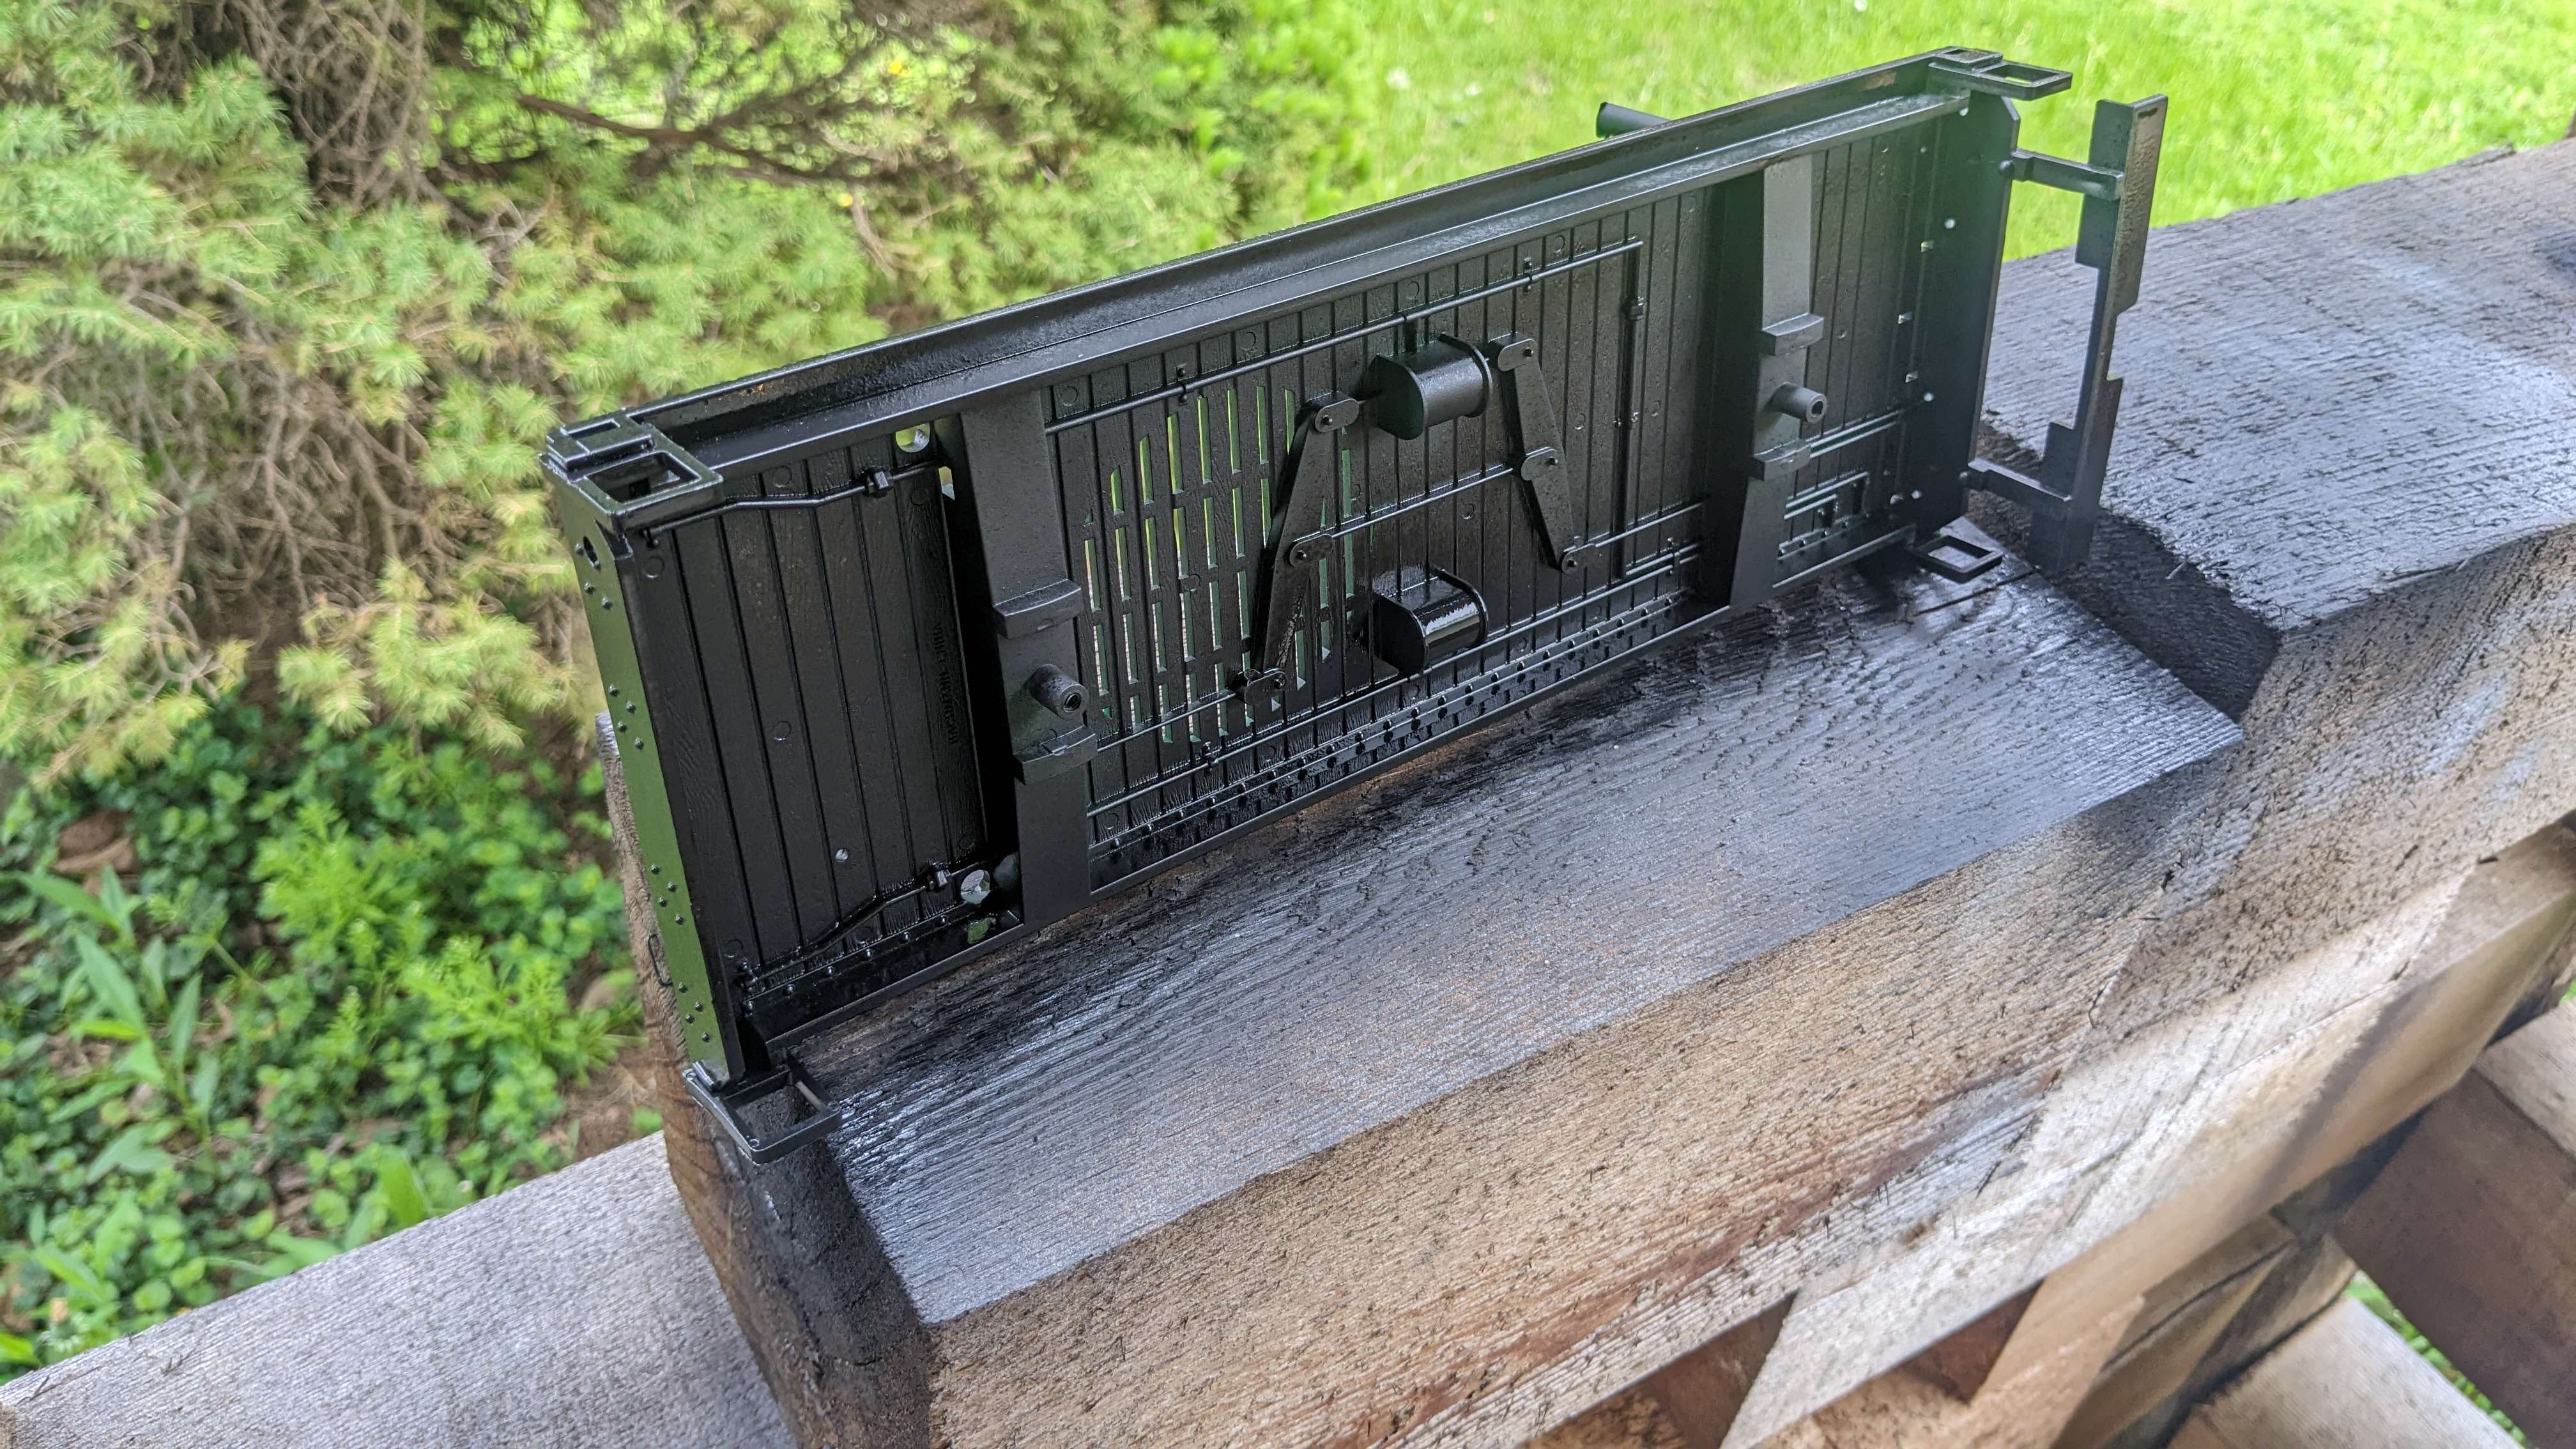
Got the cab masked to paint the roof black and finally stripped the tender frame to paint it a matching black aswell. Once the work on the boiler is done I'll be coating it with flat black aswell.
|
|
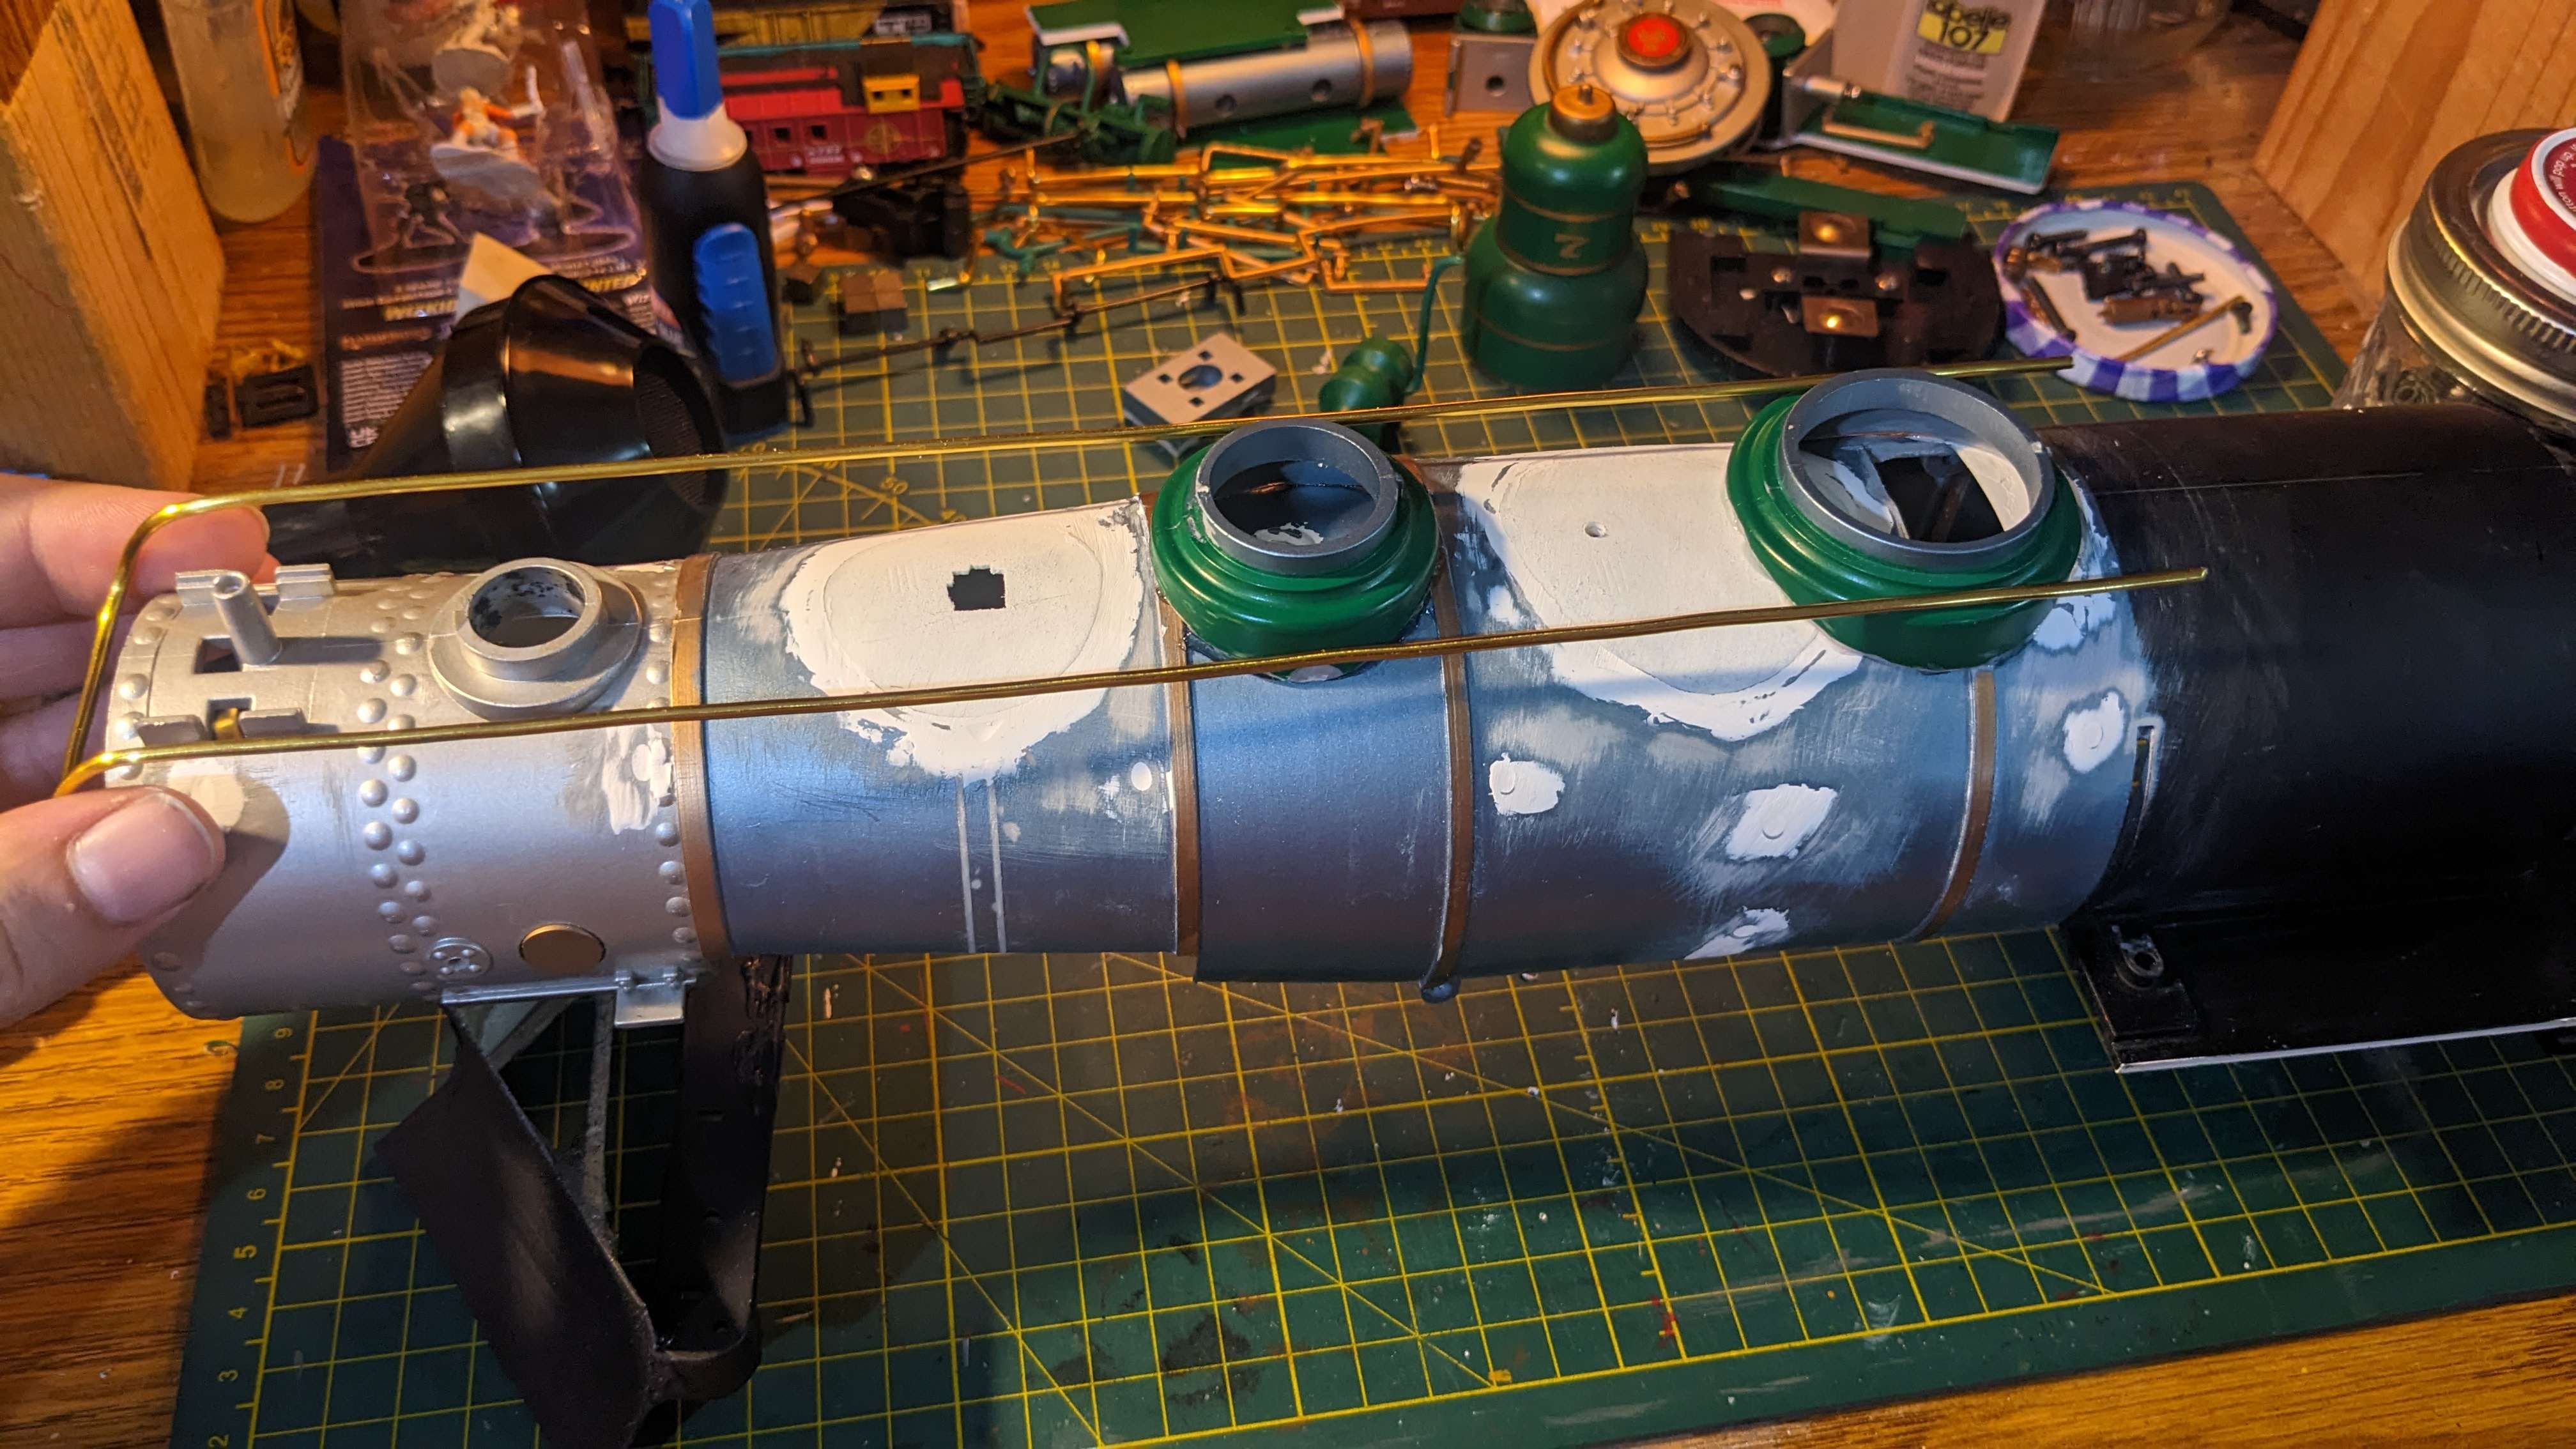
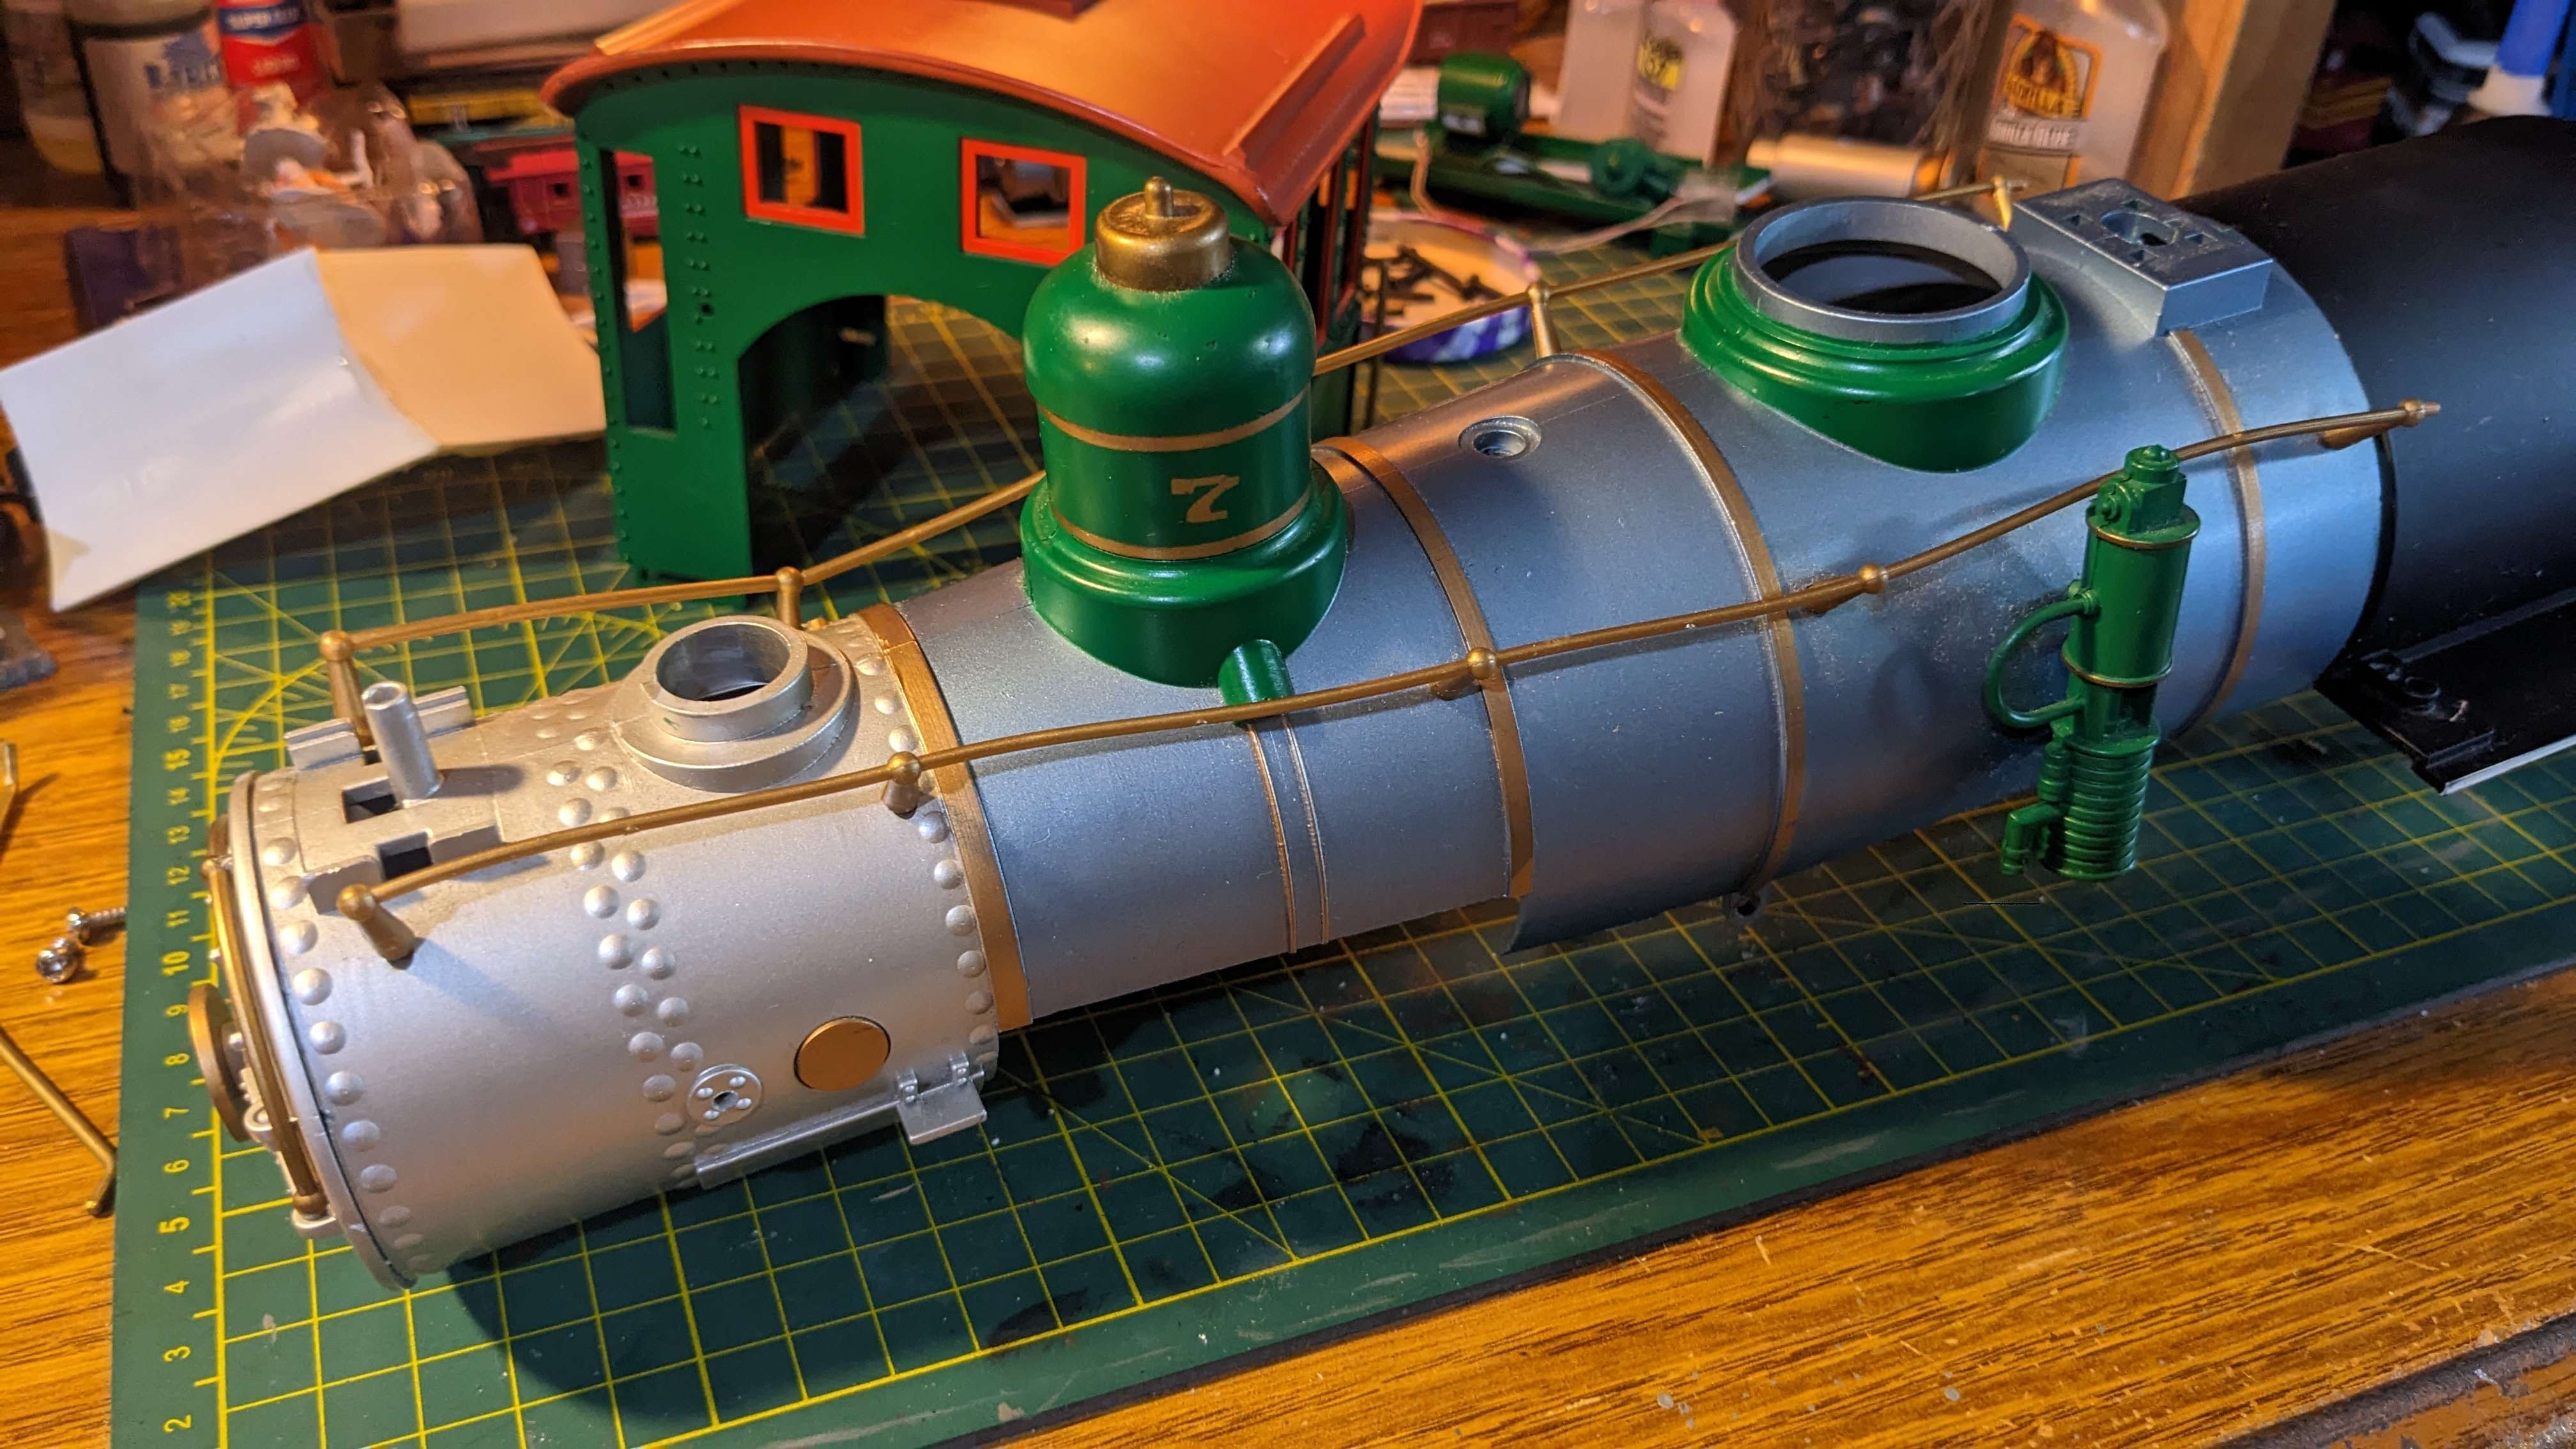
More sanding over time, and some more progress. Work has been busy, so updates are becoming more spread apart. I glued the domes on and applied some putty around the seams. I also formed some of the wire to resemble more accurate handrailing.
|
|
Got some sanding done today, its rough but its just a start.
I ordered brass wire yesterday and it arrived this afternoon aswell. I got 2.1mm brass wire, the same thicness as the plastic brass-colored original details. The brass is really soft and has to be straightened by hand, so its not perfect but I think it turned out alright for a start.
|


|
Work has been hectic this week, and as a result project progress has slowed. My dad got me a birthday gift (Thanks Dad) and it arrived this morning before we left for work! I've always wanted a higher quality rotary tool but to have a name brand Dremel is really cool. This model has attatchemnts for sharpening lawn mower blades, how wacky is that??
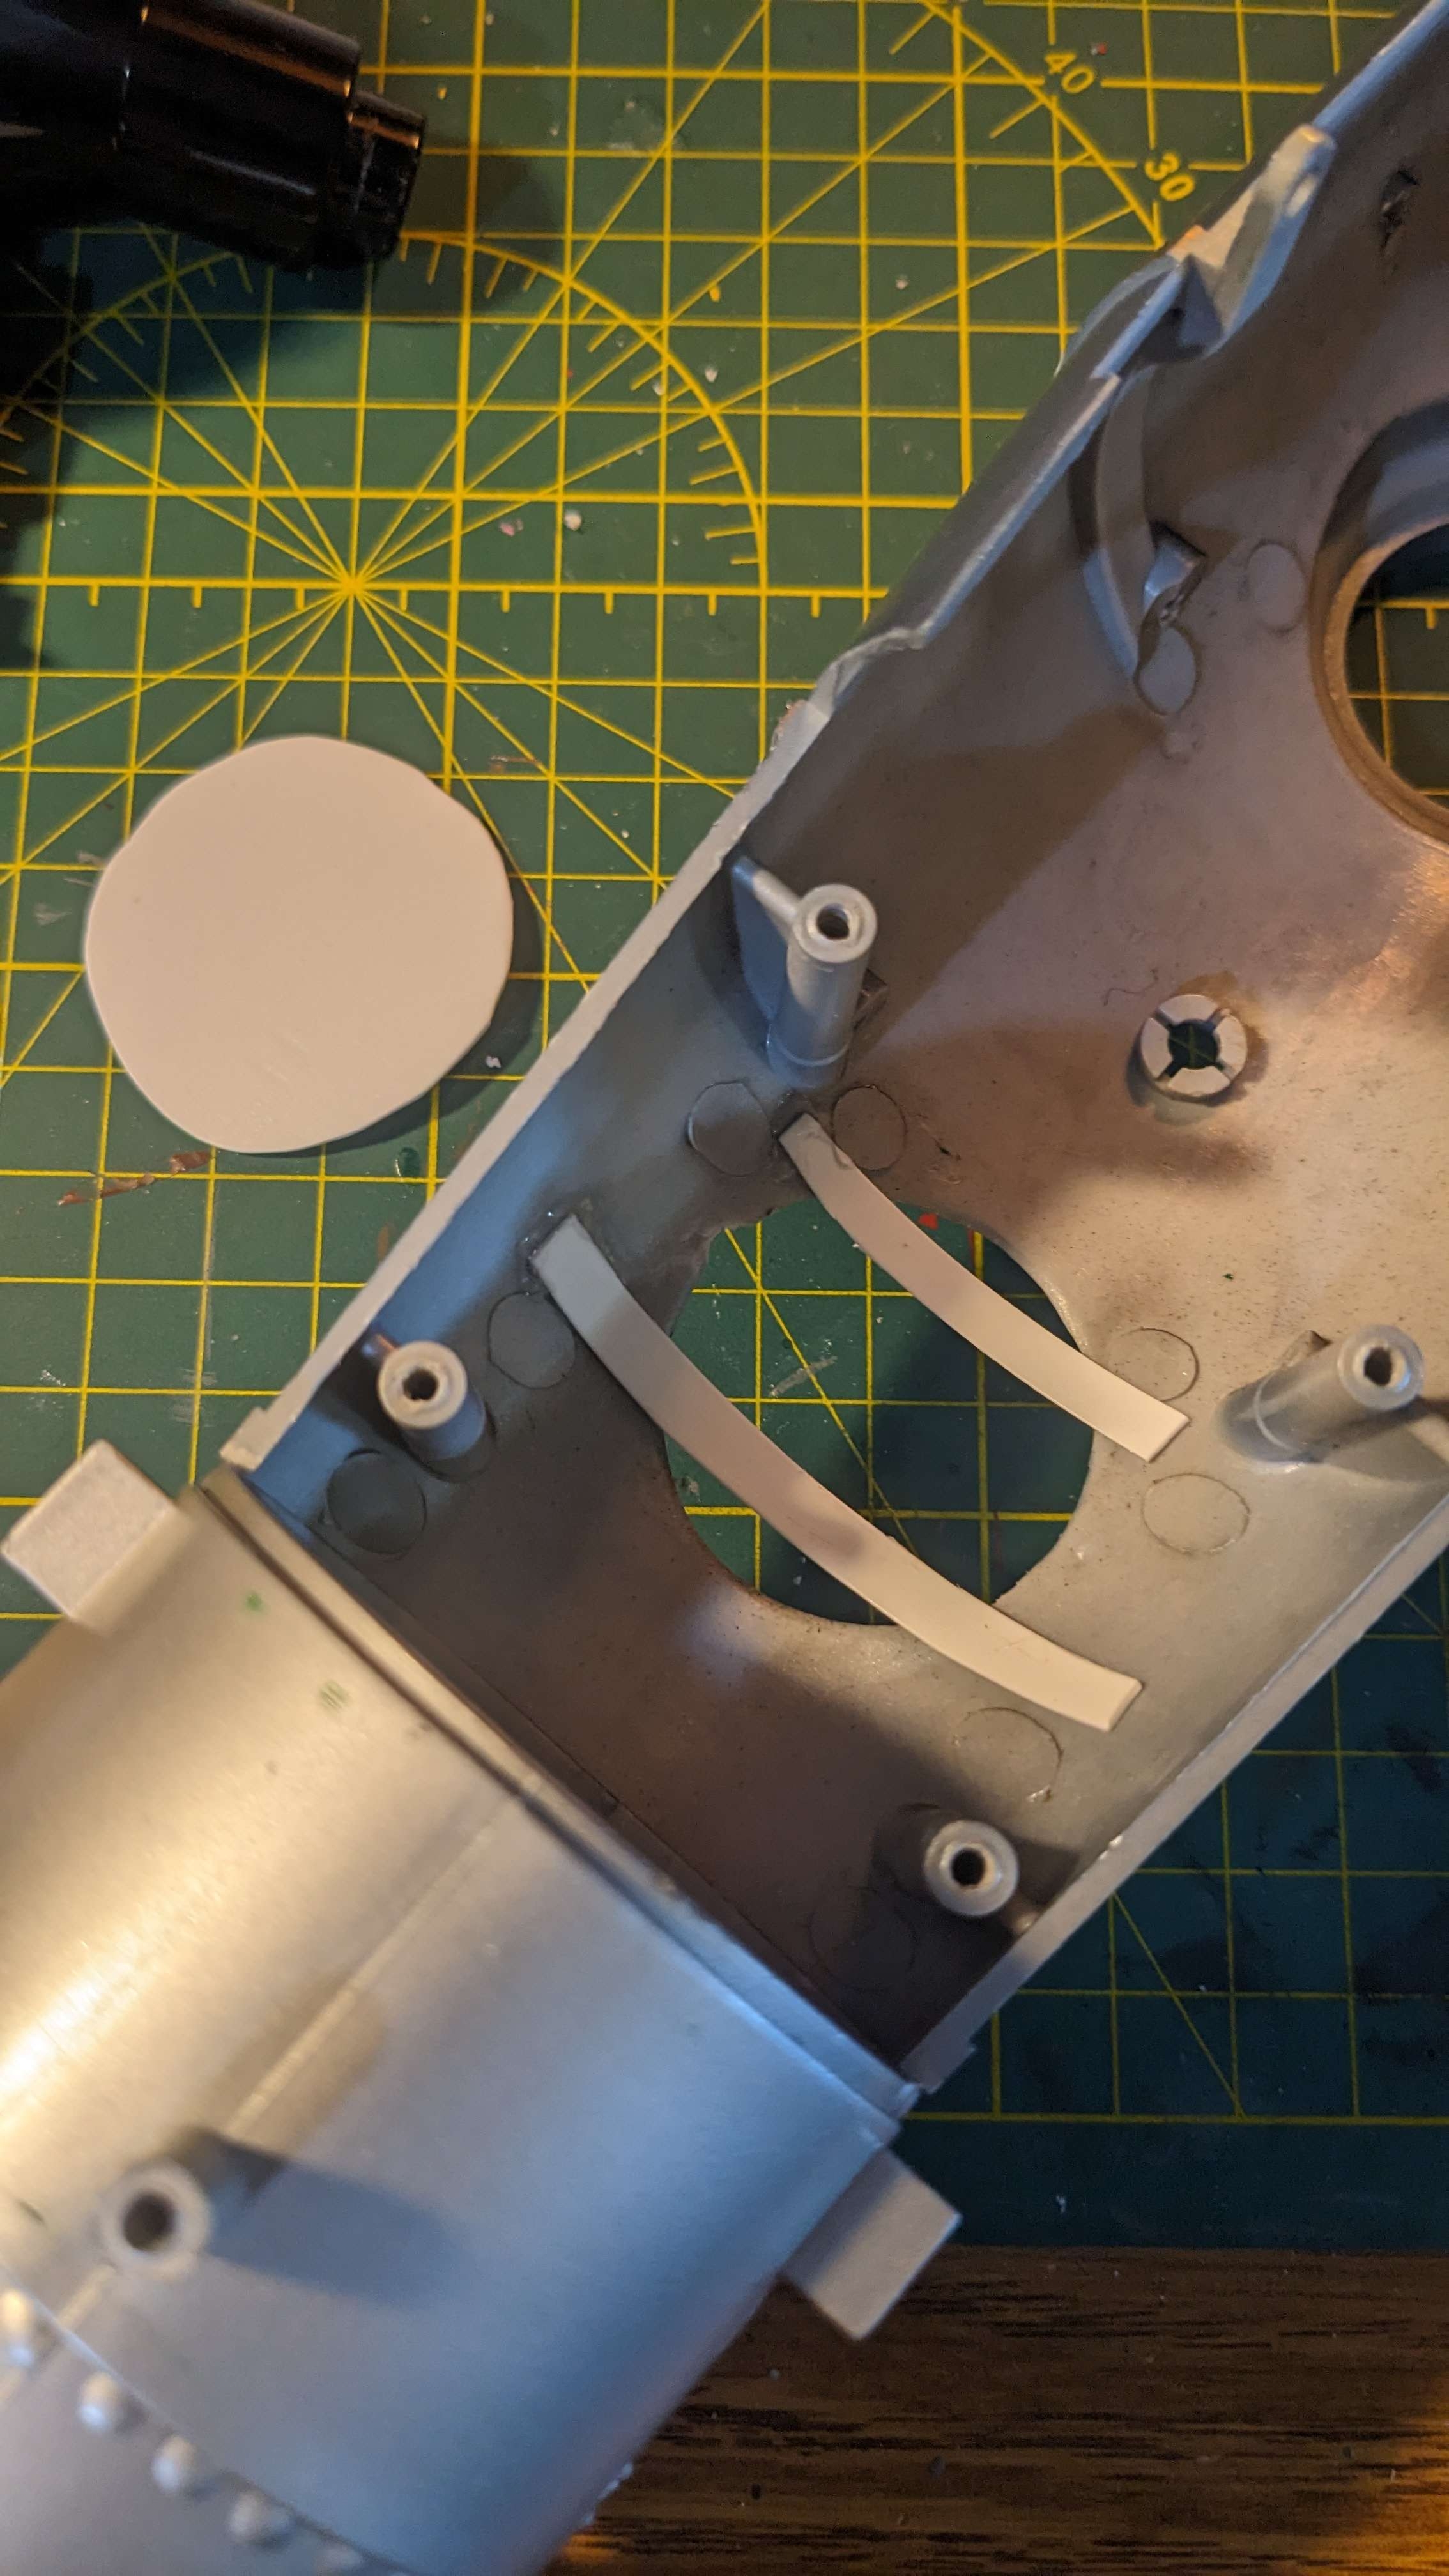
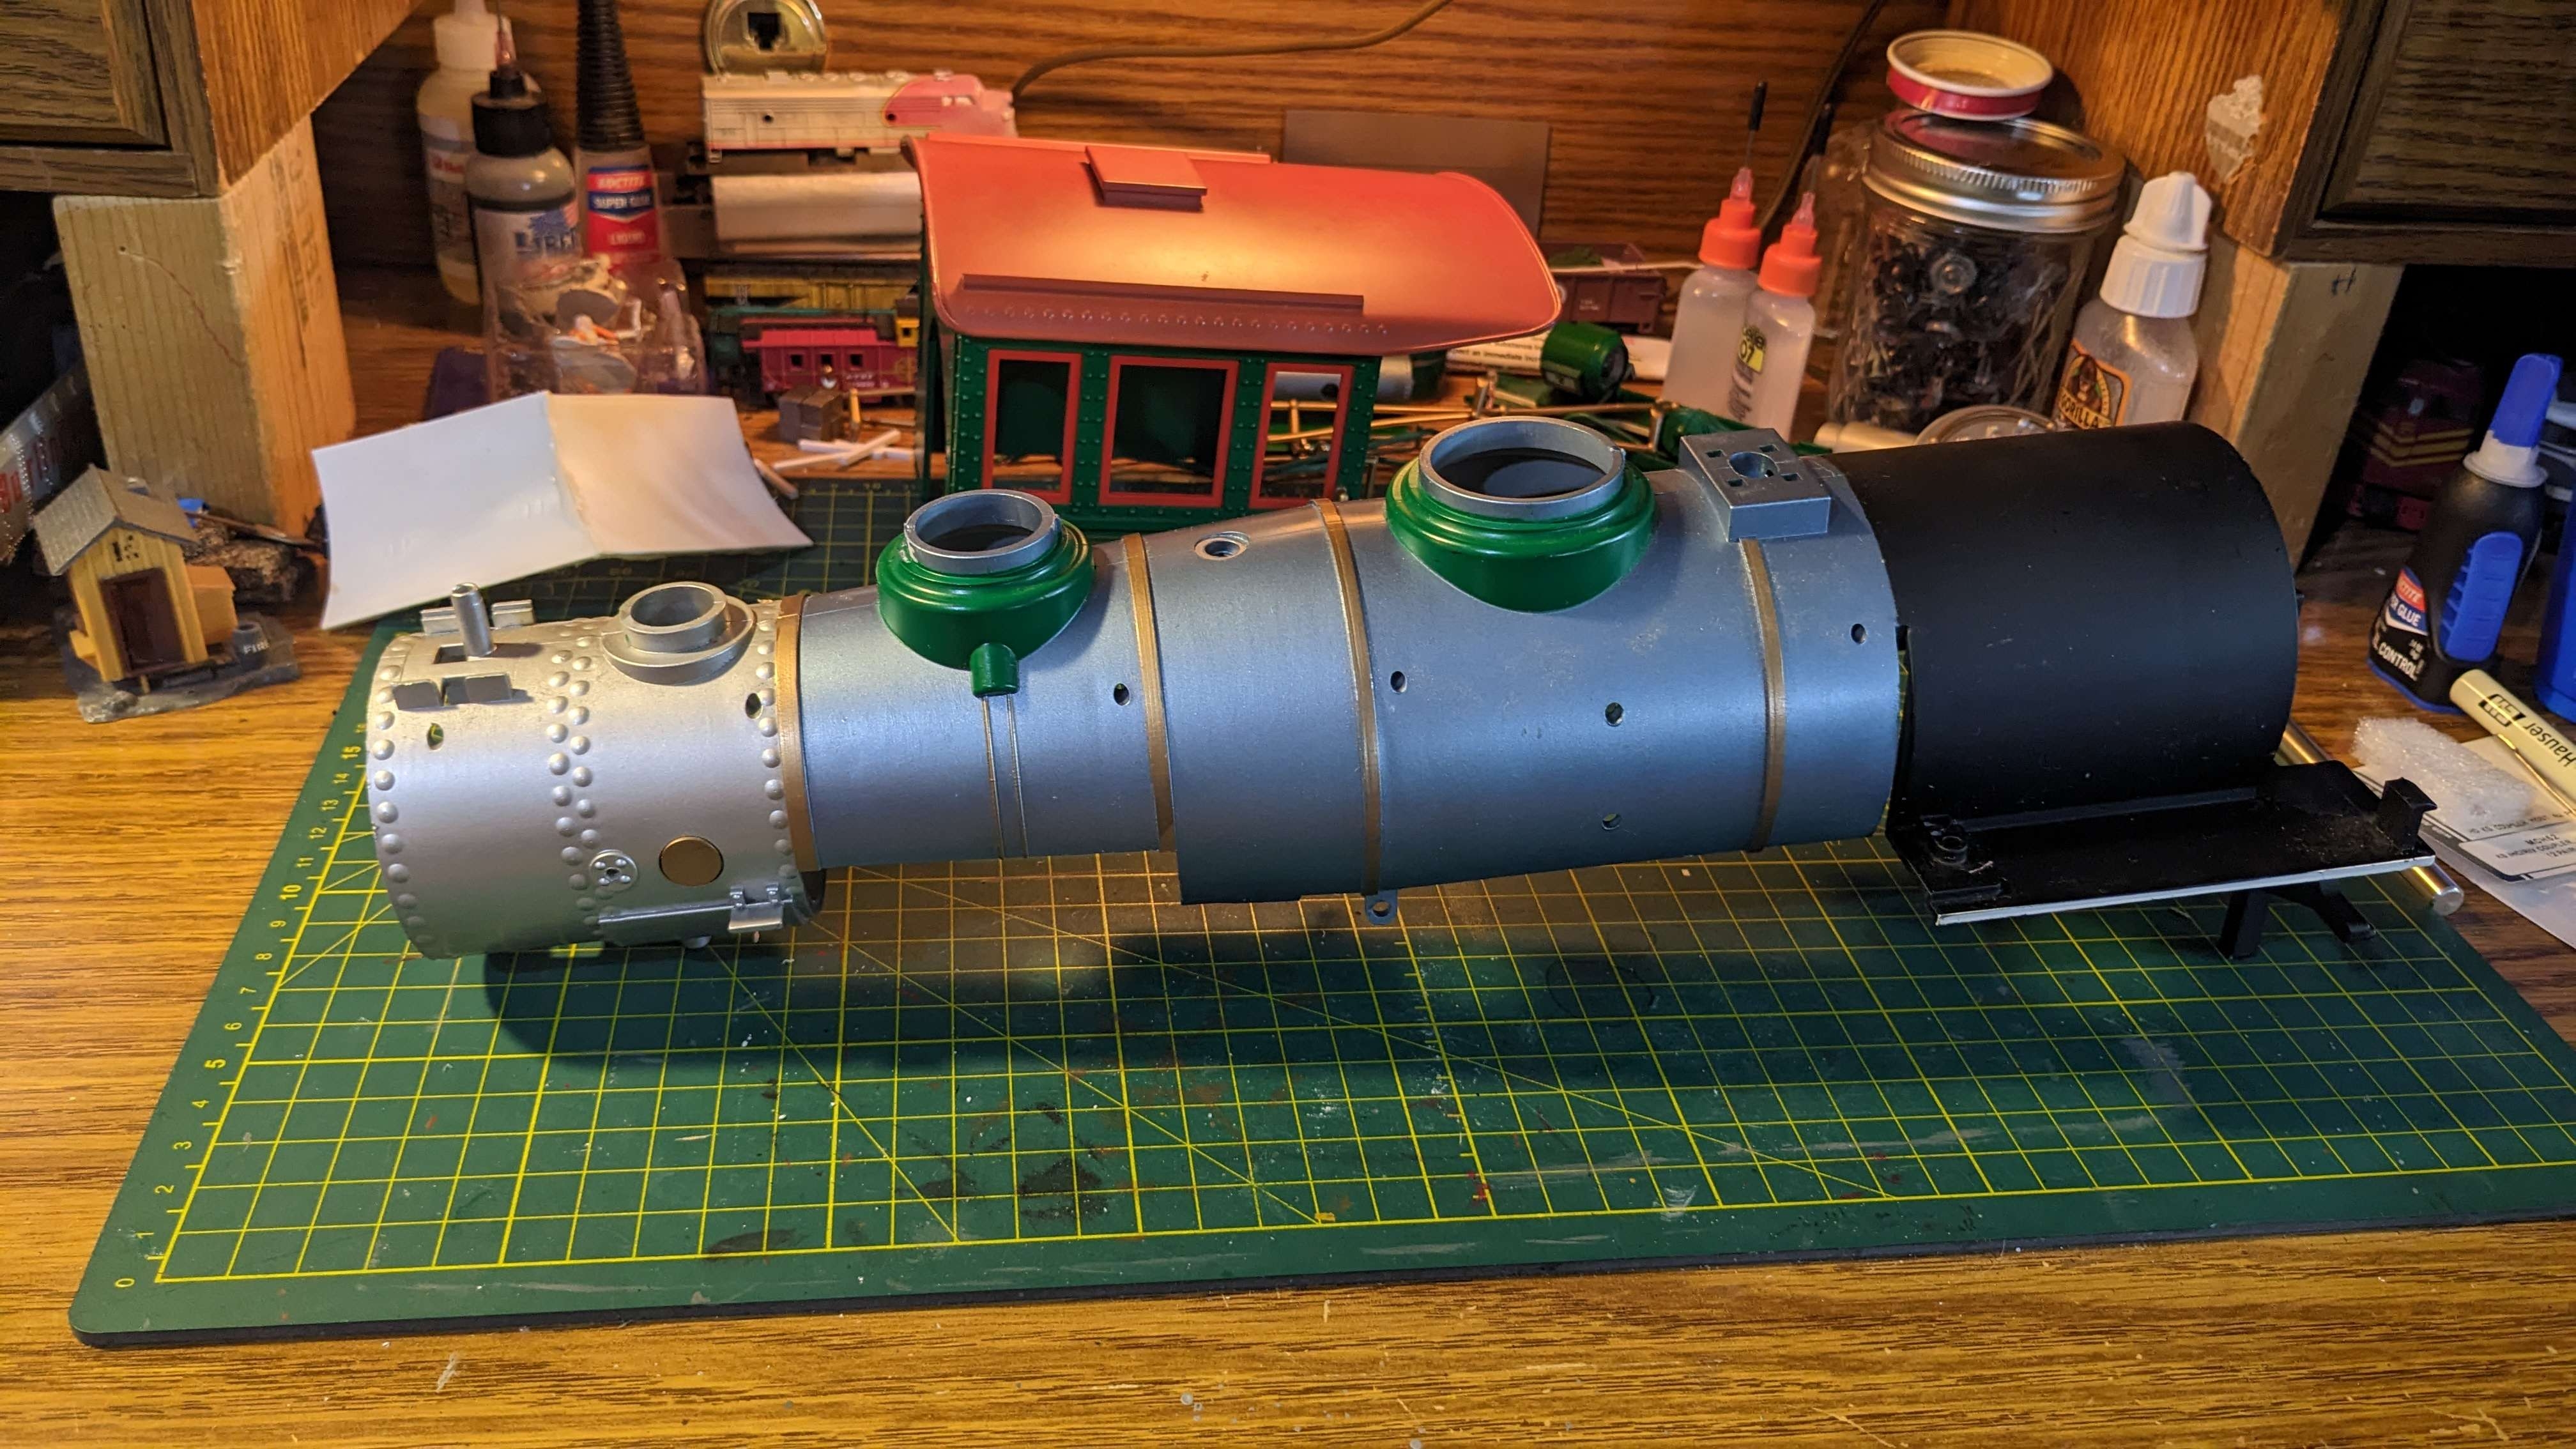
Anyway, this gave me the confidence to cut the last part of the boiler out, and it'd let me test my new tool in the process! This cut removes the original mount for the dynamo as it sits in the way of the new dome position. I wanted to salvage and reuse the base so it would still somewhat look like a Big Hauler.
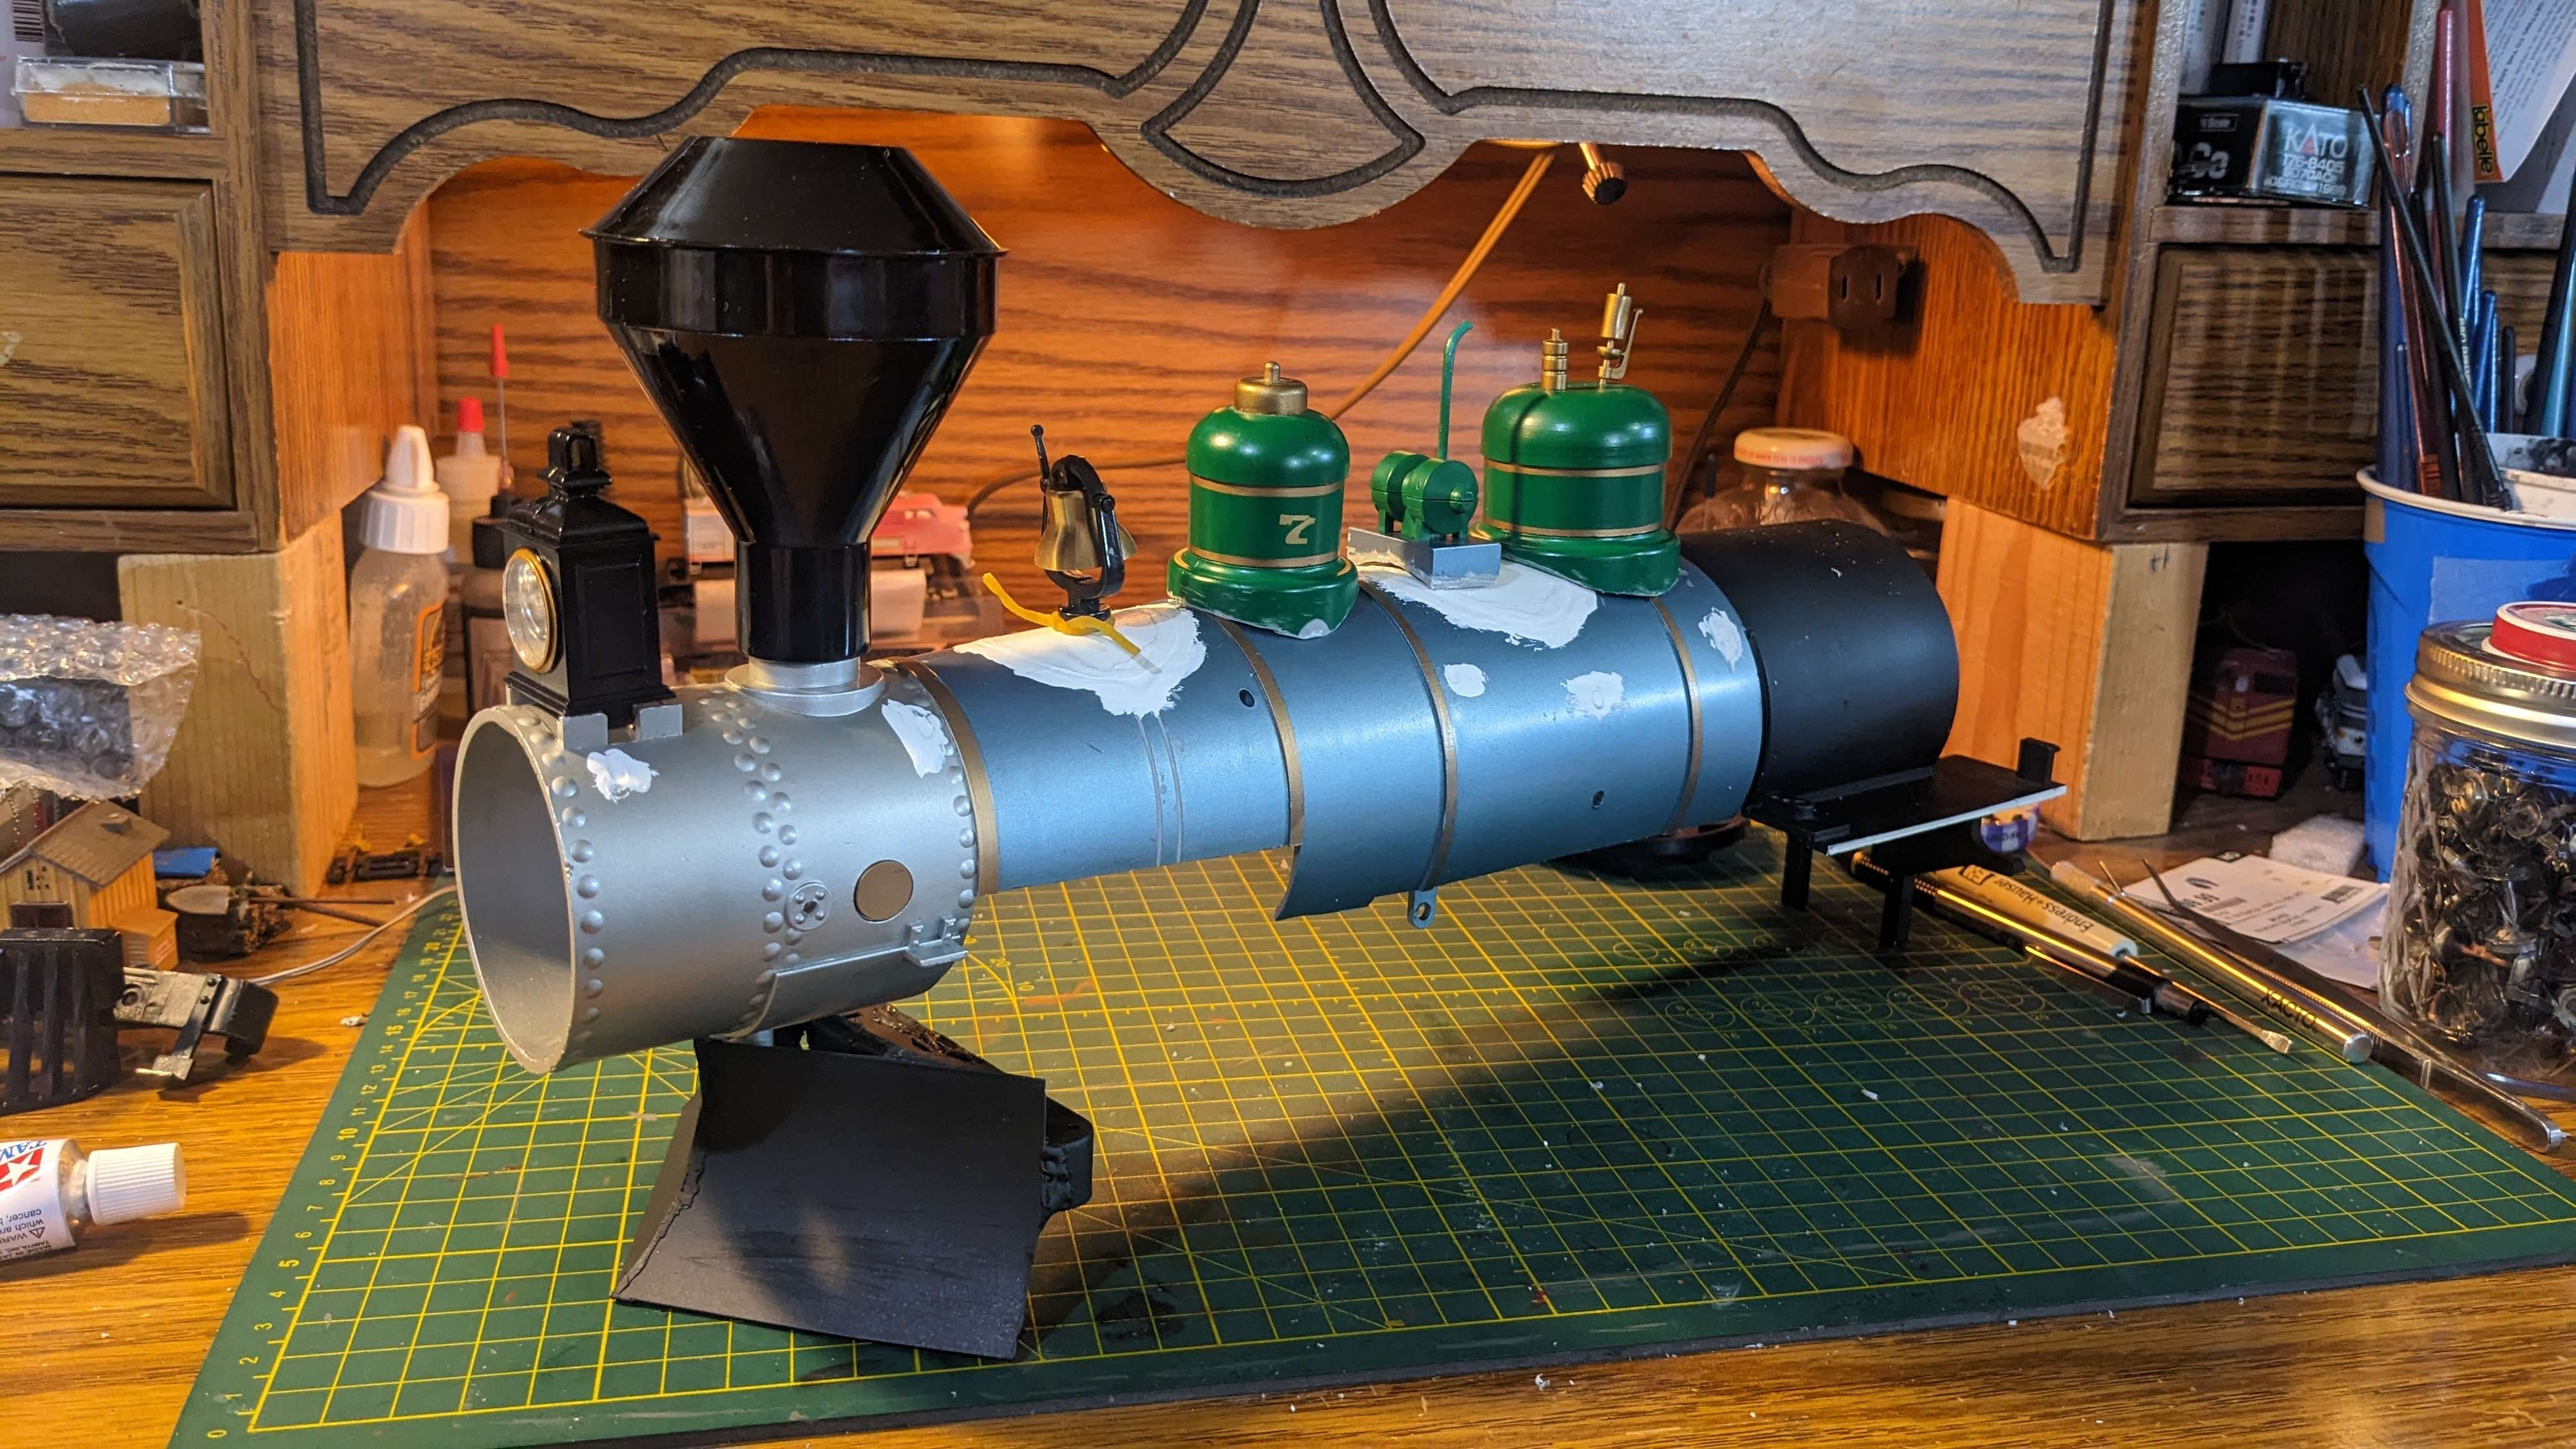
After removing the mount, I finally could test fit the final position (roughly but close enough) of all the boiler details I had on hand, and I'm really happy with the result! The next step will be sanding the Tamiya putty I used smooth once I build up enough layers and fill the gaps. You'll notice I also filled the original holes for the handrails. My plan is to find and purchase some thick brass wire and remake all the grab irons and other similar details for the locomotive and tender. If I can't Ill clear out the original holes and use the original plastic ones.
|


|
Weather forecast was right, rained non stop today. Even if it hadn't it was too cold to spray paint. I decided to begin gluing the patches for the boiler in place. This may be unwise as I still need to cut off the original dynamo mount, but I didn't feel like it and wanted to see some form of more progress. I plan on going to my hobby shop in the following days to get some Tamiya putty for gap filling. This will be my first time using a modelling putty but I hope it works out well.
|

|
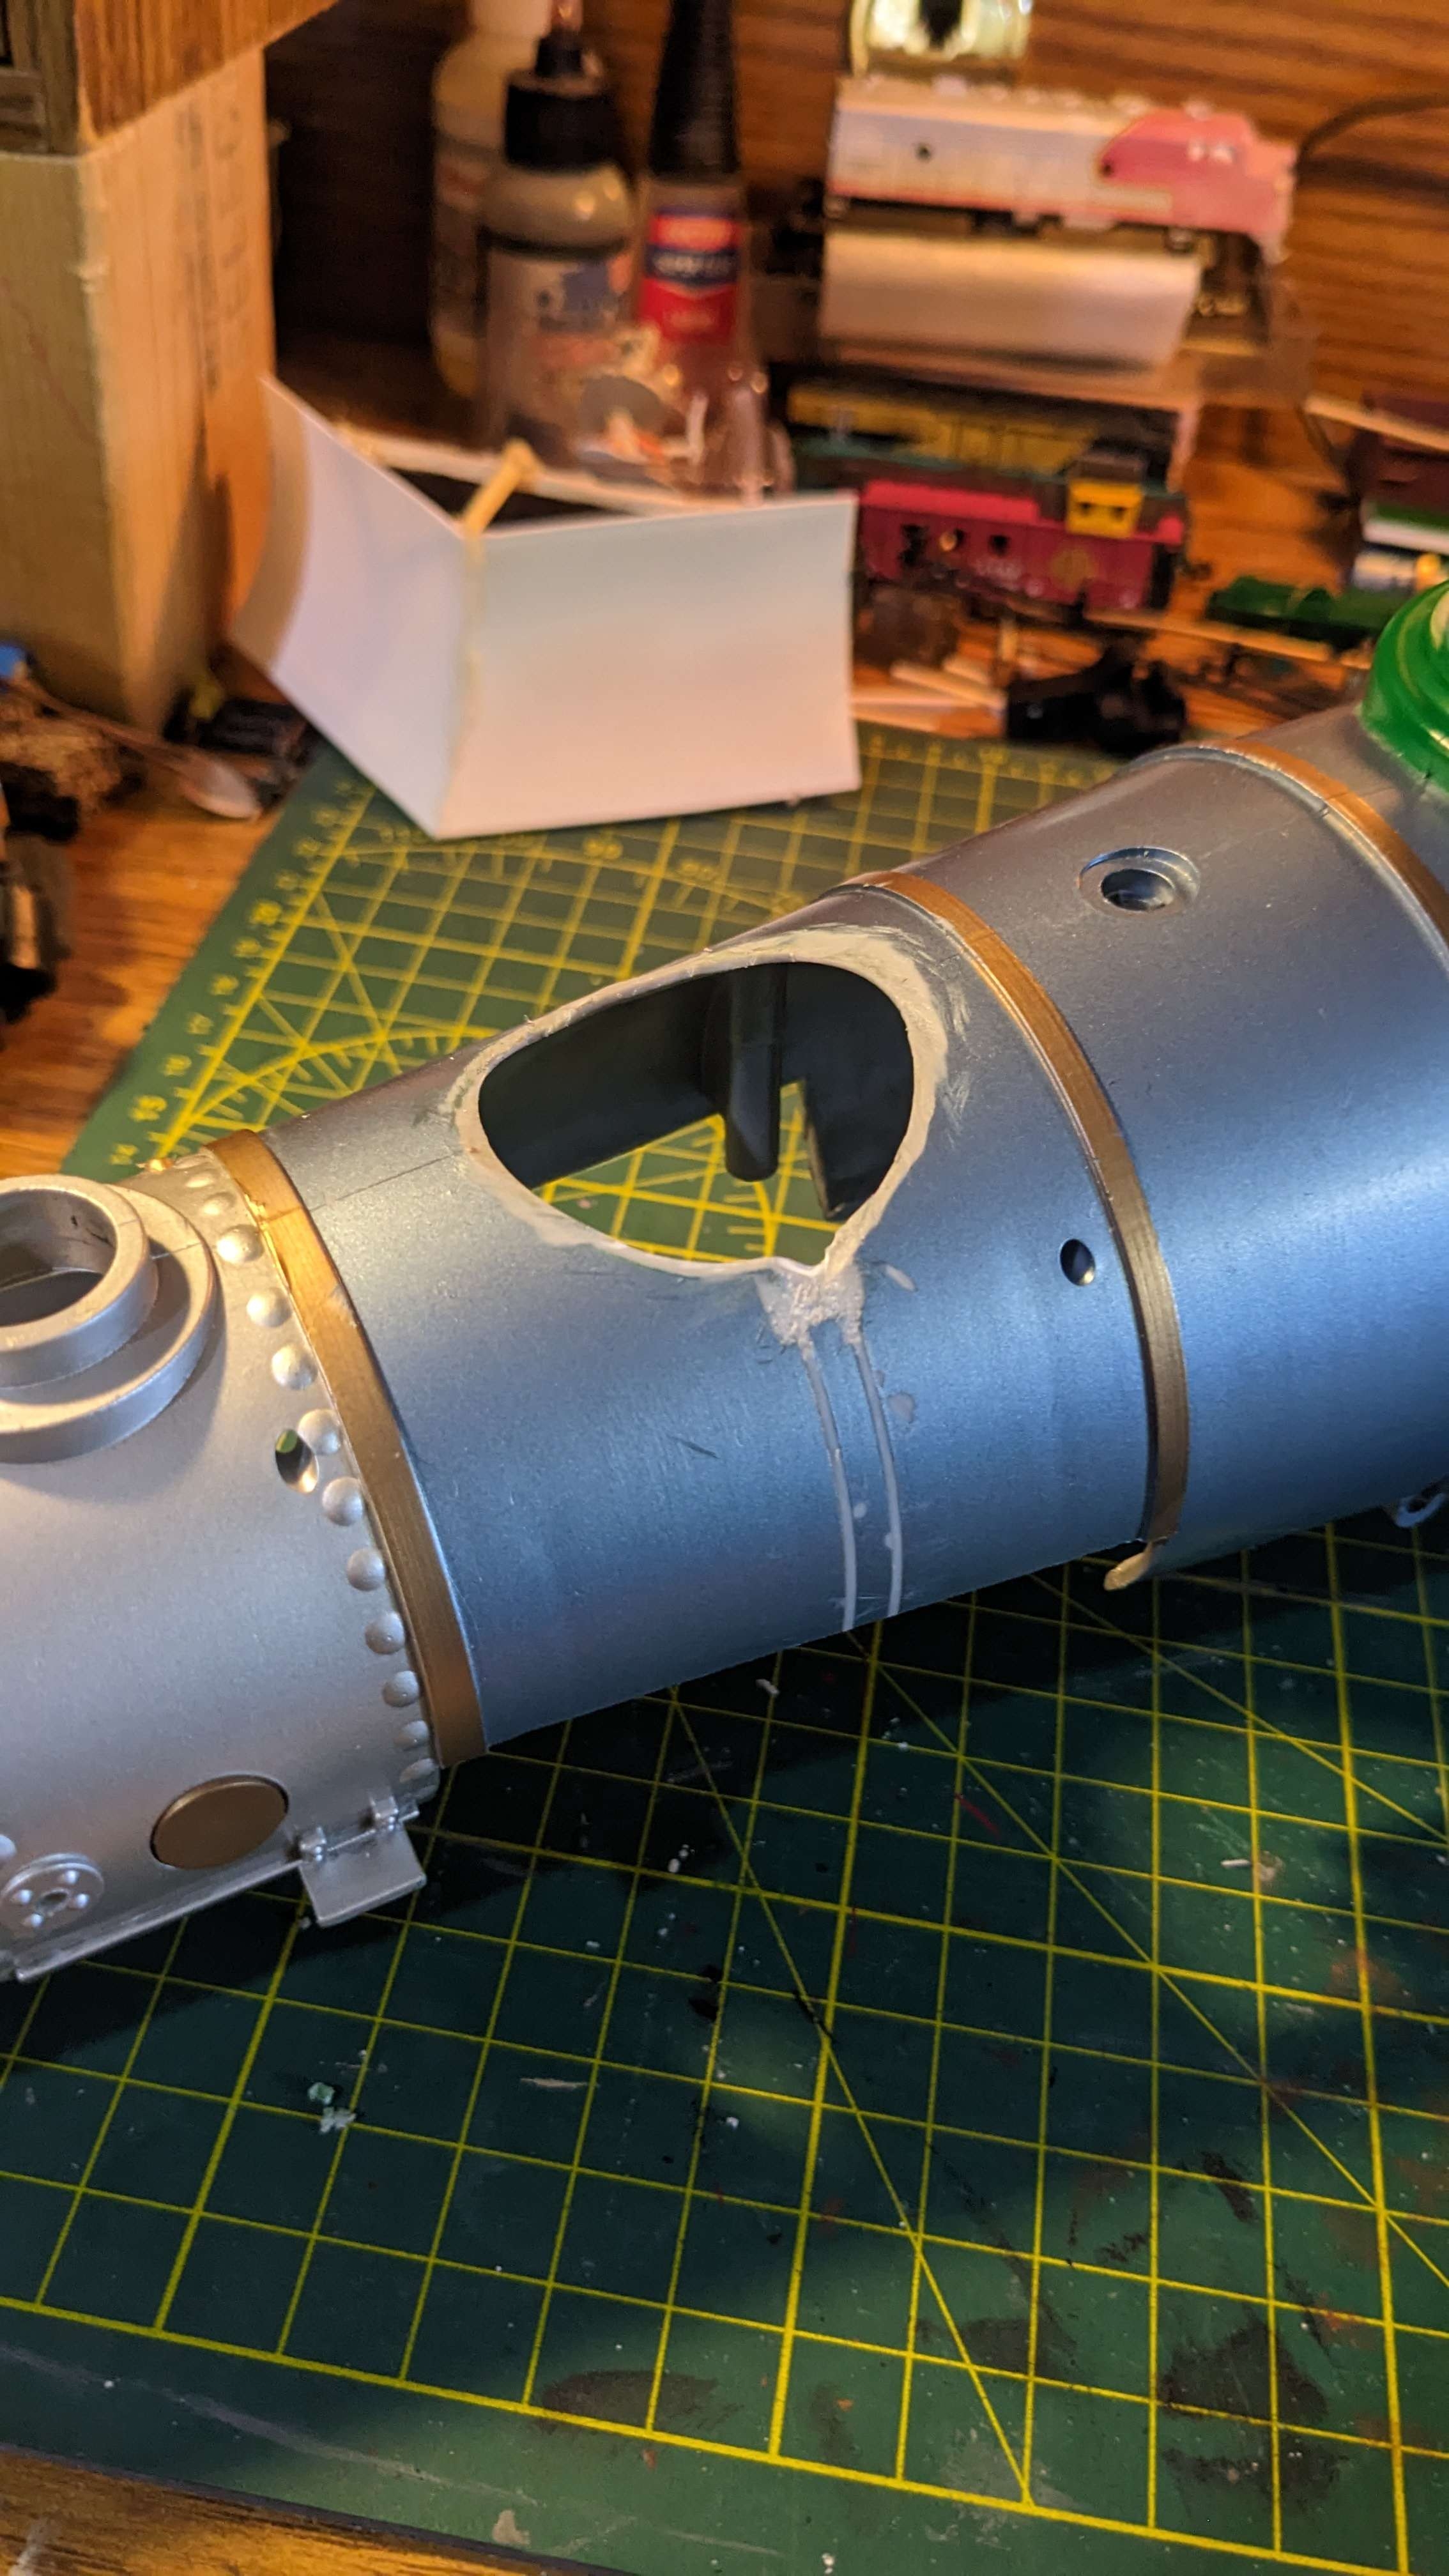
Got alot done today and made some pretty big changes to the model, but lets start where we left off. After my last post I began cutting into the front dome, as regardless of any design choices, I wanted to move it back. Today I started the afternoon by finishing the removal and cleaning up the area where the dome and some molded pipes previously sat.
Next I used some plastic scrap from a disinfectant wipe bottle to make supports and a circular sheet to support and fill the hole where the bell will sit in the future.
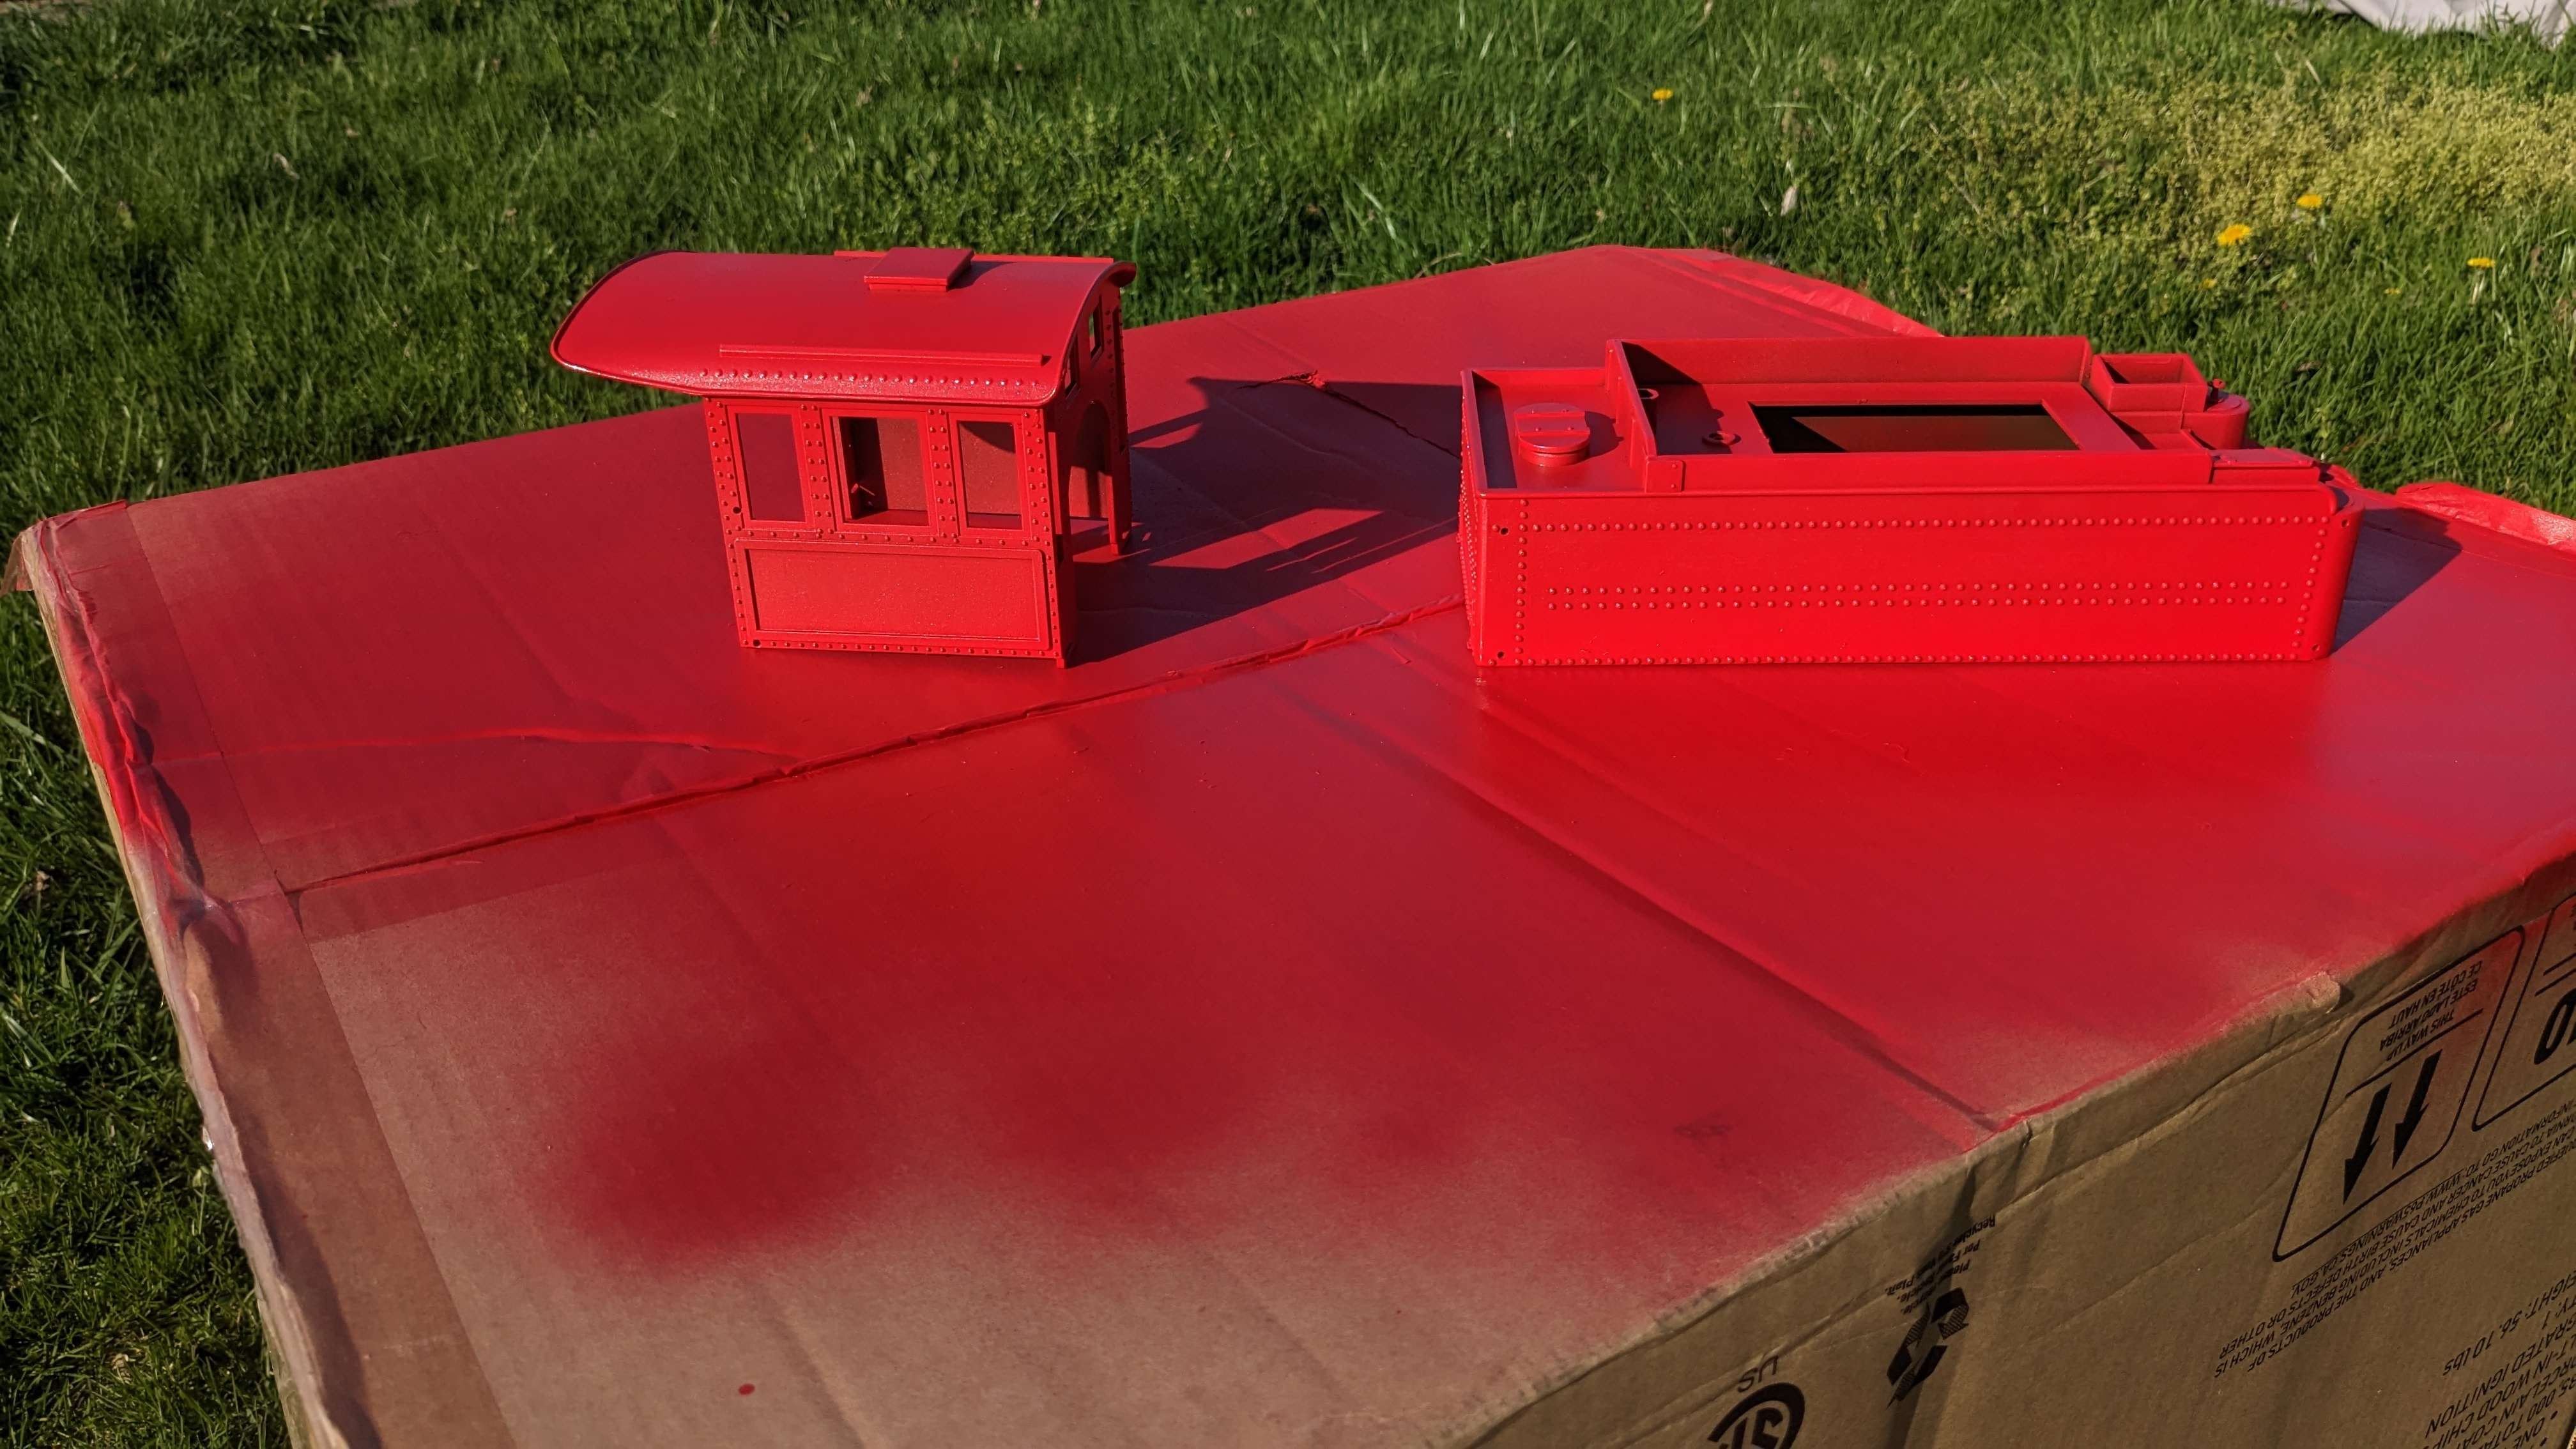
During this time I also decided with the decent weather I was going to try to get some paint work done. I took the cab and tender body outside and began laying on coats of Rustoleum Apple Red. As my airbrush is out of service and this is a G scale thing, I dont mind the surface the paint will leave. Again from any distance you wont be able to tell.
Here you can see the surface the paint leaves, not airbrush smooth but for a project that, in the grand scheme of things is experimental, I think its just fine.
I came back to the project later in the evening and test fit some pieces, and ultimately decided that yes, the rear dome and dynamo locations need to be moved. So I set to work cutting the rear dome mount from the boiler. I got it removed without much hassle, and cleaned up the hole. Tomorrow is supposed to be rainy, so its unlikely I'll get any paint work done.
|


|
I'll be starting with the locomotive, since it requires the most in cosmetic changes. To start I strip down the locomotive. Truth be told I planned to show how to take one apart, but forgot to take photos of the process. One thing you will have to do, is snip the cables to the headlight, as its fixed in place to the shell on some models.
With the shell removed, I remove the cab and begin stripping the boiler of details to begin modifications. Front to back on the Sierra #3 is the stack, bell, dome, dynamo, and the last dome. My model will mostly follow this, except the rearmost dome and dynamo will swap positions, as at this time I don't really want to move both of those. I will however be moving the front most dome back, and the bell forward, to closer resemble the Sierra 3.
Both domes and the stack are able to be removed. The stack, atleast on my particular model, was not glued in place, along with the larger rear dome. The front dome had some glue, but with gentle pursuasion I was able to pull it off, which may allow me to reuse part of it. For this project I also ordered a few things from Bachmann, including a headlamp, new pilot, bell, and new stack.
|
|
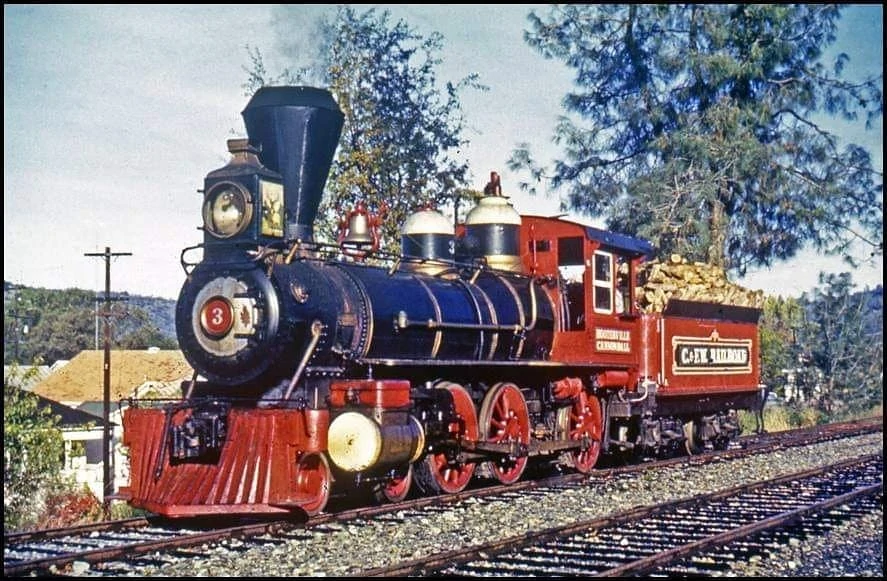
This, along side the freelance 4-4-0, is my first go at heavily kitbashing a locomotive. The image below is a Bachmann G Scale Big Hauler. These were produced in the 1980s as one of the first goes at American G scale models. This specific model is a battery powered unit, with simple forward and reverse controls, aswell as simple chuffing sounds. The sound is honestly lack luster, but for the time it isn't too bad I suppose. I'll be attempting to modify this locomotive and tender to represent the Hooterville Cannonball from the show Petticoat Junction. The real Cannonball was Sierra #3, which has a vastly different design. This model should not be looked at as an exact recreation, but as an "inspired by" kind of model, where I'll paint and detail to match what I can, but changing things like the wheelbase are currently out of the question for my skill level.
Below is a photo of one of the multiple variations of the real C&FW #3 Hooterville Cannonball, this photo will serve as a main reference for the project.
|